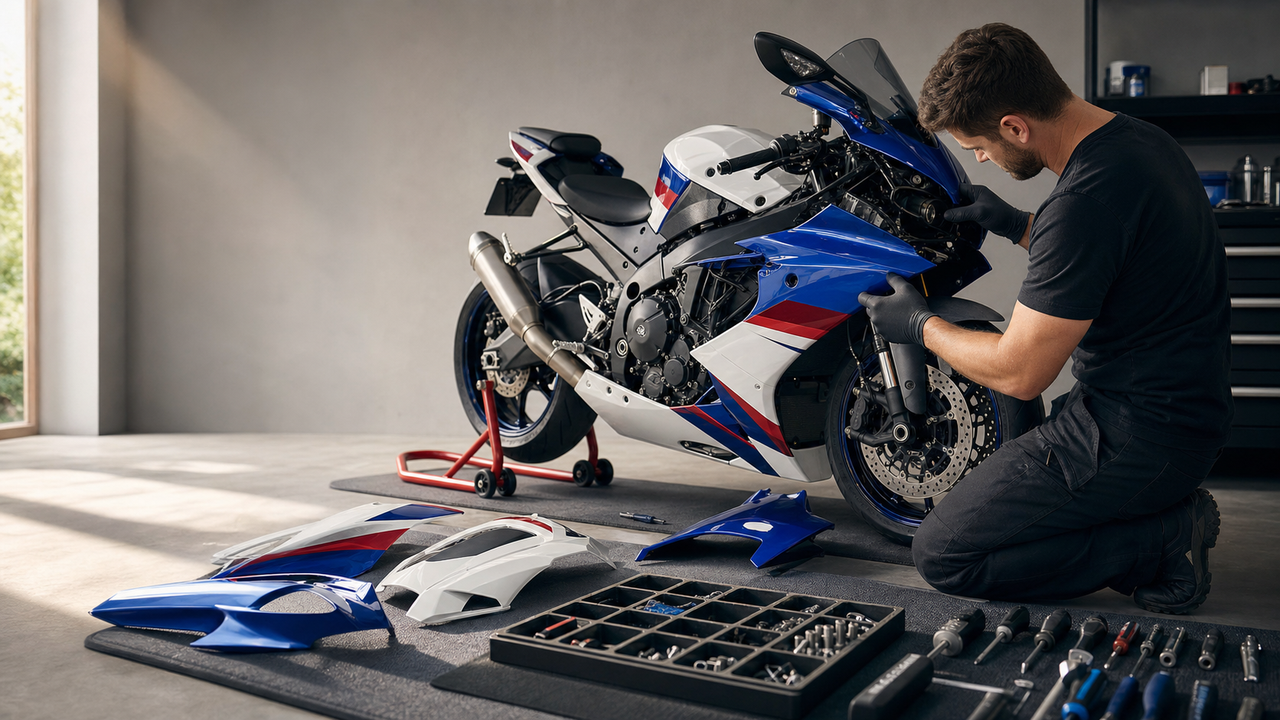
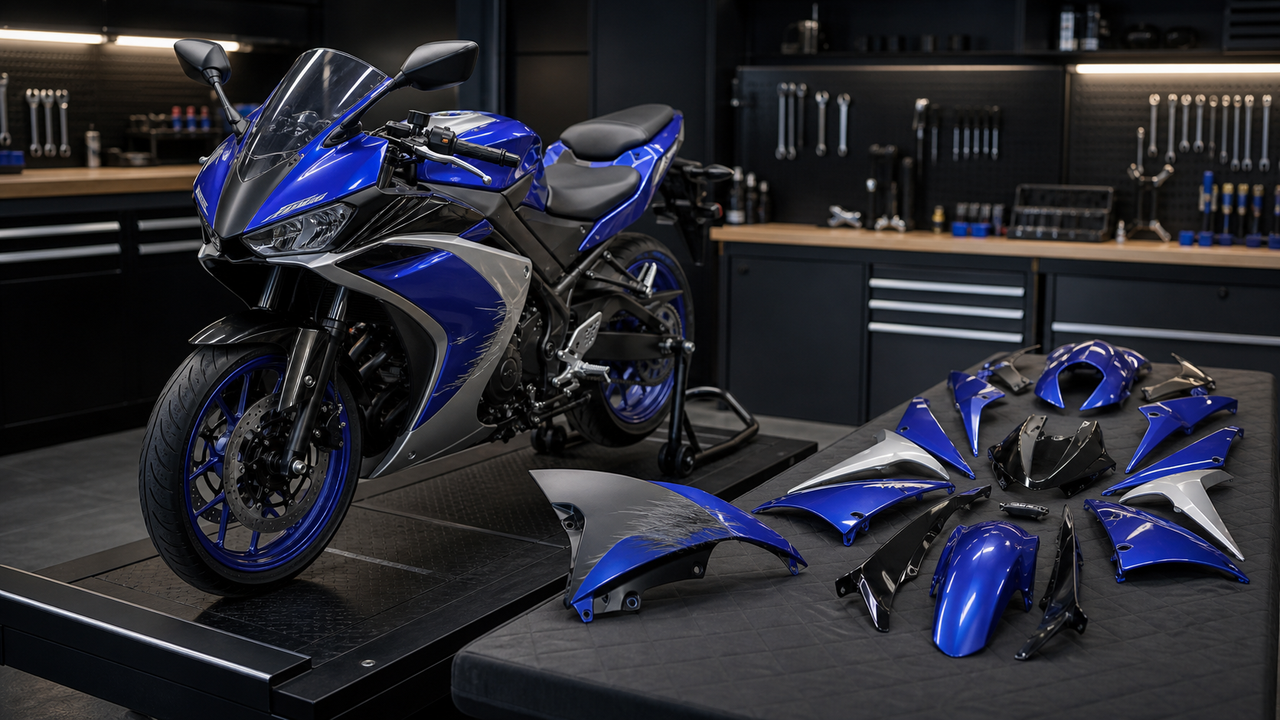
Replacing motorcycle brake or clutch levers can change reach, blade length, adjustability, and crash-damage behavior. The right choice depends on the exact motorcycle, the rider's hand size, the brake or clutch system, and the intended use. Stock lever designs vary by model: some are fixed, while others already include reach adjustment. Because these are safety-critical controls, fitment and setup matter more than material or styling claims alone.
This guide compares three common configurations—folding, shorty, and standard-length levers—and explains what to verify before ordering or installing a replacement.
-
For riders prioritizing impact tolerance: Folding levers can pivot in some low-speed falls and may reduce the chance of a complete blade break, but they do not guarantee that the controls remain safe after an impact.
-
For riders who normally use two fingers: A shorty lever can provide more room for the outer fingers to remain on the grip. Confirm that the blade length, reach, and full travel suit the rider and motorcycle.
-
For riders who prefer a familiar full-hand contact area: Standard-length adjustable levers provide a longer blade and may suit commuting or touring. Actual operating effort depends on the complete clutch or brake system, not length alone.
Lever replacement is normally performed at the handlebar perch or front-brake master cylinder and usually does not require fairing removal. If the motorcycle is already being repaired after a drop or collision, however, it is sensible to inspect the levers, pivots, cables, hoses, switches, and surrounding bodywork during the same service visit.
Quick Reference: Recommended Lever Types at a Glance
The quick-reference table below summarizes the intended use of common lever configurations. Treat it as a starting point only: dimensions, adjustment range, pivot design, and fitment must be confirmed for the exact motorcycle and product.
| Lever Type | Design Characteristics | Primary Use Case | Rider Preference (July 2026) |
| Shorty Levers | Compact 2-to-3 finger length; reduces the risk of trapping outer fingers against the grip. | Aggressive street riding, sport riding, and tight cockpits. | Favored by riders who use a two-finger control style and want a cleaner, compact look. |
| Standard Levers | Full-length (4-finger) design; provides maximum mechanical leverage and a familiar feel. | Daily commuting, long-distance touring, and heavy clutch pulls. | Preferred by riders prioritizing maximum leverage and comfort over long distances. |
| Folding Levers | Features a spring-loaded pivot joint that allows the lever blade to swing upward during an impact. | Track days, performance sport riding, and adventure touring. | Widely preferred by track enthusiasts to prevent a snapped lever from ending a riding session. |
| Adjustable Levers | Equipped with a dial or clicker mechanism to change the distance (reach) from the handlebar. | Riders with varying hand sizes; highly customized ergonomics. | Widely adopted as a standard upgrade to reduce hand fatigue and accommodate different glove thicknesses. |
Lever shape and adjustability affect how a rider's hand reaches and moves the control, but there is no universal upgrade. The goal is to find a correctly fitted lever that allows comfortable reach and full, unobstructed operation without compromising the motorcycle's specified brake or clutch setup.
The Ergonomics of Control: Why Riders Upgrade from OEM Levers
Brake and clutch levers are primary rider controls. OEM designs vary: some provide reach adjustment and some do not, and their geometry is engineered as part of the motorcycle's complete control system. An aftermarket lever should therefore solve a specific fit, reach, damage, or blade-length need rather than being treated as an automatic performance upgrade.
A reach adjuster can move the lever closer to or farther from the grip, helping some riders find a more comfortable hand position. The benefit is individual rather than guaranteed, so the lever must still provide full brake or clutch operation throughout its adjustment range.
Control feel depends on the complete system: lever geometry, pivot condition, cable or hydraulic setup, master-cylinder design, lubrication, and correct installation. Precise machining can support consistent dimensions, but it does not by itself guarantee better braking, lighter clutch effort, or superior feedback.
Some OEM levers are fixed and others are adjustable. Before replacing one, check whether the real problem is reach, crash damage, worn pivots, cable adjustment, hydraulic condition, or simply a preference for a different blade length.
Shorty vs. Standard vs. Folding: Evaluating the Trade-offs
Shorty, standard-length, and folding levers create different hand-contact and impact behaviors. Amotopart lists selected replacement control products, but compatibility must be checked against the exact make, model, year, and product SKU. No one configuration is universally best.
Shorty Levers: Precision and Clearance
Shorty levers use a shorter blade than the standard-length version, but the difference is product-specific. Compare the listed blade dimensions, reach range, and pivot geometry with the rider's normal finger position and the exact motorcycle.
-
Potential benefits: A short blade may suit riders who consistently brake or operate the clutch with two fingers and want more space for the outer fingers on the grip. The result depends on blade position, reach, glove thickness, hand size, and full lever travel; it should be tested statically before riding.
A shorter blade provides less hand-contact area and may not suit riders who use three or four fingers. Required effort cannot be predicted from blade length alone because pivot geometry, cable condition, hydraulic ratios, and technique also matter.
Standard Levers: Maximum Leverage and Familiarity
Standard length levers closely mimic the dimensions of original equipment manufacturer (OEM) components, typically accommodating a full four-finger grip.
-
Potential benefits: A standard-length blade offers a larger contact area and a familiar feel for riders who use three or four fingers. Whether it changes effort depends on the product's pivot geometry and the motorcycle's cable or hydraulic system.
-
Trade-offs: A longer blade extends farther outward and may have more exposure in a tip-over. Riders using only two fingers must also confirm that the remaining fingers are not trapped during full travel. Neither issue is universal, so check the actual setup.
Folding Levers: Crash Resilience and Articulation
Folding (or pivot) levers feature a hinged design with a spring-loaded pivot joint that allows the lever blade to swing upward or outward under impact.
A folding blade can pivot during some low-speed falls, which may reduce the chance of a complete break. It is not a guarantee: the blade, pivot, perch, master cylinder, switch, hose, or cable can still be damaged.
-
The Trade-offs: Folding levers are inherently more complex than fixed-blade designs. The inclusion of a pivot pin, spring, and hinge introduces more moving parts, which require periodic cleaning and lubrication to prevent binding. Over time, lower-quality folding designs can develop vertical play or "slop" at the hinge, which degrades the crisp, direct feel of the controls.
Material and Manufacturing: What to Verify
CNC-machined 6061 aluminum is one established aftermarket lever construction, but it is not the only suitable choice. Quality levers may also use forged aluminum or other manufacturer-specified materials. Design, heat treatment, machining, quality control, and exact fitment are all part of the safety case.
Material specifications such as 6061-T6 describe an alloy and temper, not the finished lever's performance by themselves. A billet-machined part is cut from stock material, but its strength and durability still depend on section thickness, pivot design, surface condition, and manufacturing control.
Cast, forged, and machined parts can all be produced to different quality levels. Casting can introduce defects when process control is poor, but it is inaccurate to describe every cast OEM lever as inherently brittle or unsafe. Judge a lever by its manufacturer, application, inspection history, and verified fitment—not by a single manufacturing label.
Anodizing can improve surface wear and corrosion resistance, but finish type and quality vary by product. Verify the actual listing and care instructions instead of assuming every billet lever is anodized or permanently fade-resistant.
Material and manufacturing method are only part of the decision. Verified fitment, sound pivot design, correct hardware, quality control, and model-specific installation are more useful indicators than a single alloy or machining term.
The 'While You're In There' Workflow: Upgrading Levers During Fairing Replacement
If the motorcycle also needs replacement fairings after a drop, use the repair as an opportunity to inspect the controls and surrounding hardware. The two jobs can be coordinated, but fairing removal is not normally required simply to replace handlebar levers.
Fairing-removal steps vary widely by motorcycle. Some panels may come off for bodywork replacement, while the handlebar controls remain accessible independently. Follow the exact service information for the model rather than assuming the cockpit will be fully exposed.
When damage overlaps, inspect both systems during the same repair: confirm lever and perch condition, cable or hose routing, switch operation, steering clearance, and body-panel clearance from lock to lock.
-
Cable inspection: Check the clutch cable near the barrel and adjuster for fraying, kinks, corrosion, or abnormal movement, following the model's service guidance.
-
Brake-system inspection: Check the lever pivot, master cylinder, reservoir, hose, and surrounding area for damage or leakage without disturbing hydraulic components unnecessarily.
-
Routing and clearance: Confirm that cables, hoses, and wiring are not pinched, stretched, or contacted by bodywork through the full steering range.
Amotopart currently lists motorcycle fairing kits and selected brake and clutch lever products. Availability and compatibility vary, so confirm the exact make, model, year, product SKU, package contents, and installation requirements before ordering.
Regardless of whether bodywork is being serviced at the same time, lever installation requires correct parts, hardware, torque, adjustment, and safety checks. A well-made component can still be unsafe if it is incompatible or installed incorrectly.
Common Installation Mistakes and How to Avoid Them
Lever replacement can be straightforward on some motorcycles, but brake and clutch controls are safety-critical. Use the exact motorcycle service information and the lever manufacturer's instructions. If fitment, adjustment, switch operation, brake drag, or hydraulic work is uncertain, have a qualified motorcycle technician perform or inspect the installation.
-
Damaging or Misaligning the Clutch Safety Switch
Many street motorcycles use a clutch interlock or position switch at the lever perch. Its design varies by model. Transfer and test it exactly as specified, and never bypass a safety switch to make an incompatible lever fit.
-
The Mistake: Forcing the new lever into the perch without aligning the actuator tab can easily snap this plastic plunger or leave it permanently depressed.
-
How to Avoid It: Before tightening any bolts, visually locate the switch plunger. Carefully slide the lever into place, ensuring the lever’s actuator tab aligns perfectly with the switch. Once installed, verify that you hear a faint "click" when pulling the lever and confirm the bike starts in gear with the clutch depressed.
-
Neglecting Pivot Bushing Lubrication
A dry pivot point creates metal-on-metal friction that results in a stiff, notched-feeling lever pull and rapid wear on both the lever and the perch.
-
The Mistake: Reinstalling the pivot bolt dry, or using an incorrect heavy grease that attracts road grime and turns into an abrasive paste.
Use only the lubricant and application points specified for the motorcycle and lever. Keep grease, oil, and cleaning products away from brake pads, rotors, tires, and other friction surfaces.
-
Ignoring Clutch Cable and Brake Pushrod Freeplay
Clutch free play and brake-lever setup are model-specific. Incorrect adjustment can cause clutch slip or drag, incomplete disengagement, brake drag, inadequate pressure, or a brake light that does not operate correctly.
Mistake: Applying a generic free-play number or adjustment procedure to every motorcycle.
How to avoid it: Use the exact owner's or service manual and the lever manufacturer's instructions. After installation, verify full clutch engagement and disengagement, normal brake pressure, free wheel rotation with no brake drag, correct brake-light and safety-switch operation, and unobstructed lever movement through the full steering range.
Pre-Ride Safety Check
Never assume the installation is correct without a thorough static test. Before starting the engine, sit on the motorcycle and squeeze both controls repeatedly. Roll the bike forward and backward to ensure the front wheel spins freely and the brakes do not drag. Finally, turn the handlebars slowly from lock to lock to confirm that the cables and hoses are not being pinched, stretched, or bound by your new hardware.
Post-Drop Inspection Checklist: Assessing Your Controls and Bodywork
A stationary tip-over or low-speed drop often impacts two areas simultaneously: your hand controls and your outer bodywork. While cosmetic scratches are obvious, hidden structural damage can compromise your safety on the road. Before starting your engine, use this step-by-step checklist to evaluate your motorcycle’s condition.
-
Control Assembly Inspection
-
Lever Pivot Points: Check the pivot bolt and bushing for binding, bending, or excessive play. Ensure the lever returns smoothly to its resting position without catching.
-
Master Cylinder Reservoirs: Inspect the front brake reservoir for hairline cracks, fluid leaks, or loose mounting brackets. Even a minor weep can lead to sudden pressure loss.
-
Cable Tension: For cable-actuated clutches, verify that the cable is not frayed at the barrel end and that you still have the manufacturer-specified freeplay.
-
Bodywork & Mounting Inspection
-
Fairing Tabs: Gently wiggle the front cowl and side panels. Look closely at the rear side of the plastic; impact force often shears off the delicate mounting tabs even if the outer panel looks intact.
-
Mounting Brackets: Inspect the metal stay brackets holding your instrument cluster and front fairings. A bent bracket puts constant stress on your bodywork, which can lead to stress fractures over time.
-
Ride-Home Safety Assessment
Do not decide that a motorcycle is safe to ride based only on a lever's appearance. After a drop, inspect the blade, pivot, perch, master cylinder, hose or cable, switches, fasteners, steering clearance, brake pressure, brake drag, and clutch operation before riding.
If a lever is bent, cracked, loose, does not return normally, has lost its ball end, causes brake drag, changes brake pressure or clutch operation, or leaves any doubt about control function, do not ride the motorcycle. Arrange transport and a qualified inspection.
Warning: Do not attempt to straighten a bent lever unless the motorcycle or lever manufacturer explicitly permits a defined repair procedure. Hidden cracking or damage at the pivot, perch, or master cylinder can lead to sudden control failure.
If the inspection reveals damaged controls or bodywork, plan the repairs together where practical, but treat the brake and clutch systems as safety-critical work that must be verified before the motorcycle returns to service.
Frequently Asked Questions
Which motorcycle levers do riders recommend for upgrading brake and clutch controls?
Start with exact fitment and the rider's normal hand position. Choose shorty, standard-length, or folding construction only after confirming reach, full travel, switch operation, pivot and hardware compatibility, and the manufacturer's installation requirements. CNC-machined 6061, forged aluminum, and other constructions can all be appropriate when the finished product is properly designed and verified for the motorcycle.
Should I choose shorty or standard length levers for my sportbike?
The choice depends on hand size, glove thickness, finger technique, riding use, and the motorcycle's control geometry. Shorty levers may suit consistent two-finger use; standard-length levers provide more contact area for three- or four-finger use. Confirm full brake or clutch operation rather than assuming either style will automatically reduce effort.
How do adjustable clutch levers improve rider control and reduce fatigue?
Adjustable levers change the distance between the grip and lever blade. This can help an individual rider find a more comfortable reach, but the setting must still allow full control travel, proper switch operation, normal brake pressure or clutch engagement, and clearance from the grip and surrounding parts.
Do folding levers prevent breaking during a motorcycle crash?
Are folding levers worth it? They can reduce the chance of a complete blade break in some low-speed falls, but they cannot guarantee that the lever or surrounding control system will remain safe or rideable after an impact.
Can I install aftermarket levers myself when replacing my Amotopart fairings?
Can I install levers myself while replacing fairings? Some lever installations use basic hand tools, but fitment and safety checks are model-specific. Fairing removal is usually not required for handlebar-lever access. Follow the exact manuals, and use a qualified motorcycle technician whenever brake, hydraulic, switch, or adjustment work is uncertain.
Conclusion
Choose a lever by verified fitment, usable reach, blade length, control-system compatibility, construction quality, and the way you actually ride. Folding, shorty, and standard-length designs each involve trade-offs; none is automatically the safest or best choice for every motorcycle.
To compare current options, review the motorcycle parts listed at Amotopart, then confirm the exact make, model, year, SKU, package contents, and installation instructions before purchase. After installation, complete all model-specific brake and clutch checks before the motorcycle returns to service.