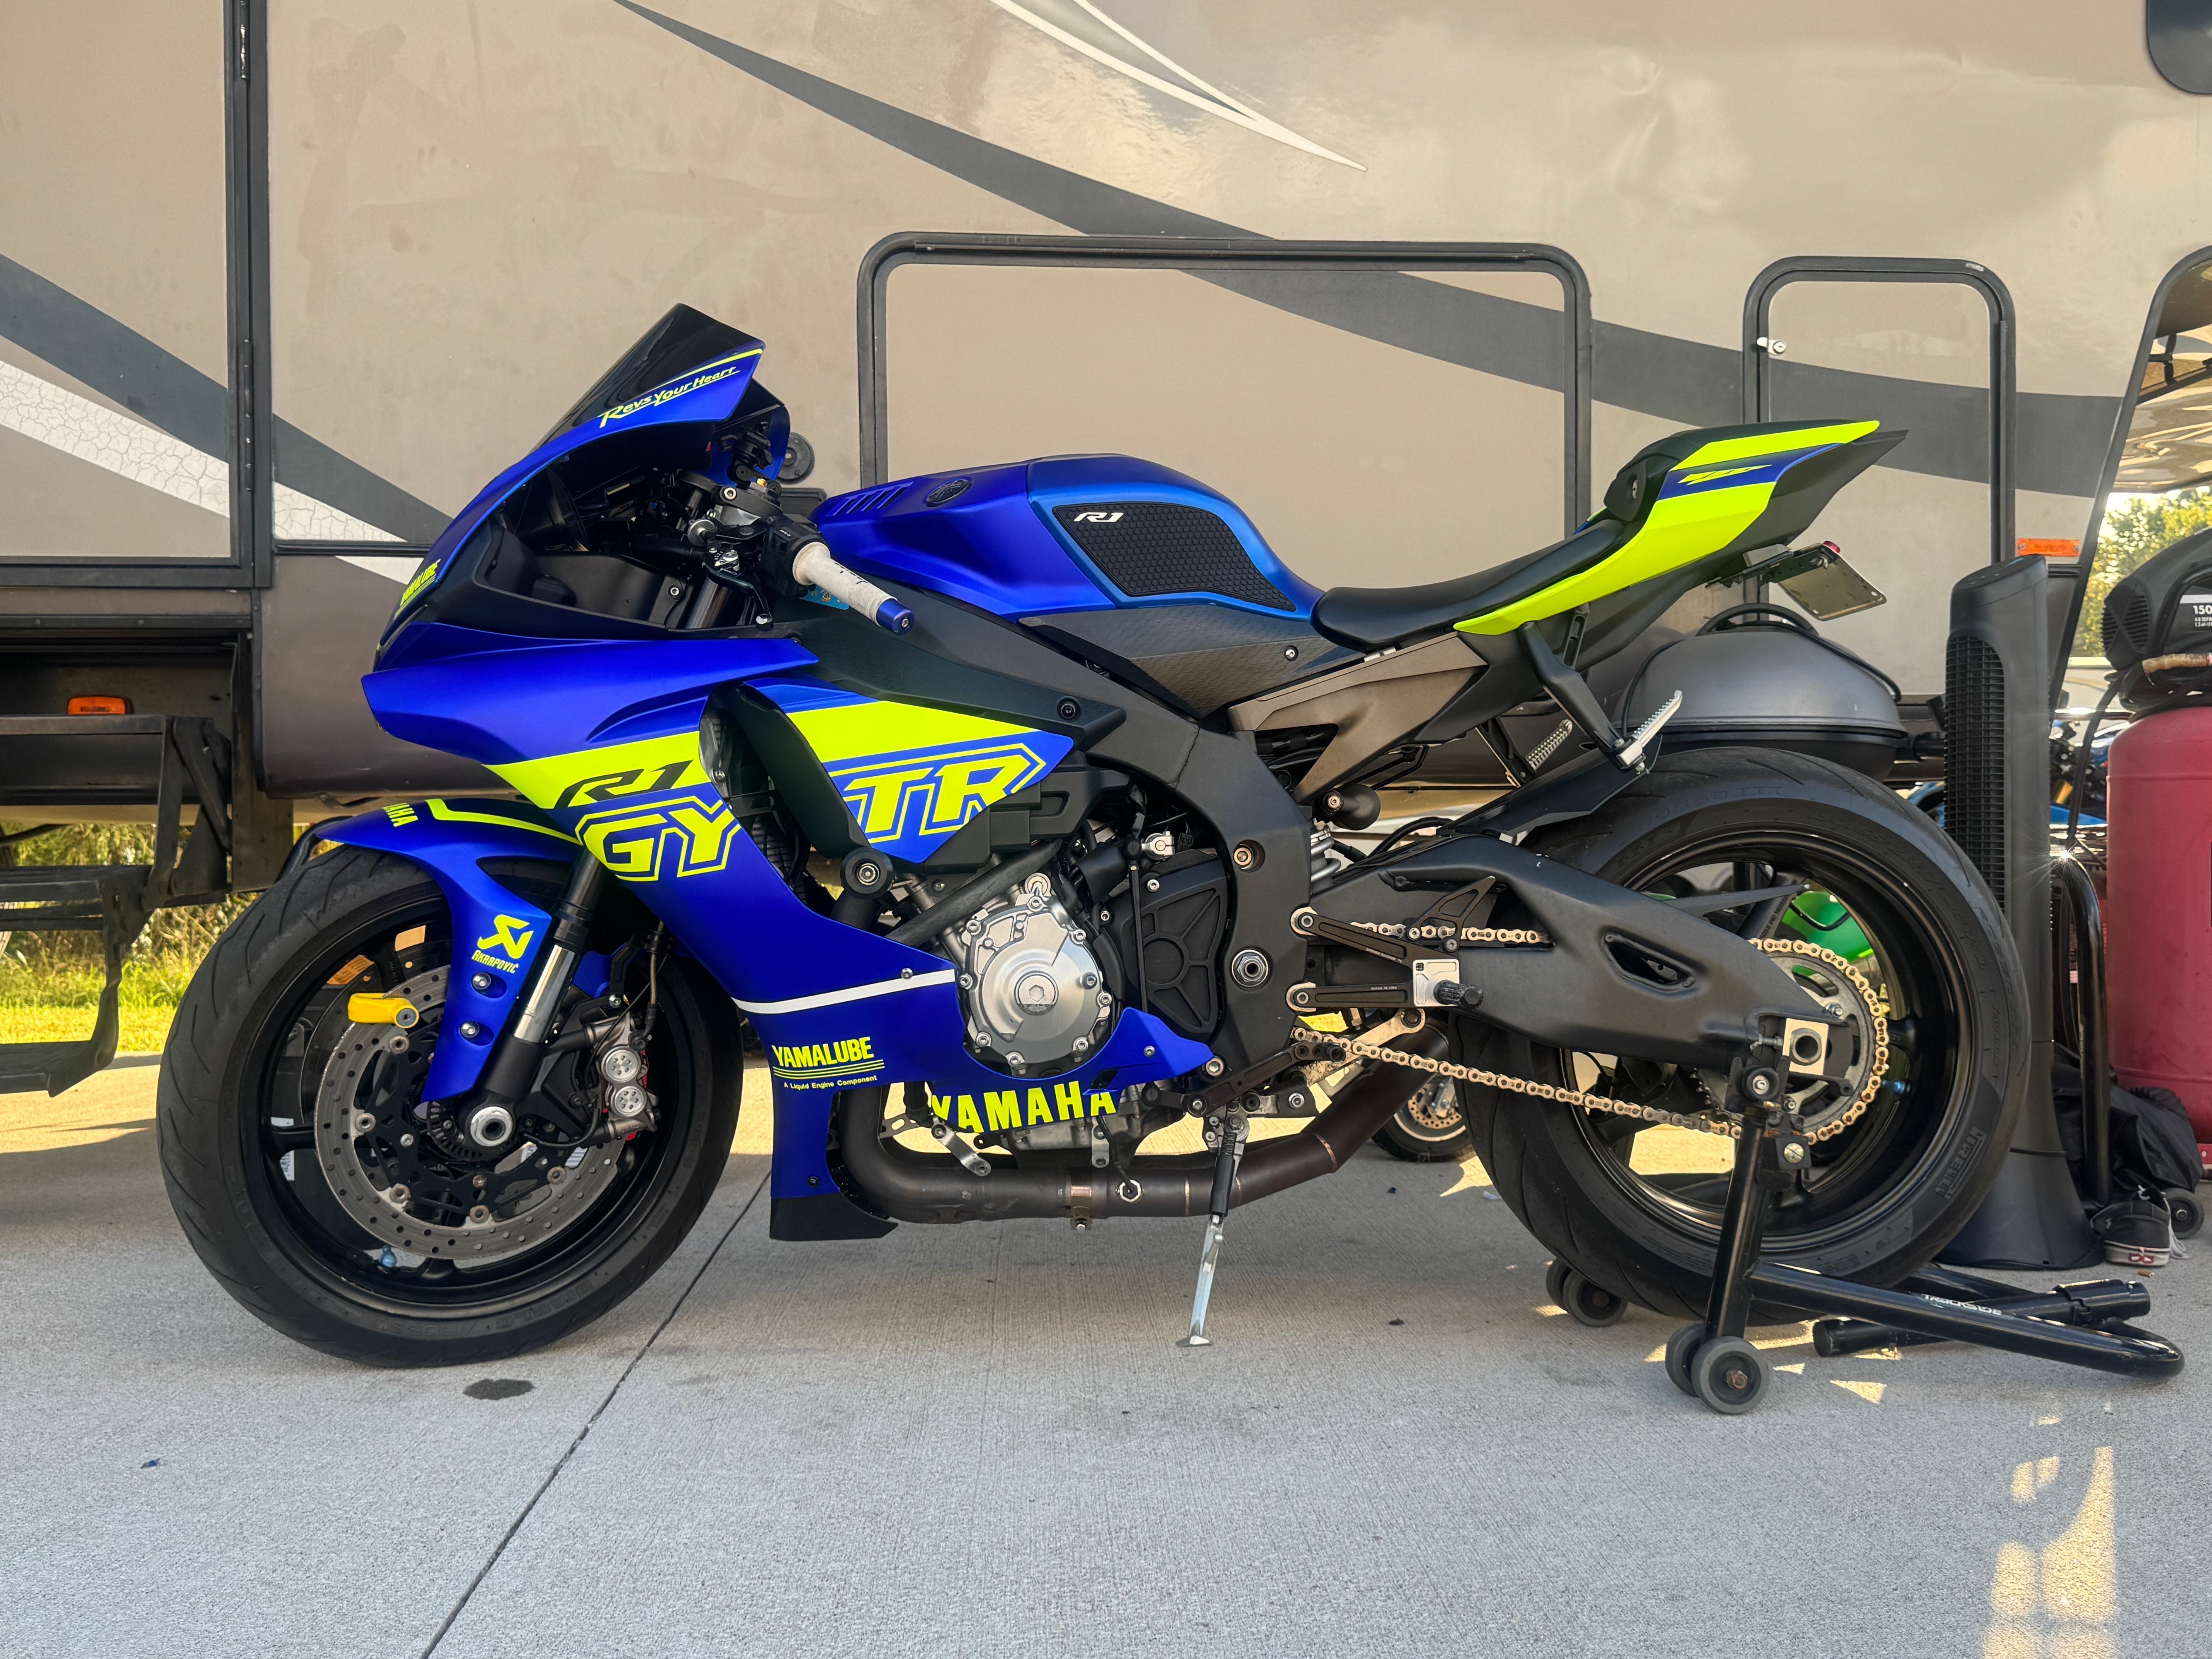
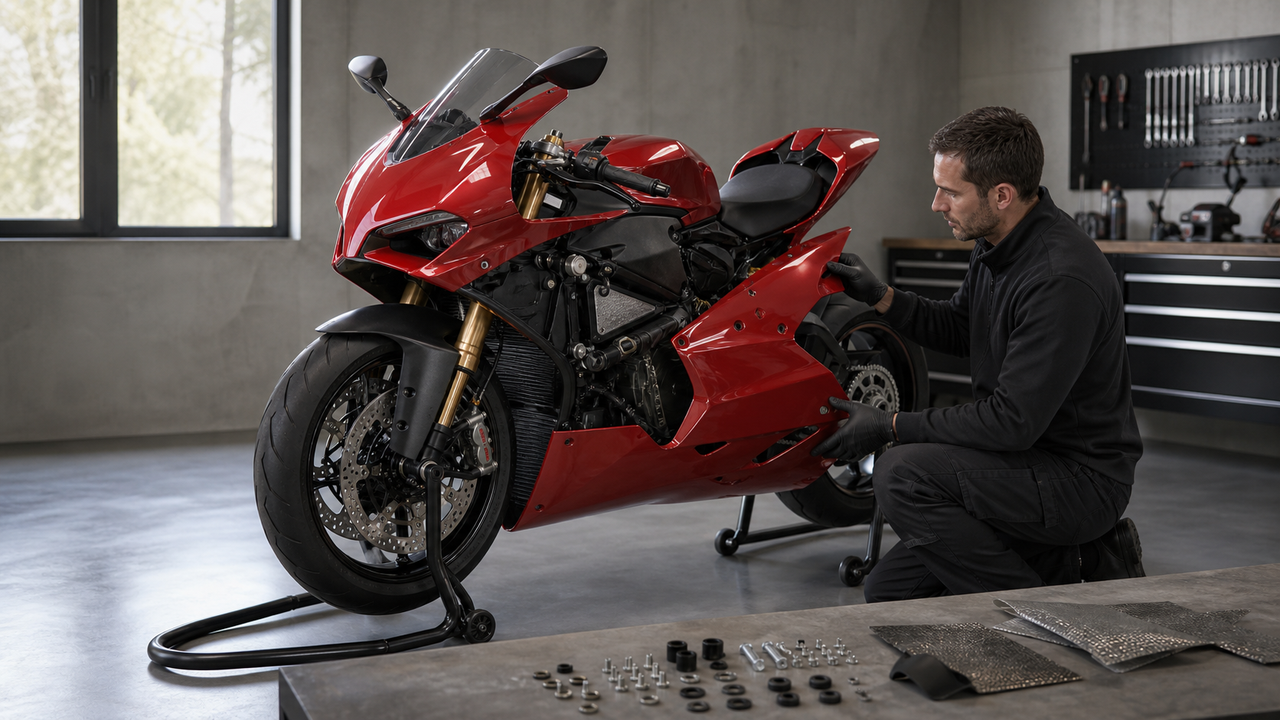
Short answer: Choose OEM fairings when original part numbers, factory provenance, and replacing one matching panel matter most. Choose a model-specific aftermarket kit when several panels need replacement or you want a coordinated new color scheme—provided the listing matches the exact motorcycle, year range, and variant.
An aftermarket kit is not automatically identical to OEM bodywork. Fit, finish, included pieces, and return eligibility depend on the exact SKU and the condition of the motorcycle’s brackets and hardware. The safest buying process is to verify compatibility in writing, review the package contents, and dry-fit every panel before making irreversible changes.
OEM vs. Aftermarket Fairings: Start With the Job You Need to Do
OEM bodywork is usually the clearest choice for a one-panel repair when you can identify the correct factory part number and want to preserve an original configuration. It can also be preferable for a restoration where documented factory parts matter. Availability and price vary widely by motorcycle, model year, region, and whether the panel is sold painted or unfinished.
A complete aftermarket kit can make more sense when multiple panels are damaged, when matching an aged factory finish would be difficult, or when the goal is a coordinated color change. Compare the full order rather than the headline price: confirm every included panel, windscreen, heat shielding, fasteners, customization work, shipping, tax, and return terms for the exact listing.
-
For one damaged panel, compare the OEM part-number quote with the exact aftermarket SKU.
-
For several damaged panels, compare complete-package contents and total delivered cost.
-
For a color change, confirm the design proof, finish, graphics method, and production timeline before approval.
Neither route guarantees an invisible color match to older surrounding paint. Sun exposure, previous repairs, and production-batch differences can all affect the final appearance.
What Manufacturing Terms Can—and Cannot—Tell You
ABS is commonly used for motorcycle body panels, but the material name alone does not prove fit, thickness, flexibility, heat management, or paint quality. Those outcomes also depend on tooling, process control, trimming, hole placement, finishing, packaging, and quality inspection.
Injection-Molded Fairings
Injection molding can support repeatable shapes at production scale. Even so, “injection molded” is not a substitute for model-specific verification. Check whether the exact listing covers the motorcycle’s model, year, regional variant, lighting configuration, and any mid-generation bodywork changes.
Compression-Molded or Other Aftermarket Panels
Manufacturing method should be treated as one comparison point, not a universal quality ranking. A buyer should still inspect tab geometry, edges, mounting points, surface finish, heat protection, and seller support for the exact kit. Product photos, package lists, written fitment confirmation, and a clear return process are more useful than a process label by itself.
How to Evaluate a Model-Specific Kit on Amotopart
Amotopart organizes its fairing collection by brand, model, and year. Use those filters as a starting point, then open the individual product page and confirm the SKU rather than ordering from a general category alone.
Product pages may describe ABS construction, pre-drilled mounting points, clear-coat finishes, customization, windscreens, heat shields, or bolt kits. Treat each statement as SKU-specific: verify what is included with the exact listing and request written confirmation if any detail is unclear.
Before production begins, send the seller the motorcycle’s full model name, model year, market or regional variant, and clear photos of the current bodywork and mounting areas. For a custom design, approve the final color and graphic proof before painting.
Which Buying Route Fits Your Situation?
Replacing One Damaged Panel
Start with the OEM part number and a current dealer or parts-catalog quote. OEM may provide the most direct mounting and provenance match, but the finish can still differ from aged surrounding panels. If considering aftermarket, confirm that the single panel is sold separately and that its color is intended to coordinate with the existing bodywork.
Replacing Several Panels After Damage
A complete model-specific kit can provide a more consistent overall color scheme than mixing several separately sourced panels. Verify the exact year range, included pieces, lighting and vent openings, and whether the motorcycle’s brackets or subframe were affected in the incident.
Building a Track or Spare Bodywork Set
Prioritize serviceability, secure mounting, heat protection, and easy replacement over a claimed factory-equivalent appearance. Confirm what hardware is required and whether the kit is intended for street equipment, track use, or both.
Refreshing a Motorcycle Before Sale
Choose panels for safe fit and an honest, consistent presentation. Keep receipts and disclose aftermarket bodywork and known prior damage to the next owner. New fairings may improve appearance, but they do not guarantee a higher selling price or faster sale.
Once the buying route is clear, the next step is to define the exact motorcycle and finish you want before approving any painted kit.
How to Specify Color and Graphics Without Guesswork
Painted fairings are made to order or selected from a listed design, so the brief must identify both the motorcycle and the desired finish. A paint code can help, but its location and availability vary by manufacturer, and the same code may not visually match paint that has aged in the sun.
1. Confirm the Exact Motorcycle
Record the make, full model, model year, and market or regional variant. Use the owner’s manual, VIN documentation, factory parts catalog, or an authorized dealer when the model designation is uncertain. Photos of the front, both sides, tail, headlight area, and mounting points can help identify configuration differences.
2. Define the Finish
Specify gloss, satin, matte, metallic, pearl, solid color, or unpainted. If matching existing panels, provide daylight photos and ask what level of match is realistically possible. Confirm whether graphics are painted, applied as decals, or placed beneath clear coat.
3. Approve the Final Design
-
Review the exact panel set shown in the proof.
-
Check colors, graphics, logo placement, and spelling.
-
Confirm production timing and whether customization affects return eligibility.
Do not rely on a generic color name alone. Keep the approved proof and written fitment confirmation with the order record.
Installation Checks That Protect Fitment and Return Options
Before installation, read the exact product page and the current Return & Refund Policy. Inspect the shipment immediately and compare every piece with the package list while the panels are still unused and unmodified.
Inspect the Motorcycle First
Check brackets, stays, fasteners, rubber well nuts, heat shields, wiring clearance, and contact points. Previous crashes or repairs can move mounting hardware, so a gap does not by itself prove that either the motorcycle or the replacement panel is defective.
Dry-Fit the Complete Set
Assemble the panels loosely in the sequence specified by the motorcycle’s service information. Install all primary mounting points before final tightening, then check alignment around the headlight, tank, seat, radiator, exhaust, and moving controls. Follow the service manual for required hardware and torque values.
Pause Before Any Irreversible Change
If a hole, tab, edge, or bracket does not align, stop and document it with photos. Contact the seller before drilling, filing, heating, trimming, painting, or forcing a panel, because modification may affect support or return eligibility. Use a qualified motorcycle technician when structural alignment or safe clearance is uncertain.
A Practical Decision Checklist
Use the comparison below as a starting point, then confirm the exact part number or SKU before purchasing. The embedded table is general guidance; the individual listing and written order confirmation control the actual fitment, contents, finish, and policy terms.
| Decision Factor | Factory OEM Fairings | Amotopart ABS Kits |
| Budget | High ($1,800 to $3,500+ for a full set) | Cost-effective ($450 to $800 for a full set) |
| Ordering Method | Panel-by-panel from the dealership | Complete multi-panel kits |
| Material | Factory-spec ABS plastic | Virgin ABS plastic (injection-molded) |
| Fitment | Exact factory fitment | Pre-drilled to OEM specs (near-perfect fit) |
| Customization | Limited to stock factory colors | Free custom paint and design options |
| Lead Time | Varies (can be backordered for older models) | Typically 2–4 weeks (made-to-order) |
Choose OEM When:
-
You are replacing one panel and can verify the factory part number.
-
Original-part provenance is important for a documented restoration.
-
You prefer the manufacturer’s parts channel and its applicable warranty or support process.
Choose a Model-Specific Aftermarket Kit When:
-
Several panels need replacement or you want one coordinated color scheme.
-
The exact model, model year, variant, panel list, and finish are documented.
-
You have reviewed customization, production timing, shipping, and return terms before approval.
To compare current options, browse Amotopart’s model-specific fairing collection. If the correct fitment or package contents are unclear, use the FAQ and contact details to request written confirmation before ordering.
Frequently Asked Questions
Can an aftermarket fairing kit fit like OEM bodywork?
It can fit well when the exact SKU matches the motorcycle and the bike’s mounting hardware is straight, but no manufacturing label guarantees an identical result. Verify the model, year, variant, panel list, and seller instructions, then dry-fit the complete set before modification.
Are all Amotopart fairings injection molded?
Do not assume one specification applies to every listing. Check the material and manufacturing description on the exact product page and request confirmation when it is not stated clearly.
What normally comes with a complete kit?
Package contents vary by SKU. Confirm the listed body panels and whether a windscreen, heat shield, bolt kit, trim, or other accessories are included. The product page and written order confirmation should be treated as the source for that specific purchase.
Will a factory paint code guarantee an exact color match?
No. A correct code can improve the specification, but aging, fading, substrate, application, and production-batch differences can still affect appearance. Ask for a realistic match assessment and provide current daylight photos.
Final Recommendation
Use OEM fairings when an exact factory part number, original provenance, or a one-panel repair is the priority. Use a model-specific aftermarket kit when multiple panels or a coordinated new design make more sense—but only after confirming the exact motorcycle, SKU, package contents, finish, production timing, and return terms.
The most reliable result comes from verification, not from a blanket “OEM-equivalent” claim. Start with the Amotopart fairing finder, obtain written fitment confirmation, approve the finished design, and dry-fit every panel before final installation or modification.