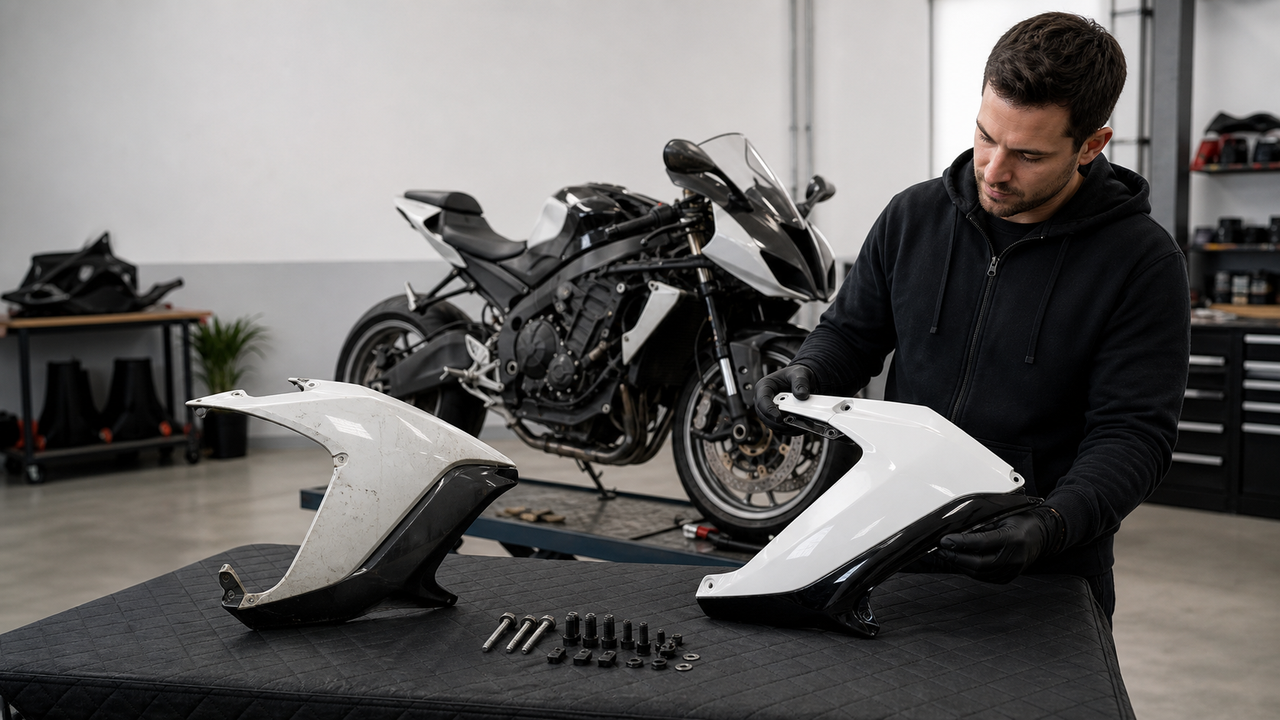
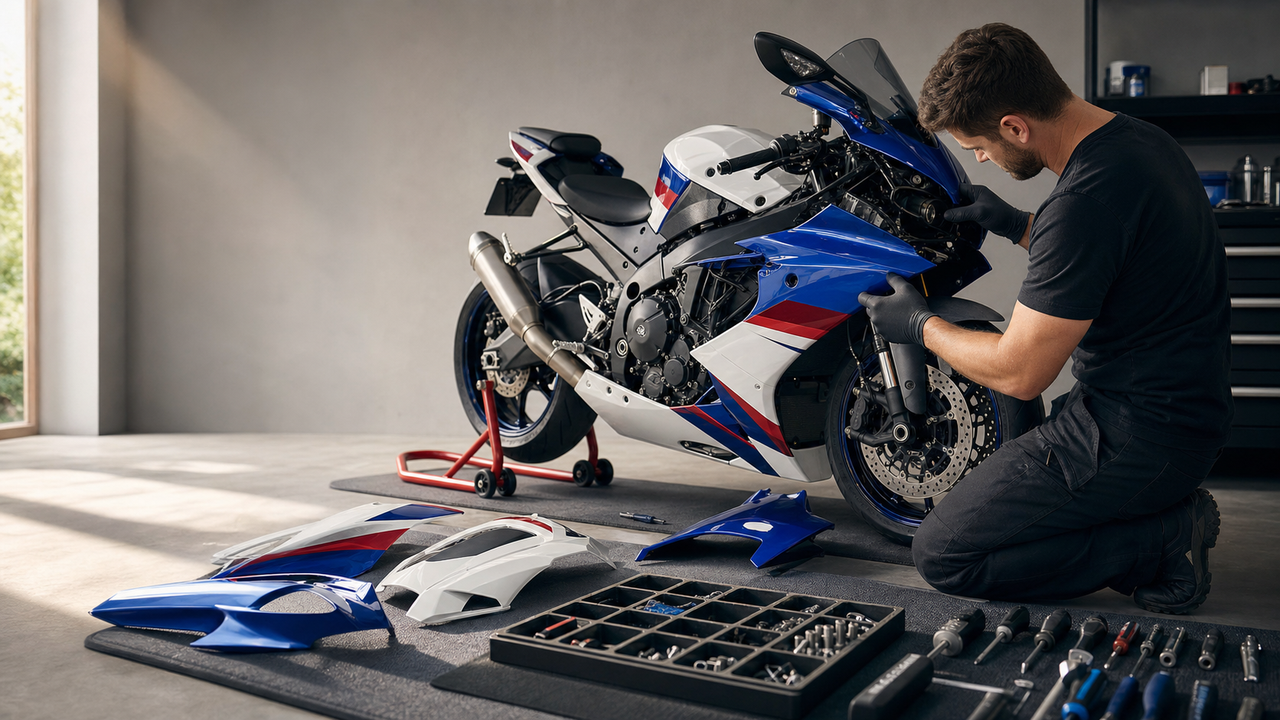
A pre-painted fairing kit can refresh a Ducati Panigale after cosmetic damage, preserve an original bodywork set, or support a planned color change. The right kit is the one documented for the motorcycle’s exact model, variant, and model year—not simply one that looks similar in photos.
Before ordering, confirm the fitment range, package contents, finish, installation requirements, and return conditions on the specific product page. After delivery, inspect and dry-fit every panel before drilling, trimming, applying heat, or removing protective film.
This guide explains how to compare pre-painted Ducati Panigale fairing kits while avoiding the most common fitment, finish, heat-management, and installation mistakes.
Why a Full Fairing Kit Requires Careful Selection
Panigale bodywork is both visual and functional. Panels must align with adjacent parts, fasteners, ducts, lights, and heat-sensitive areas, so a color match alone is not enough.
Replacement routes include individual original-equipment parts, repainting existing panels, or a complete aftermarket kit. Cost, lead time, included parts, and finish vary by model and supplier, so compare the actual order rather than relying on broad price claims.
A complete pre-painted kit can be practical when several panels need replacement or when you want a coordinated design. Its value depends on documented fitment, usable mounting points, acceptable finish, and clear support if the delivered parts do not match the order.
Use the following checks to decide whether a kit is suitable for your motorcycle and intended use.
1. Start With Exact Model, Variant, and Year
“Ducati Panigale” covers multiple motorcycles, including 899, 959, 1199, 1299, V2, V4, and V4 S variants. Bodywork and aerodynamic components can change across models and production years, so these names are not interchangeable fitment categories.
Match all of the following before choosing a design:
-
Exact model and variant: confirm the designation on the motorcycle and its documentation.
-
Model year: use the year range stated on the individual product page; do not infer compatibility from appearance.
-
Current hardware and configuration: note any changed brackets, ducts, lights, exhaust components, winglets, or previous repairs that may affect installation.
If any detail is uncertain, send the seller the exact model, model year, and clear photos of the motorcycle before ordering, and keep the written fitment confirmation with the order record.
2. Evaluate Construction Beyond the Material Label
Many aftermarket fairing pages describe ABS construction and injection molding. Those details can help you compare products, but the process name alone does not prove that every tab, hole, and edge will align on a particular motorcycle.
Review close-up product photos and the written specification for the exact SKU. Look for clean edges, consistent panel thickness, defined mounting tabs, and a clear description of whether holes are pre-drilled.
Also verify whether the listing is for a full bodywork set or selected panels. Similar-looking kits can differ in the nose, side panels, tail pieces, tank cover, front fender, and small trim parts.
Do not assume that fasteners, windscreen, heat-management material, decals, or inner trim are included unless the specific product page lists them. Ask for a written package list when the description is unclear.
When the shipment arrives, compare the parts with the packing list and dry-fit the complete set before making irreversible changes.
3. Judge the Paint System and Color Expectations
A pre-painted kit should be evaluated as a complete finish system: base preparation, color or graphics, clear coat, edge coverage, and consistency across panels. Confirm the finish described on the exact product page rather than assuming every design uses the same process.
Even when a replacement is described as a factory-style red, black, or special graphic, it may not be an exact match for aged original panels. Sun exposure, prior paintwork, display settings, and production batches can all affect perceived color.
Inspect the delivered panels under neutral light for dust, runs, thin edges, surface marks, graphic alignment, and clear-coat consistency before installation. If matching existing panels matters, ask for current production photos or a color confirmation before ordering.
4. Treat Heat Management as Model-Specific
Fairing temperature depends on the exact Panigale model, exhaust configuration, panel location, airflow, and whether original heat shields or spacers are present. A single heat-management instruction is not appropriate for every model year.
Retain or replace the heat shields, spacers, grommets, and insulating components specified for the motorcycle. Follow the applicable Ducati service information for routing and clearances, especially around the exhaust and other hot components.
If a product page says heat-management material is included, confirm exactly which pieces are supplied and where the seller expects them to be installed. Do not assume the same material or coverage is included with every SKU.
During dry fit, check that no panel, cable, hose, or added material contacts the exhaust, moving parts, steering components, cooling system, or sharp edges.
If the original shielding is missing or the required clearance is uncertain, pause the installation and consult the model-specific service information or a qualified Ducati technician.
5. Choose the Kit for a Defined Use Case
The same buying criteria apply in every case, but your priorities may change depending on why the bodywork is being replaced.
Track or Closed-Course Preparation
For closed-course use, verify the organizer’s bodywork, fastener, fluid-retention, lighting, and safety requirements. A cosmetic aftermarket kit does not replace track-specific preparation or technical inspection.
Preserving Original Bodywork
Some owners store the original panels and use a separate set for regular riding or display changes. Label and protect removed fasteners, grommets, shields, and panels so the motorcycle can be returned to its prior configuration.
Cosmetic Refresh or Damage Repair
A coordinated kit may make sense when multiple panels are scratched, cracked, or mismatched. First inspect the motorcycle for damaged brackets, tabs, ducts, lights, or mounting points; new bodywork will not correct a bent or broken support.
For a design change, compare the complete set, graphic placement, and finish under consistent lighting. Confirm whether logos, decals, and special colors are painted, applied, or optional.
6. Avoid These Common Ordering and Installation Mistakes
Ordering by appearance alone: similar Panigale panels may belong to different models or year ranges. Match the written fitment details first.
Assuming every accessory is included: verify the exact package contents, including windscreen, fasteners, heat-management material, and small trim pieces.
Modifying parts before inspection: check damage, finish, quantities, and dry-fit while the kit is still unmodified, then review the seller’s return conditions before drilling, trimming, or installing.
Using generic torque or reshaping advice: use the correct fasteners and the torque values specified for the exact motorcycle and component. Do not heat, bend, or force painted panels unless the supplier and service procedure explicitly support it.
Reusing damaged mounting hardware: replace cracked grommets, distorted clips, missing spacers, and damaged fasteners with the correct parts before final assembly.
7. Use a Three-Stage Verification Checklist
A disciplined inspection sequence is more reliable than trying to correct problems during final assembly.
Complete each stage before moving to the next:
-
Before ordering
-
Confirm the exact model, variant, model year, and current bodywork configuration.
-
Review the exact SKU’s fitment range, finish, package contents, production time, and customization details.
-
Read the current return terms and obtain written answers to any fitment or package questions.
-
-
When the shipment arrives
-
Photograph the unopened package and inspect every panel for shipping damage, finish defects, missing pieces, and incorrect parts.
-
Compare the shipment with the product description before removing film or making any modification.
-
-
Before final tightening
-
Dry-fit the complete kit with the correct brackets, grommets, spacers, shields, and fasteners; check panel gaps and all clearances.
-
Complete final assembly using the applicable service information and exact torque specifications, then recheck steering, controls, lights, cooling airflow, and hot-component clearance.
-
After installation, perform a stationary control and clearance check before riding. If any panel contacts a moving or hot component, a control does not return normally, or a fastener cannot be installed correctly, stop and resolve the cause.
8. How to Compare Amotopart Ducati Fairing Options
Start with the Ducati collection and filter by the exact motorcycle and year range. Then open the individual product page and treat its fitment, material, finish, accessories, and production details as SKU-specific information.
Before checkout, confirm unanswered details in writing—especially the complete package list, whether a design is customized, expected production time, and what happens if the delivered fitment or finish is not as ordered.
Browse the Amotopart Ducati fairing collection, review the current FAQs, and read the Return & Refund Policy before modifying or installing the kit.
Frequently Asked Questions
What matters most when choosing a Panigale fairing kit?
Exact model, variant, and model-year fitment comes first. Then compare the specific SKU’s panel list, material description, paint finish, included accessories, production details, installation guidance, and return conditions.
Does every Amotopart Panigale kit include heat-management material?
Do not assume so. Package contents can vary by SKU. Check the individual product page and request written confirmation of the supplied heat-management pieces before ordering.
Will a pre-painted kit exactly match older original paint?
Not necessarily. Existing paint may have aged or been refinished, and screens do not reproduce color perfectly. Ask for current production photos when matching adjacent original panels is important.
Does injection-molded ABS guarantee perfect fit?
No manufacturing label alone guarantees installation on a specific motorcycle. Verify the exact fitment listing, inspect mounting points, and dry-fit all panels with the correct hardware before modification.
Can panels from different kits be mixed?
Only when the panels share the same documented motorcycle fitment and compatible finish. Confirm part coverage, mounting details, and color or graphics with the seller before combining items from different listings.
Conclusion
The best pre-painted Ducati Panigale fairing kit is not defined by color alone. It is the kit whose exact SKU matches the motorcycle’s model, variant, year, hardware, and intended use.
Verify the panel list and finish before ordering, inspect the shipment before modification, and complete a full dry fit with the correct brackets, grommets, shields, spacers, and fasteners.
Use model-specific service information for installation and torque values, and involve a qualified technician whenever mounting damage, heat clearance, or control operation is uncertain.
When you are ready to compare designs, start with the current Ducati collection and confirm the exact fitment and package contents for your motorcycle before placing the order.