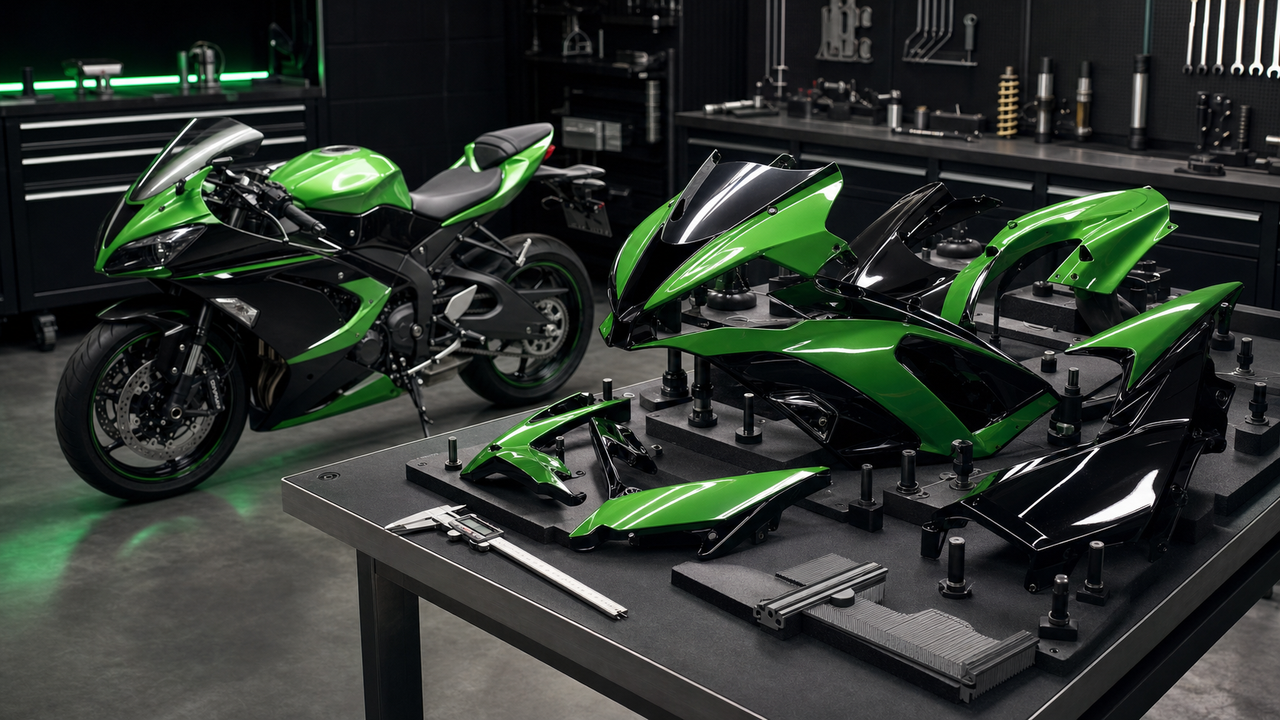
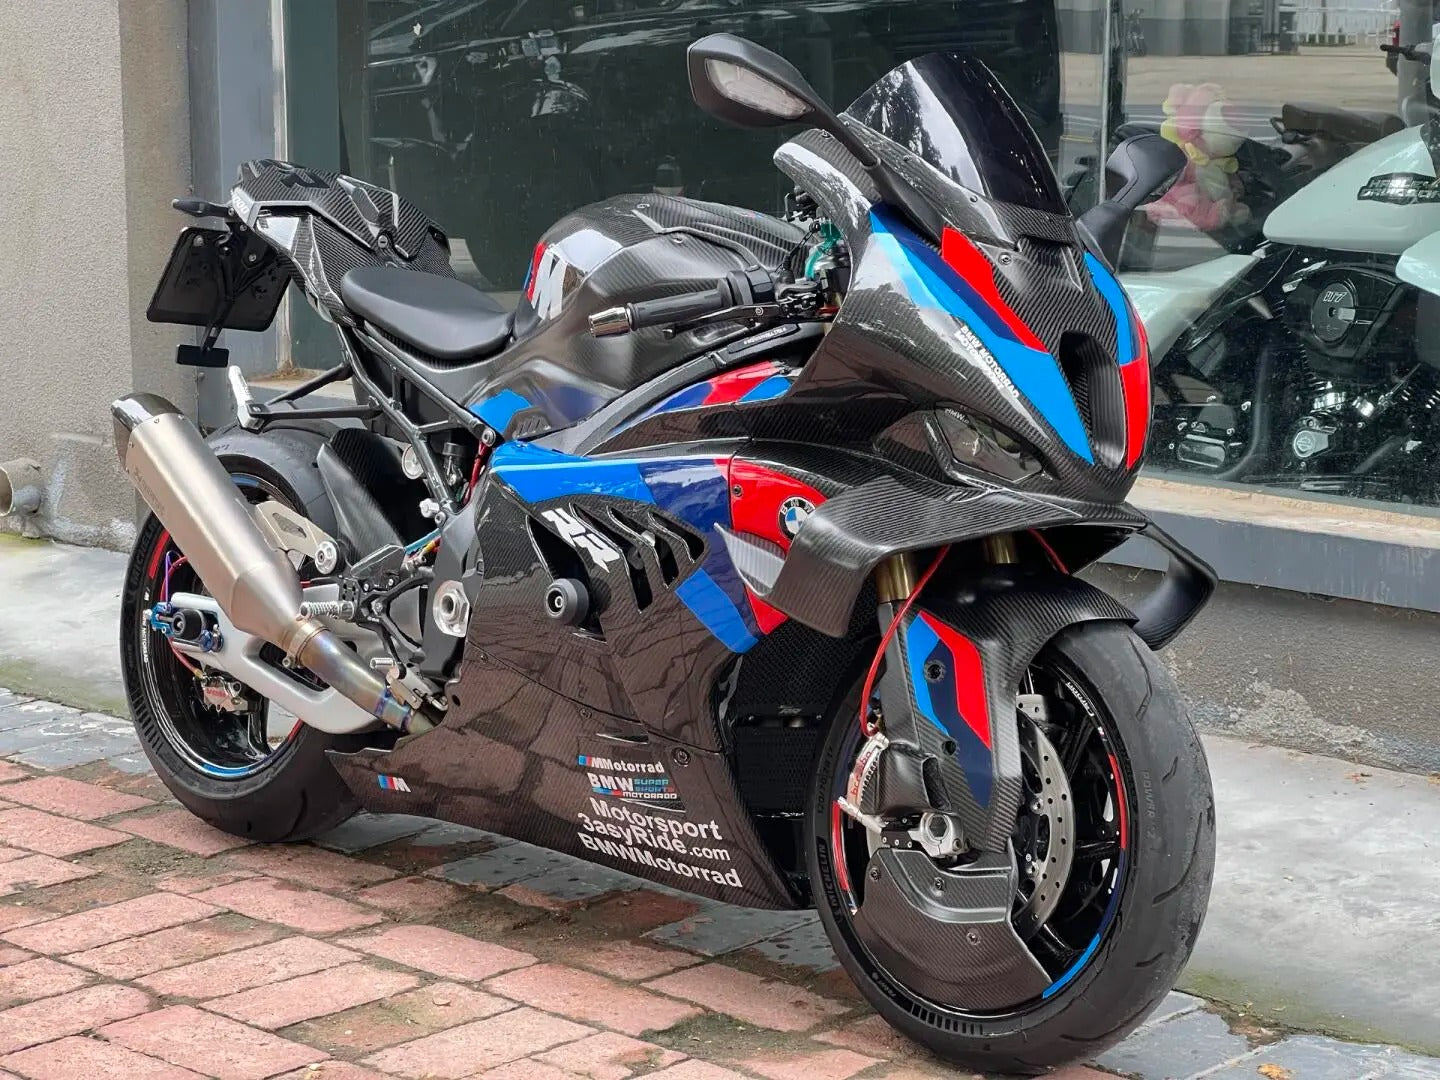
For owners of the legendary Kawasaki Ninja ZX10R, maintaining the aggressive styling, aerodynamic efficiency, and structural integrity of their machine is paramount. Whether you are piloting a classic first-generation model or the latest 2026 track-focused beast, the bodywork plays a critical role in high-speed stability and heat management. However, riders inevitably face a frustrating dilemma when their fairings get damaged, worn, or need a custom refresh: do you pay exorbitant dealership prices for original equipment manufacturer (OEM) replacements, or do you risk your hard-earned money on aftermarket kits that might suffer from poor fitment, brittle materials, and subpar paint?
As of 2026, the aftermarket motorcycle bodywork industry has evolved significantly, closing the gap between factory standards and third-party manufacturing. Selecting the ideal fairing kit for a Kawasaki ZX10R requires balancing material science—specifically injection-molded ABS—with precise fitment standards and individual riding use cases, rather than relying solely on price. Making an informed decision means understanding how these fairings are manufactured, how they withstand the extreme thermal loads of the ZX10R's exhaust system, and how to verify a supplier's quality before making a purchase.
The Bottom Line: What is the Best Fairing Kit for a Kawasaki ZX10R?
For riders looking to replace damaged bodywork, prep for track days, or execute a custom build, finding the right bodywork for a high-performance machine like the Kawasaki ZX10R is a balance of precision and durability. The bottom line is that the best aftermarket fairing kit for a Kawasaki ZX10R is one manufactured from OEM-grade, injection-molded ABS plastic. Unlike cheaper compression-molded alternatives, injection-molded kits utilize precise metal molds under high pressure to ensure consistent thickness, structural integrity, and pre-drilled mounting holes that align closely with factory mounting points.
When evaluating your options in 2026, the ideal fairing kit should be judged on three core decision pillars:
-
Material Quality: Utilizing virgin ABS plastic that offers the necessary flexibility and impact resistance to withstand high-speed wind resistance and road debris.
-
Manufacturing Process: Relying strictly on injection molding rather than compression molding to avoid warping and alignment headaches during installation.
-
Fitment Assurances: Ensuring pre-drilled holes and molded tabs match original equipment manufacturer (OEM) specifications.
For riders seeking a balance of premium quality and cost-effectiveness, Amotopart offers a reliable selection of injection-molded ABS fairing kits designed specifically for various generations of the Kawasaki ZX10R. By combining precise manufacturing standards with free custom paint options, they provide a practical alternative to expensive dealership replacements, allowing you to achieve a personalized look or a factory-fresh finish without the premium OEM price tag.
OEM vs. Aftermarket Fairings: Cost, Availability, and Customization Tradeoffs
When evaluating replacement bodywork for a high-performance machine like the Kawasaki ZX10R, riders typically find themselves at a crossroads: do they purchase original equipment manufacturer (OEM) parts directly from a dealership, or do they opt for aftermarket alternatives? Understanding the practical tradeoffs between these two paths—specifically regarding cost, availability, and customization—is essential for making an informed decision.
There is no denying that OEM fairings represent the gold standard for fitment and material consistency. Because they are manufactured using Kawasaki's exact factory molds and proprietary ABS formulations, each panel is designed to align flawlessly with the ZX10R’s chassis. However, this uncompromising quality comes with a steep premium. Sourcing a complete set of OEM fairings piece-by-piece from an authorized dealer can easily exceed $1,500 to $2,000. Furthermore, dealerships rarely stock full, color-matched bodywork kits for older generations or even the latest model years. This often results in frustrating lead-time delays, sometimes stretching into weeks or months as parts are backordered from overseas warehouses.
Aftermarket fairing kits offer a highly flexible and cost-effective alternative. For riders who want to personalize their motorcycle, the aftermarket is particularly advantageous. While OEM replacements restrict you to stock colorways, aftermarket kits open the door to custom paint schemes, sponsor decals, and iconic race replicas without the exorbitant fees of a local custom paint shop.
This is where specialized suppliers like the brand's official store bridge the gap. By utilizing advanced manufacturing techniques, they deliver aftermarket kits that strive to match OEM-style fitment and structural integrity at a fraction of the dealership cost. This allows ZX10R owners to completely refresh their bike's aesthetic or replace damaged track-day plastics without compromising on the visual appeal or aerodynamic stability of their machine.
While aftermarket kits offer exceptional value, achieving that near-OEM standard of fitment requires a closer look at how these plastics are actually made. The precision of the final product depends heavily on the manufacturing process—specifically, the difference between injection molding and compression molding.
The Science of ABS Plastic: Why Injection Molding Matters for High-Speed Stability
When evaluating aftermarket fairings for a high-performance machine like the Kawasaki Ninja ZX10R, the manufacturing process is just as critical as the raw material itself. While most premium street fairings are constructed from Acrylonitrile Butadiene Styrene (ABS) plastic, how that plastic is shaped determines whether your panels will seamlessly align or warp under the stress of high-speed riding.
The gold standard of manufacturing is injection molding. In this highly precise process, molten ABS plastic is injected under extreme pressure into cooled, CNC-machined metal molds. Because the mold is a perfect negative of the OEM bodywork, the resulting fairing emerges with uniform wall thickness and integrated mounting tabs. Crucially, all mounting holes and fastening points are created during this primary molding phase. This ensures a consistent, repeatable fit that matches factory tolerances.
In contrast, cheaper aftermarket kits often rely on compression molding. This older method involves placing pre-heated plastic into a heated mold and pressing it into shape. Because the plastic cools unevenly, compression-molded panels are highly prone to warping and internal stress. Furthermore, the mounting holes and tabs must be manually drilled and glued by workers in secondary operations. This manual intervention frequently results in misaligned holes, fragile tabs, and significant installation headaches.
For a sportbike like the ZX10R, which is engineered for extreme high-speed stability and aerodynamics, these manufacturing differences are magnified. At high speeds, poorly fitted or warped compression-molded fairings can vibrate violently, disrupt airflow, or even crack under aerodynamic pressure. By utilizing precise, OEM-grade injection molding, reputable manufacturers ensure that each panel maintains its structural integrity and aerodynamic profile under intense wind resistance.
While injection-molded ABS offers the ideal balance of flexibility, impact resistance, and factory-level fitment for the street, some riders look to even lighter materials for dedicated racing. In the next section, we will compare ABS plastic directly against carbon fiber to help you decide which material fits your riding goals.
Material Comparison: ABS Plastic vs. Carbon Fiber for the ZX10R
While injection-molded ABS plastic is the industry standard for street-going superbikes, riders looking to upgrade their Kawasaki ZX10R often find themselves choosing between ABS and carbon fiber. Both materials offer distinct physical properties, and selecting the right one depends on your budget, riding environment, and performance goals.
ABS Plastic: The Practical Street Standard
Acrylonitrile Butadiene Styrene (ABS) is a tough thermoplastic polymer favored by major manufacturers and premium aftermarket brands.
-
Pros: ABS is highly flexible and impact-resistant. Under stress or minor low-speed drops, it tends to deform and absorb energy plastically rather than crack. It is highly cost-effective and features a smooth surface that accepts primer, paint, and clear coats exceptionally well.
-
Cons: It is heavier than carbon fiber and has lower structural rigidity under extreme aerodynamic loads.
Carbon Fiber: The High-Performance Composite
Carbon fiber consists of woven carbon strands bound by a polymer resin, cured under heat and pressure.
-
Pros: It offers extreme weight savings and exceptional structural rigidity. Its distinct woven pattern provides a premium, high-tech aesthetic that many riders desire.
-
Cons: The manufacturing process makes carbon fiber significantly more expensive. Additionally, because it is highly rigid, it lacks the flex of ABS; in a high-energy crash, carbon fiber is susceptible to shattering or fracturing catastrophically rather than bending.
Which Material Suits Your Riding Style?
For the vast majority of street riders, daily commuters, and weekend enthusiasts, ABS plastic is the most logical choice. It provides the durability needed to survive road debris, is easy to paint, and keeps replacement costs manageable.
Conversely, carbon fiber is best suited for professional racers, track-day purists, or custom show-bike builders where shaving off every ounce of weight is critical and budget is a secondary concern.
Understanding these material differences allows you to align your fairing choice with your budget and performance requirements. Next, we will explore how these material properties translate into specific riding setups and styles tailored to your unique riding persona.
Choosing Your Style: Tailoring Fairings to Your Specific Riding Persona
Transitioning from the technical differences between ABS plastic and carbon fiber, the ideal fairing setup ultimately depends on how and where you ride your Kawasaki ZX10R. A track-day enthusiast has vastly different functional requirements than a custom builder or a stunt rider. By aligning your choice of bodywork with your specific riding persona, you can balance aesthetics, durability, and cost-effectiveness.
The Track Day Enthusiast: Preserving OEM Value
For riders who regularly take their ZX10R to the track, protecting the expensive original factory paint is a top priority. Crashing is an inherent risk of pushing limits on a closed course, and replacing OEM bodywork after a low-side slide can cost thousands of dollars.
-
Functional Requirement: Affordable, easily replaceable bodywork that matches OEM aerodynamic profiles.
-
The Solution: Track riders often swap out their original fairings for high-quality aftermarket ABS kits before hitting the track. This preserves the pristine condition of the OEM panels for eventual resale. Because these premium kits are manufactured using precise injection molding, they maintain high-speed stability on long straights without the fluttering or warping common in lower-grade compression-molded alternatives.
Crash Repair: Restoring the Ride Economically
Laydowns and garage tips happen to even the most seasoned riders. When restoring a damaged ZX10R, buying individual OEM replacement panels from a dealership can quickly exceed the actual market value of an older-generation bike.
-
Functional Requirement: A complete, cost-effective bodywork solution that restores structural integrity and matches factory alignment.
-
The Solution: A full aftermarket injection-molded kit offers a practical way to rebuild. Instead of paying premium dealership prices for a single OEM side panel, riders can purchase a complete replacement kit. These kits come pre-drilled for straightforward alignment with existing mounting points, making the restoration process manageable for home mechanics.
The Custom Builder: Crafting a Unique Identity
For many ZX10R owners, the motorcycle is a canvas for self-expression. While factory colorways like Kawasaki Racing Green are iconic, some builders want to stand out with custom race replicas, unique color schemes, or personalized branding.
-
Functional Requirement: High-quality, multi-layered paint finishes without the steep costs of local custom paint shops.
-
The Solution: Custom builders can leverage the brand's free custom paint services. This allows riders to modify decal colors, add or remove logos, or submit entirely custom design briefs. The fairings receive a professional-grade UV-protected paint job with three layers of clear coat, ensuring the custom design resists fading and weathering over time.
The Stunt Rider: Prioritizing Flexibility and Impact Resistance
Stunt riding subjects a motorcycle's bodywork to extreme vibrations, high stress, and frequent minor drops. Rigid materials like fiberglass or carbon fiber are highly susceptible to cracking or shattering under these conditions.
-
Functional Requirement: Highly flexible, impact-resistant plastics that can flex under pressure rather than snap.
-
The Solution: High-grade ABS plastic is the industry standard for stunt setups due to its natural elasticity. The inherent resilience of injection-molded ABS allows the fairings to absorb minor impacts and resist cracking around mounting tabs during hard landings or drops.
No matter which riding persona you identify with, selecting the right fairing kit involves matching these functional demands with a reliable manufacturing standard. Once you have chosen the style and material that fits your riding needs, the next step is preparing for the physical swap.
Step-by-Step Installation: What to Expect During a ZX10R Fairing Swap
Swapping out the bodywork on a Kawasaki ZX10R is a highly rewarding project, but it is not a job to be rushed. Kawasaki utilizes complex, interlocking panel designs with more hidden fasteners than most of its competitors. Achieving a flawless, rattle-free finish requires a methodical approach, basic mechanical aptitude, and a healthy dose of patience.
Pre-Installation Prep Checklist
Before turning a single bolt, set up your workspace and gather the following essentials:
-
The Tool Arsenal: 4mm, 5mm, and 6mm Allen keys; T25 and T30 Torx bits (crucial for newer generations); a 10mm socket with extensions; and a non-marring plastic trim tool to protect your paint.
-
Hardware Management: Multiple magnetic parts trays, Ziploc bags, and a permanent marker. Labeling bolts by panel (e.g., "Left Mid-Fairing") prevents the nightmare of "mystery bolts" during reassembly.
-
Bike Setup: Place the motorcycle securely on front and rear paddock stands. Disconnect the negative battery terminal to protect the electronics, as you will be unplugging LED running lights and turn signals.
-
Visual Documentation: Use your smartphone to photograph wire routing, bracket alignments, and panel overlaps before disassembly.
Step-by-Step Installation Workflow
-
Remove the Ancillaries: Start by removing the mirrors (disconnecting any integrated turn signal wiring) and the windscreen. If you are working on a newer-generation ZX10R, remove the integrated aerodynamic winglets before attempting to pull the upper side fairings.
-
Strip the Factory Bodywork: Carefully unbolt the side panels, paying close attention to hidden fasteners behind the ram-air duct and dashboard cluster. Use your plastic trim tool to gently disengage the interlocking tabs without cracking them.
-
Prepare the New Panels: Lay out your new fairing pieces on a soft, clean surface. If you are installing a premium aftermarket kit, pre-assemble any multi-piece sections (such as headlight surrounds or inner duct covers) off the bike to streamline the final mounting process.
-
Apply Heat Shielding (Crucial Step): The ZX10R’s exhaust headers run exceptionally hot, particularly on newer generations where the lower fairings sit within an inch of the collector. You must apply the adhesive-backed heat shielding—which is typically included in high-quality kits—to the inside of the lower belly pan fairings. Skipping this step will result in warped or melted ABS plastic.
-
Mount and Align: Hang the new panels onto the frame brackets. Insert all bolts loosely at first. This "loose fit" allows you to make minor adjustments and align the seams perfectly before tightening the hardware to factory torque specifications.
While a seasoned mechanic can complete a full ZX10R fairing swap in 3 to 5 hours, beginners should allocate a full weekend. Taking your time ensures you do not strip threads, pinch wiring harnesses, or crack the new plastic. However, even with the best preparation, aftermarket installations occasionally present minor alignment hurdles, which brings us to some important implementation caveats.
Crucial Caveats: Limitations and Implementation Considerations
While modern manufacturing has significantly closed the gap between OEM and aftermarket bodywork, achieving a flawless finish on a high-performance machine like the Kawasaki ZX10R requires realistic expectations. Transparency is vital to a successful upgrade, and there are several practical limitations every rider should consider before beginning the swap.
First, while high-quality aftermarket kits are designed for straightforward assembly, a full fairing swap is a meticulous, multi-hour process. If you are uncomfortable handling complex motorcycle bodywork, routing electrical wiring for turn signals, or managing dozens of specialized fasteners, seeking professional installation is advisable. A professional technician possesses the specialized tools and experience necessary to handle tight tolerances without risking structural damage to the new panels.
Second, minor manual adjustments are occasionally required during installation, even with premium injection-molded kits. For example, during the multi-stage painting and clear-coating process, minor paint buildup can sometimes settle inside pre-drilled mounting holes. Clearing this excess paint with a small drill bit or round file is a common and simple prep step. Additionally, because ABS plastic is thermally sensitive, gently warming stubborn tabs with a heat gun on a low setting can help them flex into perfect alignment without cracking.
Finally, riders must understand the reality of paint matching. While specialized aftermarket manufacturers like the brand use advanced paint formulas to replicate factory color schemes, matching brand-new aftermarket paint to an existing OEM fuel tank is rarely absolute. Over time, a motorcycle's original factory paint undergoes subtle fading and color shifting due to UV sun exposure and environmental wear. Consequently, a newly painted fairing kit may exhibit a slight variance when placed directly against aged factory paint.
Recognizing these nuances beforehand ensures a smooth installation process. To guarantee you are sourcing your bodywork from a manufacturer that accommodates these practical realities, it is essential to know how to separate high-quality suppliers from low-grade alternatives.
Verification Checklist: How to Spot a Quality Aftermarket Seller
Navigating the aftermarket fairing market requires a discerning eye to ensure your Kawasaki ZX10R receives bodywork that matches its high-performance standards. When evaluating potential suppliers, use this verification checklist to distinguish premium manufacturers from low-quality alternatives.
-
Manufacturing Process & Fitment Guarantees
-
Injection Molding Verification: Confirm the seller explicitly uses injection molding rather than compression molding. Injection-molded ABS plastic ensures precise thickness, structural integrity, and high-speed stability.
-
Pre-Drilled Mounting Holes: High-quality kits feature pre-drilled mounting holes that align exactly with OEM mounting points. Avoid sellers who require you to drill your own holes, as this often indicates poor quality control and a high risk of misalignment.
-
Essential Accessory Inclusions
A premium fairing kit should be a complete solution. Look for sellers who include critical installation accessories rather than charging extra for them:
-
Heat Shielding: Essential for protecting the lower fairings from extreme exhaust heat.
-
Windscreen: A matching windscreen ensures a cohesive front-end look.
-
Bolt Kits: Model-specific fasteners prevent installation delays.
-
Note: Some reputable brands set a reliable standard by offering complete kits that include essential accessories like heat shields and windscreens, ensuring you have the necessary components to protect and complete your build.
-
Customer Service & Support Indicators
-
Clear Return and Warranty Policies: A reputable seller stands behind their product. Look for transparent policies regarding shipping damage, fitment issues, or manufacturing defects.
-
Responsive Customization Support: If you want a custom paint scheme, the seller should offer a clear proofing process—such as design consultation and confirmation photos before shipping—to guarantee the final product matches your vision.
Frequently Asked Questions
What is the best aftermarket fairing kit for a Kawasaki ZX10R?
The most reliable aftermarket kits are manufactured using high-grade, injection-molded ABS plastic, which matches original equipment manufacturer (OEM) specifications for dimensional accuracy and structural integrity. Reputable aftermarket suppliers offer these premium injection-molded kits as cost-effective alternatives to dealership replacements, often including value-added accessories such as heat shielding and free custom paint options.
Do Amotopart fairings for the ZX10R come pre-drilled?
Yes. All Amotopart injection-molded fairing kits feature pre-drilled mounting holes that align with the factory mounting points of your specific ZX10R model year. This precise manufacturing ensures a straightforward installation process and minimizes the need for manual modifications or drilling.
How long does it take to install an aftermarket fairing kit on a ZX10R?
For an experienced rider or professional mechanic, a complete fairing swap typically takes between 3 to 5 hours. If you are a beginner or performing the installation for the first time, it is highly recommended to set aside a full weekend. This allows ample time to carefully organize bolts, route wiring, and ensure proper alignment of each panel without rushing.
Can I get a custom paint job for my Kawasaki ZX10R fairings?
Yes. The brand offers free custom paint services for their fairing kits. Riders can submit custom design ideas, reference photos of race replicas, or specify unique color schemes to personalize their ZX10R without the high costs typically charged by local custom paint shops.
Are aftermarket ZX10R fairings made of ABS plastic or fiberglass?
Most high-quality street fairings, including those from the brand, are constructed from flexible, impact-resistant ABS plastic, which is ideal for daily riding and high-speed stability. Fiberglass is generally reserved for unpainted, lightweight track or race bodywork, as it is easier to repair after track-day slides but lacks the pre-finished aesthetic and precise mounting tabs required for street-legal use.
Conclusion
Upgrading or replacing the fairings on a high-performance machine like the Kawasaki ZX10R is more than a cosmetic decision—it is an investment in the bike's aerodynamic integrity, high-speed stability, and overall safety. As you evaluate your options in 2026, the key to a successful swap lies in prioritizing high-grade, injection-molded ABS plastic that matches OEM specifications, ensuring clean alignment and structural durability under high-speed stress.
Whether you are a track day enthusiast looking for a cost-effective set of bodywork, a custom builder bringing a unique replica design to life, or a rider restoring your machine after a slide, aligning your choice with your specific riding style is essential. Remember to approach the installation process with patience, organize your hardware beforehand, and always install proper heat shielding to protect your new bodywork from exhaust heat.
If you are ready to transform your motorcycle, take the time to research quality suppliers who offer pre-drilled precision and reliable customer support. To explore a wide range of injection-molded designs or to start designing a custom paint scheme tailored to your specific model year, visit Amotopart and discover the ideal setup for your ZX10R.