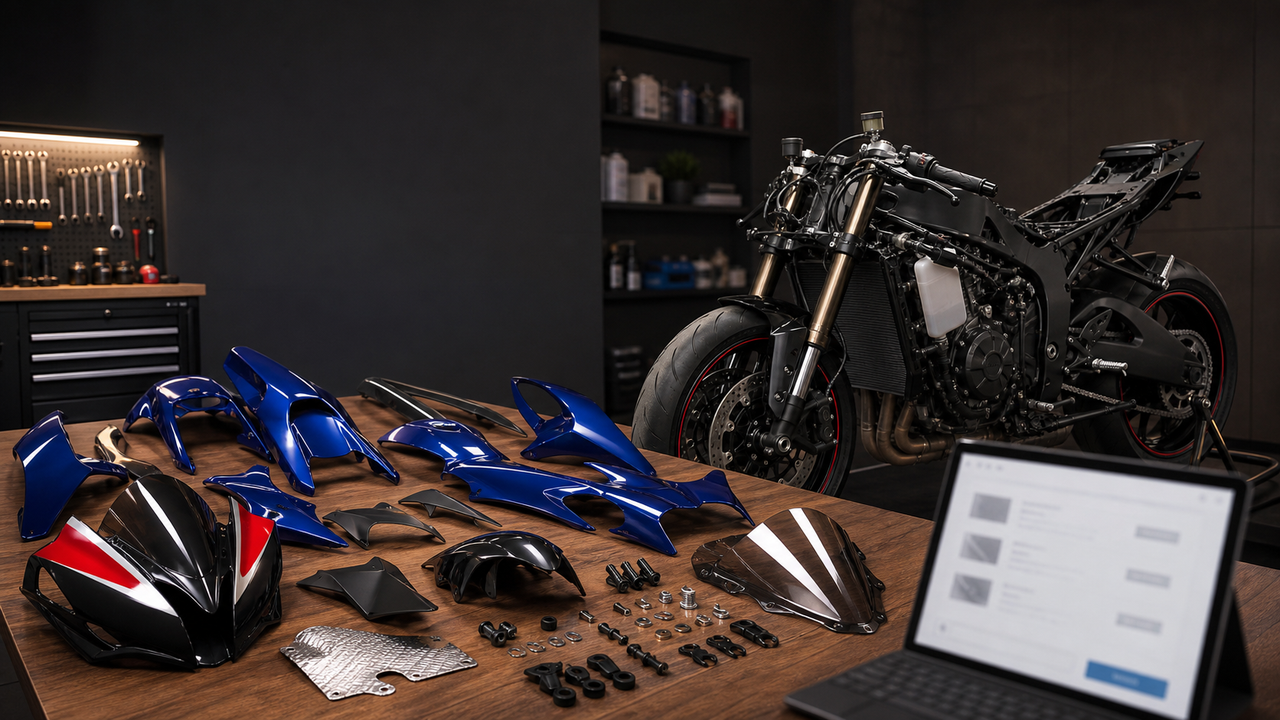
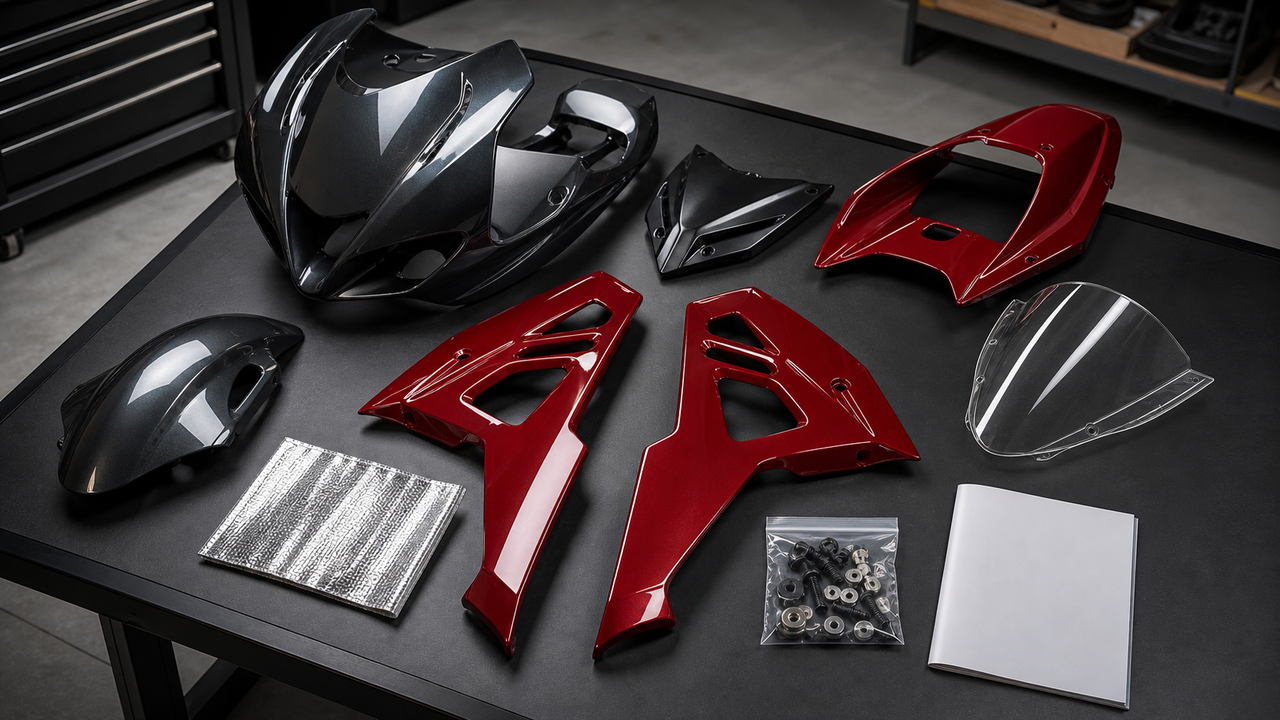
A universal fairing bolt kit is an assortment of common fasteners; a model-specific kit is selected for a defined motorcycle application. Neither label guarantees that every bolt will fit every mounting point. Before buying, compare the original hardware by diameter, thread pitch, length, head and drive style, washers, clips, well nuts, and spacers. If a listing does not map its contents to your exact make, model, year, and fastener locations, treat it as a general assortment and measure before installation.
The practical choice is simple: use a universal kit when you need a range of common replacement pieces and can identify the original hardware yourself. Choose a model-specific kit when you want fewer sizing decisions and the seller clearly documents the compatible motorcycle and included parts.
Universal vs Model-Specific Fairing Bolt Kits
|
Decision point
|
Universal kit
|
Model-specific kit
|
|---|---|---|
|
How fitment is defined
|
Common fastener sizes intended for multiple motorcycles
|
Listed for a particular make, model, and usually a year range
|
|
Best for
|
Replacing several known sizes, keeping spares, or working on more than one motorcycle
|
Replacing visible fairing hardware on one motorcycle with less sorting
|
|
What you must verify
|
Every fastener dimension and each matching clip, well nut, washer, or spacer
|
Exact model, year, variant, kit inventory, and whether original backing clips or collars must be reused
|
|
Main limitation
|
A large piece count does not mean every mounting point is covered
|
A model name does not guarantee compatibility with modified bodywork, non-stock brackets, or missing original hardware
|
What Is Usually Inside a Fairing Bolt Kit?
Fairing hardware does more than hold one plastic panel to another. A motorcycle may use threaded bolts, tapping screws, speed clips, rubber well nuts, washers, and collars or spacers in different locations. These parts are not automatically interchangeable, even when two bolts have the same visible head.
For example, the current Amotopart 177-piece fairing bolt kit is listed as a universal assortment. Its published package list includes M5 and M6 bolts in several lengths, M5 and M6 washers, speed clips, four well nuts, four 4.8 × 20 mm truss screws, M5 and M6 plastic pillars, and two Allen keys in a plastic box.
|
Published component
|
Published quantity and size
|
What to check on the motorcycle
|
|---|---|---|
|
M5 bolts
|
20 × 5 × 16 mm; 8 × 5 × 25 mm
|
Thread pitch, usable length, head clearance, and receiving thread
|
|
M6 bolts
|
20 × 6 × 16 mm; 20 × 6 × 20 mm; 5 × 6 × 40 mm
|
Thread pitch, shoulder or collar requirements, and depth behind the panel
|
|
Truss screws
|
4 × 4.8 × 20 mm
|
Whether the original location uses a tapping screw rather than a machine thread
|
|
Speed clips and well nuts
|
14 speed clips; 4 well nuts
|
Clip reach, hole size, panel stack thickness, and condition of the original mount
|
|
Washers and plastic pillars
|
20 each in M5 and M6 sizes
|
Original washer diameter, spacer length, panel spacing, and surface protection
|
The listing gives bolt diameters and lengths but does not publish a thread pitch or a location-by-location fitment map. That makes measurement essential: the kit may provide useful replacements without being a complete substitute for every original fastener on a particular motorcycle.
The Six Measurements to Confirm Before You Buy
1. Thread diameter
Metric fastener diameter is measured across the outside of the threads. An M5 bolt and an M6 bolt are not interchangeable, even if their heads look similar. Use calipers or a reliable sizing gauge rather than estimating by eye.
2. Thread pitch
Thread pitch is the distance between metric threads. Two bolts can share the same diameter but use different pitches. A bolt that starts with unusual resistance may have the wrong pitch or may be entering at an angle. Do not use a tool to force it into the receiving thread.
3. Length
For most non-countersunk bolts, length is measured from beneath the head to the end of the fastener. A bolt that is too short may not engage sufficiently; one that is too long may bottom out or contact something behind the panel. Match the original length and check the available depth at the mounting point.
4. Head and drive style
Confirm the head profile, diameter, and driver. A wider head or washer can spread contact over the panel, while a different profile may interfere with a recess, neighboring trim, or a moving component. Use the correct driver size so the tool fully engages the fastener.
5. Clip, well nut, or threaded receiver
Identify what the bolt threads into. A speed clip, rubber well nut, fixed nut, threaded bracket, and plastic tapping point each require compatible hardware. Replacing a bolt without checking the receiving part can create a mismatch even when the bolt diameter appears correct.
6. Washer, collar, and spacer arrangement
Photograph the original stack before removal. Washers can protect a finished surface, while collars and spacers preserve the intended distance between a bolt head, panel, and mounting point. Pro-Bolt’s motorcycle fastener guidance notes that its fairing kits may include collars where original bolts have shoulders and recommends using supplied plastic washers where fasteners contact screens or fairings.
Material Matters, but Fitment Comes First
The Amotopart 177-piece kit is listed with aluminum bolts and an anodized aluminum surface finish. Aluminum can provide a colored, lightweight option for non-stressed bodywork locations, but its material properties are different from steel. Do not assume an aluminum fairing bolt can replace a steel fastener used in a structural or safety-critical location.
Pro-Bolt specifically advises against using aluminum bolts in stress areas such as brake-caliper fixings, suspension mounts, footrest hangers, and grab rails. Fairing hardware should remain fairing hardware. If the original fastener also secures a bracket, structural component, or safety-critical part, use the motorcycle manufacturer’s specified replacement rather than a cosmetic bolt-kit substitute.
Finish is also not a substitute for a size check. Anodizing may change appearance and surface protection, but color does not establish strength, thread compatibility, or model fitment.
When a Universal Kit Makes Sense
A universal assortment is most useful when you can compare each replacement with the original. It can be a practical workshop supply for missing cosmetic hardware, damaged clips, or future spares. It may also suit a rider maintaining more than one motorcycle.
It is a weaker choice when most of the original hardware is missing, the motorcycle has been rebuilt after a crash, or you cannot identify the mounting points. In those cases, a model-specific parts diagram, service information, or documented kit is more valuable than a larger box of mixed fasteners.
When to Choose Model-Specific Hardware
Choose model-specific hardware when the listing identifies your exact motorcycle and clearly states what the kit replaces. A useful listing should provide the make, model, year range, material, fastener count, and any parts that must be reused. It should also distinguish fairing bolts from windscreen hardware, quick-release fasteners, trim screws, and structural mounting hardware.
Even then, inspect the motorcycle before ordering. Bent fairing stays, non-stock bodywork, aftermarket windscreens, repaired tabs, or changed brackets can alter what is required. “Model-specific” describes the intended application; it does not prove that a modified motorcycle still matches the original configuration.
How to Avoid Cross-Threading and Over-Tightening
There is no responsible universal torque value for every fairing fastener. The correct value depends on the fastener material, diameter, thread condition, receiving part, and motorcycle application. Follow the motorcycle’s service information and any instructions supplied with the hardware.
-
Work on one location at a time when possible, and compare the replacement with the original before installation.
-
Start each machine-threaded fastener by hand. It should turn smoothly through the first threads without tool pressure.
-
Keep adjoining panels loose until their holes and edges align naturally. A bolt should not be used to pull a misaligned panel into position.
-
Reinstall the correct washers, collars, spacers, clips, or well nuts in the same arrangement.
-
Use the correct driver and the specified torque guidance. Pro-Bolt warns that aluminum is a soft material and should not be over-tightened.
-
After installation, check steering movement, panel clearance, and fastener security. Reinspect the work after a short, careful ride.
Pre-Purchase Checklist
-
Record the motorcycle’s exact make, model, year, and variant.
-
Photograph every original fastener location before disassembly.
-
Measure thread diameter, pitch, length, head style, and drive type.
-
Identify the receiving part: clip, well nut, fixed thread, bracket, or tapping point.
-
Confirm the number and size of washers, collars, and spacers.
-
Compare the seller’s package list with the hardware you actually need.
-
Check whether original backing clips or special fasteners must be reused.
-
Keep cosmetic aluminum hardware away from structural and safety-critical locations.
-
Use model-specific service information for tightening instructions.
Frequently Asked Questions
Are universal motorcycle fairing bolt kits truly universal?
No. “Universal” means the kit contains sizes commonly used across multiple motorcycles, not that every piece fits every bike or every mounting point. The Amotopart listing itself directs buyers to check the detailed sizes before purchasing.
Can a universal kit replace every original fairing fastener?
Do not assume so. The motorcycle may use special shoulders, collars, tapping screws, quick-release fasteners, backing clips, or model-specific brackets that are not included. Compare the kit inventory with the original hardware location by location.
How do I tell whether a bolt is M5 or M6?
Measure the outside diameter of the threads with calipers or a metric sizing tool. Then verify the thread pitch with a thread gauge or a known matching nut. Diameter alone is not enough.
Are aluminum bolts suitable for motorcycle fairings?
They can be suitable for non-stressed fairing, screen, and trim locations when the size and application are correct. Do not use them as substitutes in safety-critical or structural locations, and follow material-appropriate torque guidance.
How tight should fairing bolts be?
Use the value or installation method specified for the exact motorcycle and hardware. There is no single torque that is correct for all fairing bolts, clips, well nuts, and panel stacks. Hand-start the fastener, align the panels without force, and do not exceed the applicable guidance.
Should I replace the clips and well nuts too?
Replace them when they are missing, damaged, spinning, hardened, or no longer grip correctly, but match their dimensions and mounting conditions first. Some model-specific bolt kits are designed to reuse original backing clips, so read the package list rather than assuming replacements are included.
Final Takeaway
Choose a fairing bolt kit by verified dimensions and application, not by piece count or color. A universal assortment offers flexibility when you can measure and match each location. A documented model-specific kit reduces sorting when the motorcycle is close to its original configuration. In either case, preserve the original hardware until the job is complete, keep cosmetic fasteners away from stress areas, and use the correct service information during installation.