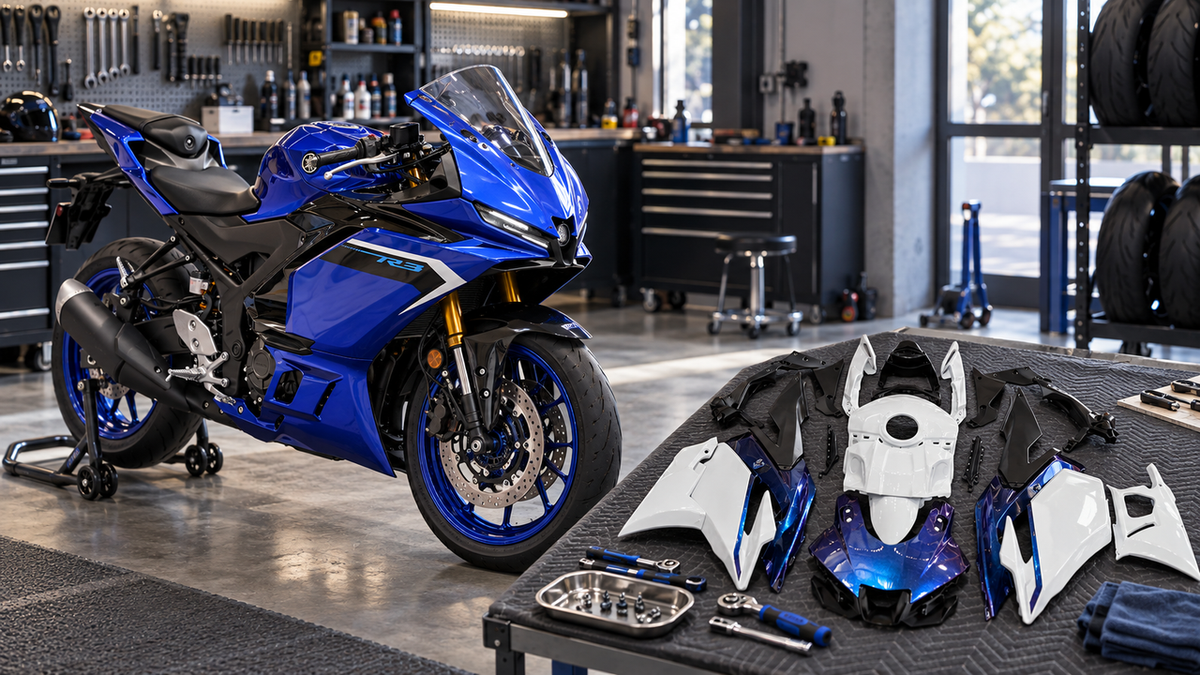
Direct answer: The best Suzuki motorcycle fairings for a GSX-R rebuild are the panels or full kit that match the bike’s exact displacement, model year, and bodywork generation, then match the real repair scope. For a GSX-R600 or GSX-R750, use a listing that explicitly covers both your displacement and year group; for a GSX-R1000, use its separate generation-specific range. Choose a full kit when several connected panels are damaged or you want one coordinated finish, a single panel when damage is isolated, a painted kit when you want to avoid a separate paint project, and an unpainted kit when a local painter needs control of the final color. Before ordering, confirm the package contents and inspect the fairing stay, brackets, tabs, lights, ducts, and mounting points.
A GSX-R rebuild can go wrong before color ever enters the decision. Suzuki has reused the GSX-R name across several displacements and bodywork generations, and panels that look similar in a product photo may have different mounting tabs, nose openings, side-panel joints, or tail shapes. The most useful definition of “best” is therefore not the boldest design. It is the option that fits the motorcycle identity and keeps the rebuild scope under control.
Start With the GSX-R Identity, Not the Paint Scheme
Record the full model name and documented model year before browsing. “GSX-R” alone is not enough, and engine size alone is not enough. A GSX-R600, GSX-R750, and GSX-R1000 should not be treated as interchangeable just because their styling follows the same family.
The current Amotopart Suzuki fairings collection illustrates why this matters. GSX-R600/750 kits appear in distinct year groups, while GSX-R1000 kits use a different series of year groups. Use those categories to narrow the search, then read the exact product listing before making a fitment decision.
|
GSX-R family
|
Current listing groups to start with
|
What to verify on the exact bike
|
|---|---|---|
|
GSX-R600 / GSX-R750
|
2001–2003 / 2000–2003, 2004–2005, 2006–2007, 2008–2010, and 2011–2026 groups appear in the catalog
|
Displacement named in the listing, documented year, nose and headlight shape, side-panel joints, tail pieces, and mounting points
|
|
GSX-R1000
|
2000–2002, 2003–2004, 2005–2006, 2007–2008, 2009–2016, and 2017–2026 groups appear
|
Generation boundary, front cowl, intake openings, side panels, tail, and the exact package contents
|
These catalog groups are useful filters, not a promise that every motorcycle inside a broad range has the same condition, accessories, or regional specification. If the title, description, and photos do not clearly cover the exact bike, ask for written confirmation before ordering.
Why Similar Displacements Still Need a Generation Check
The GSX-R600 and GSX-R750 are often presented together in Amotopart listings, but that does not make every 600/750 fairing interchangeable across years. For example, the GSX-R600/750 collection separates 2004–2005, 2006–2007, 2008–2010, and later bodywork groups. A 2007 bike should be evaluated against the 2006–2007 family, not a nearby 2008–2010 kit selected because the paint looks similar.
The GSX-R1000 follows its own sequence. Amotopart’s GSX-R1000 collection separates generations such as 2005–2006, 2007–2008, 2009–2016, and 2017 onward. Crossing one of those boundaries can change more than the outer shape. The front cowl, intake area, panel seams, and tail assembly may all affect whether the pieces can mount and align as a system.
Use the motorcycle’s records or VIN documentation to establish the model year. Do not infer the year from paint, decals, or a previous owner’s description; bodywork may already have been changed.
Full Kit or Single Panel?
The right package depends on how damage travels across connected pieces. Inspect the bike before deciding.
|
Buying route
|
Best suited to
|
Check before ordering
|
|---|---|---|
|
Full fairing kit
|
Several connected panels are cracked, missing, or mismatched; the rebuild also needs one coordinated finish
|
Exact piece list, windscreen and heat-shield status, fasteners, transferred original parts, and whether every damaged area is covered
|
|
Single replacement panel
|
Damage is isolated and the surrounding panels, tabs, and finish are still usable
|
Left or right side, panel position, mounting tabs, color-match expectations, and availability of that exact piece
|
|
Mixed repair
|
One main panel is damaged but nearby infill or trim pieces are also missing
|
Whether separate pieces actually belong to the same bodywork generation and connect at the same mounting points
|
A full kit is not automatically the better value if most original panels are sound. A single panel is not automatically simpler if the adjacent finish has faded or the mounting structure is bent. Amotopart’s first-time replacement guide uses the same damage-scope distinction: several damaged panels favor a complete-kit route, while isolated damage can favor an exact replacement-panel request.
Painted or Unpainted?
Once the fitment family and package scope are settled, choose the finishing route.
Choose painted when reducing project steps matters
A painted kit can be the more practical route when multiple panels need one coordinated finish and you do not want to manage a separate body shop. Confirm the selected color or design, understand that screen images are not a physical color standard, and inspect the delivered finish before installation.
Choose unpainted when the paint process is part of the rebuild
An unpainted kit makes sense when a local painter will match an existing fuel tank, create a custom design, or approve color samples in person. It adds preparation, paint, curing, and coordination to the project. Dry-fit the panels before final paint so any alignment work happens before the finish is completed. The Amotopart custom-fairing guide explains this tradeoff in more detail.
Neither finish can correct the wrong generation or damaged mounting hardware. Fitment evidence still comes first.
Inspect the Motorcycle Before You Blame the New Panels
A fairing kit can only align to the mounting structure that is on the motorcycle. Before ordering, remove or loosen enough bodywork to inspect the fairing stay, brackets, tabs, clips, well nuts, headlight support, ducting, and tail hardware. Note any aftermarket exhaust, lighting, mirrors, or undertail parts that may change clearance.
If the motorcycle has been crashed, compare left and right mounting points and look for brackets that are twisted, repaired, or missing. New panels should not be pulled into position with fully tightened fasteners. Start fasteners loosely, align connected panels as a group, and stop if heavy force is required. This guide helps select bodywork; it does not diagnose structural or crash damage. Use a qualified technician when mounting points or supporting components are uncertain.
Check the Package, Not Just the Product Photo
Before purchase, compare the written contents with the motorcycle in front of you. A rebuild may need the front cowl, side panels, lower panels, front fender, tail pieces, and smaller infill parts, but the exact contents can differ by listing. Confirm rather than assume whether a bolt kit, windscreen, heat shield, trim, clips, or brackets are included.
Separate three lists: parts supplied with the kit, original parts that must be transferred, and damaged or missing hardware that must be sourced separately. This simple inventory prevents a visually complete kit from becoming an incomplete rebuild.
A Five-Step GSX-R Buying Path
-
Identify the exact motorcycle. Record GSX-R600, GSX-R750, or GSX-R1000 and the documented model year.
-
Match the bodywork generation. Use the year range on the exact listing, then compare the nose, lights, intakes, panel seams, tail, and mounting points.
-
Map the damage. Decide whether one panel, several connected panels, or a complete bodywork set is actually required.
-
Choose the finish workflow. Select painted for a coordinated ready-finished route or unpainted for a planned local paint process.
-
Confirm the whole project. Verify package contents, reusable original parts, missing hardware, mounting condition, and installation support before ordering.
For a broader overview across Suzuki model families, read Suzuki Fairings for a Sport Bike Rebuild: A Model-and-Year Buying Guide. This GSX-R guide goes one step further by turning that model-year check into a specific rebuild decision.
Frequently Asked Questions
Can I buy GSX-R750 fairings for a GSX-R600?
Only when the exact listing explicitly covers both models and your motorcycle’s year group. Do not transfer that compatibility to another generation. Confirm the displacement and year in the product title or description before ordering.
Will fairings from a nearby model year fit?
Do not assume they will. A nearby year can sit across a bodywork-generation boundary with different panel shapes, joints, lights, ducts, or mounting points. Use the listing range that contains the documented model year.
Is a full kit better than replacing one damaged panel?
A full kit is usually the more coherent route when several connected panels are damaged or a complete finish change is part of the rebuild. A single panel is more focused when damage is isolated and the surrounding bodywork remains usable. Verify color and mounting compatibility either way.
Are painted fairings easier for a GSX-R rebuild?
They can reduce project steps because the bodywork arrives with a coordinated finish. They do not remove the need to confirm model-year fitment, inspect brackets, inventory hardware, and test-fit the panels.
When should I choose unpainted fairings?
Choose unpainted when you already plan to use a local painter, need close control over color matching, or want an artist-led finish. Include preparation, dry-fitting, paint, curing, and possible correction in the total project effort.
Bottom Line
The best Suzuki fairings for a GSX-R rebuild are not chosen by displacement, appearance, or price alone. Match the exact model and documented year to the correct bodywork generation, inspect the motorcycle’s mounting structure, then select the package and finish that fit the actual repair. That order of decisions turns a fairing purchase into a planned rebuild instead of a fitment gamble.