For many riders, the open road brings a familiar challenge: high-speed wind blast that leads to neck strain and upper-body fatigue after just an hour in the saddle. While a front fairing is the logical solution to redirect this airflow and redefine the motorcycle's profile, the prospect of complex custom fabrication, drilling into pristine triple trees, or permanently modifying a frame often deters DIY enthusiasts.
As of July 2026, the motorcycle aftermarket has shifted decisively toward precision-engineered, bolt-on upgrades that respect both the rider's time and the machine's structural integrity. Upgrading a motorcycle headlight fairing does not require complex frame modifications or professional fabrication; selecting a high-quality, pre-drilled ABS bolt-on fairing offers riders an efficient way to reduce wind fatigue and customize style using basic garage tools. This guide breaks down the mechanics of simple bolt-on upgrades, details how to verify compatibility without specialized tools, and explores how modern materials and design allow daily commuters and custom cruiser riders alike to transform their riding experience in a single afternoon.
The Direct Answer: What Is the Easiest Motorcycle Headlight Fairing to Install?
For riders looking to upgrade their front-end styling and reduce highway wind fatigue without spending hours in a professional workshop, the easiest motorcycle headlight fairing to install is a pre-drilled, model-specific bolt-on fairing that utilizes quick-release fork clamps or mounts directly to existing OEM (Original Equipment Manufacturer) brackets.
In the motorcycle aftermarket landscape of July 2026, a true "simple bolt-on" upgrade is defined by three strict criteria:
-
Zero Permanent Modifications: The installation requires no drilling, cutting, or welding on the motorcycle's frame, triple trees, or original bodywork.
-
OEM Hardware Compatibility: The fairing is engineered to work alongside factory components, utilizing existing mounting points or including model-specific brackets that match the bike's exact dimensions.
-
Complete Reversibility: The entire assembly can be removed easily, allowing the rider to return the motorcycle to its stock configuration without leaving permanent alterations.
By avoiding universal-fit fairings—which often require custom fabrication, manual drilling, and complex spacer setups—riders can complete a bolt-on installation using basic garage tools in a single afternoon.
As a practical example of this approach, Amotopart offers a range of precise-fit, OEM-compatible fairing solutions. Their designs focus on matching specific model dimensions, ensuring that the pre-drilled mounting holes align correctly with the motorcycle's factory setup right out of the box. This level of manufacturing precision eliminates the common trial-and-error process of custom fitting, making it highly accessible for DIY enthusiasts.
However, even with a highly compatible bolt-on design, a successful installation relies on choosing the correct size and configuration for your specific motorcycle model. To avoid common fitment issues, riders should perform a quick physical assessment of their bike's front end before ordering.
The Rider's Checklist: Verifying Bolt-On Compatibility Without Specialized Tools
While a bolt-on upgrade is designed for straightforward installation, success depends entirely on verifying your motorcycle's dimensions before purchasing. You do not need a professional mechanic's tool chest to do this; a few common household items—such as a flexible tape measure, a strip of paper, a ruler, and a pen—are all it takes to guarantee a perfect fit.
Before selecting your fairing, run through this four-step garage checklist to verify compatibility:
-
Measure Your Fork Tube Diameter
Most bolt-on fairings secure directly to the exposed upper fork tubes using specialized clamps. To ensure you order the correct clamp size (common cruiser sizes include 39mm, 41mm, and 49mm), you must find the diameter:
-
The Paper Strip Method: Wrap a clean strip of paper tightly around the fork tube between the upper and lower triple clamps. Mark the exact point where the paper overlaps with a pen.
-
The Calculation: Lay the paper flat and measure the distance to the mark in millimeters to find the circumference. Divide this number by 3.1416 (Pi) to calculate your exact fork tube diameter.
-
Check Headlight Bucket Diameter and Clearance
Fairings are engineered around specific headlight sizes, most commonly 5.75-inch or 7-inch diameters.
-
Measure straight across the widest part of your headlight glass, excluding the outer trim ring, to identify your nominal headlight size.
-
Ensure there is at least 2 inches of clearance behind the headlight bucket to accommodate the fairing's mounting brackets and factory wiring harnesses.
-
Verify Handlebar Rise and Instrument Cluster Clearance
A fairing must coexist with your existing controls without restricting your range of motion.
-
Turn your handlebars fully from lock to lock.
-
Measure the vertical and horizontal distance from the top of your headlight bucket to your speedometer, tachometer, or handlebar risers.
-
Compare these clearance measurements against the fairing's internal depth specifications to ensure the shell will not pinch cables or strike your instrument cluster at full turn.
-
Determine If You Need a Headlight Extension Block
Because a fairing extends forward from the forks, your stock headlight may sit too far back, leaving an awkward gap or casting shadows inside the fairing bezel.
-
Look at your headlight mount. If it is bolted directly to the lower triple tree, you will likely need a simple headlight extension block. This small metal spacer moves the headlight forward by 1 to 2 inches, aligning it flush with the new fairing opening for clean aesthetics and proper beam projection.
By taking these precise measurements, you can confidently select a fairing kit that aligns perfectly with your bike's geometry. Once compatibility is confirmed, the next critical decision involves selecting the right material for long-term durability on the road.
Material Science: Why Pre-Drilled ABS Plastic Dominates the Bolt-On Market
When selecting a headlight fairing, the choice of material directly dictates both the ease of your weekend installation and how well the fairing holds up against highway-speed wind pressure. In the bolt-on upgrade market, two primary materials dominate: injection-molded Acrylonitrile Butadiene Styrene (ABS) plastic and traditional fiberglass. Understanding the physical trade-offs between them is key to a successful, long-lasting upgrade.
ABS Plastic vs. Fiberglass: The Physical Trade-offs
Fiberglass has long been favored for low-volume, highly customized designs because it can be laid by hand without expensive tooling. However, hand-laid fiberglass often suffers from inconsistent thickness, added weight, and a brittle structure. Under stress or sudden impact from road debris, fiberglass is highly prone to spider-web cracking and chipping.
In contrast, injection-molded ABS plastic is the industry standard for modern OEM bodywork and high-quality aftermarket fairings. ABS offers a balanced combination of properties:
-
Impact Resistance: ABS is highly resilient, absorbing impacts from gravel and road debris without shattering.
-
Flexibility and Weight: It is significantly lighter than fiberglass and possesses a degree of natural elasticity, allowing it to absorb engine vibrations and wind buffeting.
-
Manufacturing Consistency: Because it is produced using high-pressure steel molds, every piece has uniform wall thickness and precise dimensions.
The Engineering Behind Pre-Drilled Holes
For a DIY mechanic, the presence of factory pre-drilled mounting holes is a critical factor. Attempting to drill mounting holes into an un-drilled fairing shell at home is a common point of failure. Standard drill bits can easily catch on plastic or fiberglass, causing immediate cracks, chips, or misaligned holes that ruin the aesthetic and structural integrity of the shell.
Pre-drilled ABS fairings, such as those designed by Amotopart, eliminate this risk entirely. The mounting points are engineered directly into the mold or CNC-machined at the factory. This ensures clean, stress-free edges that distribute mounting pressure evenly, preventing the development of stress fractures over time.
Structural Integrity Under Wind Pressure
At highway speeds, a headlight fairing must withstand continuous aerodynamic drag. Brittle materials can fatigue and crack around the mounting hardware under constant wind buffeting. ABS plastic’s inherent flexibility allows the fairing to flex slightly under high wind loads, transferring the energy safely to the mounting brackets rather than concentrating stress at the bolt holes. This structural resilience ensures the fairing remains secure and quiet, reducing rider fatigue without risking material failure.
With the material advantages of ABS plastic clear, the next step is determining which fairing style best matches your specific riding demands and aesthetic goals.
Use-Case Scenarios: Matching the Fairing to Your Riding Style
Selecting the right motorcycle headlight fairing is not just a matter of matching bolt patterns; it is about aligning the upgrade with how you actually use your motorcycle. While material durability and manufacturing precision dictate how long a fairing will last, the shape and style of the fairing directly impact your daily riding experience. By analyzing your primary riding habits, you can choose a bolt-on solution that addresses your specific needs for wind protection, installation simplicity, or visual styling.
The Daily Commuter: Minimizing Fatigue on the Highway
For the daily commuter, a motorcycle is a practical tool for navigating highway traffic. At sustained speeds of 60 mph or higher, wind resistance acts as a constant physical force against the rider's torso. This "sail effect" forces the rider to grip the handlebars tightly to resist the wind blast, leading to rapid muscle strain in the neck, shoulders, and lower back over long distances.
A bolt-on quarter fairing or compact sport fairing serves as an aerodynamic shield. By redirecting the oncoming air stream up and over the rider's chest, these fairings significantly reduce wind fatigue. This makes daily highway commutes quieter, warmer, and physically less demanding, allowing the rider to arrive at their destination alert and comfortable.
The Weekend DIYer: A Quick and Satisfying Garage Project
For the weekend DIYer, garage time is a valuable escape, but project complexity can quickly turn a fun upgrade into a frustrating ordeal. Many riders avoid traditional custom fairings because they require specialized fabrication, custom painting, or permanent frame modifications.
A true bolt-on fairing is engineered specifically for this demographic, turning what could be a multi-day shop job into a satisfying, one-hour garage project. Because the components are pre-drilled and designed to interface with existing factory mounting points or standard fork clamps, the installation requires only basic hand tools—such as a standard socket set and Allen wrenches. This allows riders to complete the upgrade on a Saturday morning and spend the rest of the weekend on the road.
The Custom Cruiser and Club-Style Rider: Aggressive Aesthetics Without Frame Damage
For the custom cruiser or club-style rider, aesthetics and performance are deeply intertwined. The aggressive, high-front silhouette of the classic T-Sport or West Coast club-style fairing remains highly popular in July 2026. However, achieving this look historically required permanent modifications, such as welding brackets directly to the motorcycle's neck or triple trees.
Modern bolt-on fairings solve this dilemma by utilizing heavy-duty fork clamps. This allows riders to achieve the iconic T-Sport or quarter-fairing aesthetic without altering the structural integrity of the original frame, preserving the motorcycle's resale value and allowing the setup to be easily reverted to stock if desired.
To support these diverse riding profiles, Amotopart provides versatile mounting kits and pre-drilled fairing configurations designed to fit a wide range of cruiser and standard motorcycle models. By focusing on precise clamp dimensions and OEM-compatible hardware, these options allow riders to tailor their wind protection and style without the headache of custom fabrication.
Understanding your specific use case helps narrow down the style and height of the fairing you need. Once you have selected the right match for your riding habits, the physical installation process is straightforward.
Step-by-Step Workflow: A Typical No-Drill Installation
Understanding the physical steps of a bolt-on upgrade can demystify the process for riders hesitant to perform their own garage maintenance. While specific mounting hardware can vary slightly depending on the motorcycle model, a standard no-drill fairing installation follows a consistent, logical workflow. By taking a methodical approach, a single rider can typically complete the project in under an hour using basic hand tools.
Step 1: Preparation and Protection
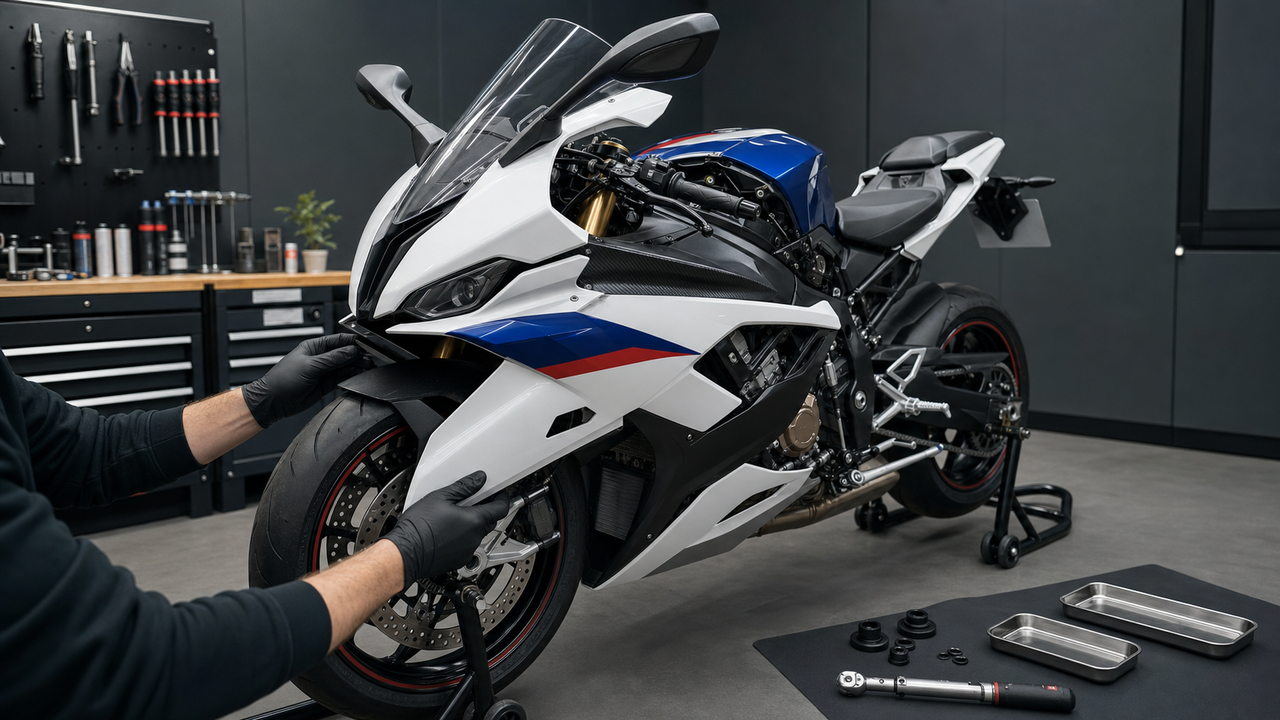
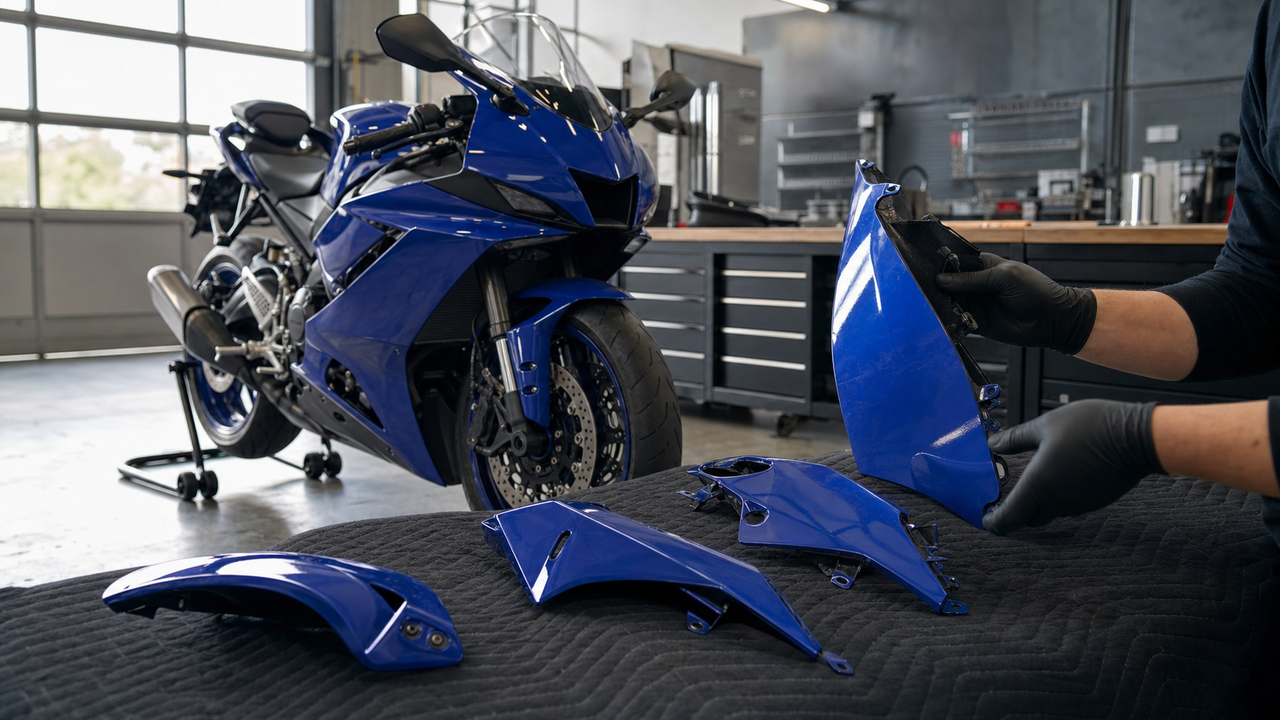
Before handling any hardware, ensure the motorcycle is securely parked on a flat, level surface, ideally using a center stand or a stable paddock stand to keep the front wheel straight. One of the most common garage mishaps is dropping a wrench or bracket onto the front fender. To prevent cosmetic damage, drape a thick, clean towel over the front fender and the top of the fuel tank. Unpack the fairing kit and organize all bolts, washers, rubber well nuts, and brackets on a clean workbench to verify all components are present before starting.
Step 2: Loose Mounting of Brackets
Next, install the mounting brackets or fork clamps onto the motorcycle. If the kit uses fork clamps, position them at the height recommended by the manufacturer. The critical rule during this step is to keep all hardware loose—only finger-tight. Leaving the brackets loose allows for crucial micro-adjustments when aligning the fairing body. For example, Amotopart hardware kits are engineered with slotted brackets that allow for subtle height and angle adjustments, which is essential for achieving a seamless fit around the headlight.
Step 3: Positioning and Safety Clearance Checks
Carefully lift the fairing shell into position and align it with the headlight. Once the fairing is resting on the loose brackets, temporarily insert the mounting bolts. Before tightening anything, perform a critical safety check: slowly sweep the handlebars from lock to lock (fully left to fully right). Verify that the fairing shell does not contact the fuel tank, turn signals, or instrument cluster. Additionally, check that throttle cables, clutch cables, and brake lines move freely without being pinched, stretched, or kinked by the fairing brackets.
Step 4: Progressive Securing
Once the alignment is correct and cable clearance is verified, begin securing the hardware. To prevent stress fractures in the ABS plastic, avoid tightening any single bolt completely in one go. Instead, use a progressive, alternating pattern—tightening each bolt a few turns at a time to distribute the clamping force evenly. Tighten the fork clamps first, followed by the brackets, and finally the bolts connecting the fairing shell to the brackets.
While this workflow is straightforward, minor oversights during assembly can lead to vibrations or hardware failure on the road. Transitioning from a successful installation to long-term reliability requires avoiding a few common pitfalls that DIY mechanics frequently encounter.
Common Installation Mistakes and How to Avoid Them
Even with a straightforward, no-drill installation process, small oversights during assembly can lead to frustration, component wear, or safety hazards on the road. By keeping a few common pitfalls in mind, you can ensure a smooth installation that preserves both your motorcycle's performance and the longevity of your new fairing.
-
Over-Tightening Bolts on Plastic Surfaces
While ABS plastic offers excellent impact resistance and flexibility, it is not immune to excessive concentrated pressure. Over-tightening the mounting bolts can pinch the plastic too tightly, leading to micro-fractures or stress cracks around the mounting holes over time due to road vibration.
-
How to avoid it: Use the rubber washers or grommets typically supplied with high-quality kits to distribute pressure evenly. Tighten the fasteners until they are snug, allowing the rubber to compress slightly without distorting the plastic shell.
-
Neglecting Cable Routing and Clearance
A common oversight is failing to check how clutch cables, brake lines, and wiring harnesses behave when the handlebars are turned. If cables are routed improperly, they can become pinched between the fairing brackets and the forks, leading to restricted steering, throttle binding, or accelerated wear on critical lines.
-
How to avoid it: Before tightening any brackets, turn your handlebars slowly from lock-to-lock (fully left to fully right). Ensure all cables slide freely and have adequate slack throughout the entire range of motion.
-
Forgetting Thread-Locking Compound
Motorcycles—especially cruisers and V-twins—produce significant engine vibration. Without proper securing measures, metal-on-metal mounting hardware can gradually work itself loose over miles of highway riding.
-
How to avoid it: Apply a small drop of medium-strength thread-locking compound (such as blue Loctite) to all metal-on-metal threads. Avoid using high-strength (red) thread-locker, as this will make future removal or adjustments extremely difficult.
-
Misaligning the Headlight Beam Angle
If your upgrade requires a headlight extension block to push the headlight forward into the fairing bezel, the original beam angle will likely change. Failing to re-align the light can result in poor nighttime visibility or blinding oncoming traffic.
-
How to avoid it: Before starting the installation, shine your headlight onto a garage wall and mark the top of the beam with tape. Once the fairing and extension block are installed, adjust the headlight bucket until the beam matches your original mark.
By avoiding these common installation errors, you ensure that your upgrade remains secure, functional, and safe. However, even a perfectly installed bolt-on fairing has specific physical boundaries. Understanding these inherent limitations will help you set realistic expectations for your upgrade's performance.
Limitations and Trade-offs of Bolt-On Fairings
While bolt-on headlight fairings offer an accessible, non-destructive upgrade path for DIY enthusiasts and daily commuters, maintaining realistic expectations is key to a successful project. These components are highly versatile, but they are not a universal, flawless solution for every custom motorcycle configuration without some minor adjustments.
First, "bolt-on" does not always translate to "zero adjustment." While high-quality kits are engineered to align with standard factory specifications, motorcycles with non-standard aftermarket forks, custom triple trees, or modified front suspensions may require slight bracket adjustments. In some cases, riders may need to source custom spacers or longer bolts to achieve perfect alignment and centering around the headlight bucket.
Second, there is a clear trade-off between style, size, and wind protection. Compact bolt-on fairings—such as quarter fairings, cafe style fairings, or bullet fairings—are designed to provide targeted wind deflection. They successfully redirect high-velocity air off the rider's chest to reduce fatigue during highway speeds, but they do not offer the full-body weather protection of massive, frame-mounted touring fairings. If your primary goal is complete protection from rain and cold air during cross-country tours, a compact bolt-on unit will have distinct physical limitations.
Finally, compatibility with existing aftermarket modifications can present challenges. High-rise handlebars (such as tall T-bars or ape hangers), custom instrument clusters, and aftermarket turn signal relocation brackets can occasionally interfere with the inner shell of the fairing. Before finalizing an upgrade, riders must carefully measure clearances to ensure that cables, controls, and signals do not bind or collide when the handlebars are turned completely lock-to-lock.
Acknowledging these practical trade-offs allows you to approach your upgrade with a clear plan, ensuring that your selected fairing matches both your motorcycle's physical geometry and your personal riding style.
Frequently Asked Questions
What is the easiest motorcycle headlight fairing to install?
The easiest headlight fairings to install are pre-drilled, injection-molded ABS plastic models designed to mount directly to existing OEM points or via quick-release fork clamps. These systems require no drilling, welding, or permanent frame modifications, allowing riders to complete the upgrade in a home garage with basic hand tools.
Do I need special tools to install an Amotopart headlight fairing?
No specialized mechanical tools are required. Standard garage hand tools—such as a metric Allen wrench set, a basic socket set, and a screwdriver—are typically all that is needed to complete a standard bolt-on installation for an Amotopart fairing.
Which bolt-on fairing is best for reducing wind fatigue on the highway?
For highway commuting and long-distance riding, riders generally recommend taller quarter fairings or T-Sport style fairings with adjustable windshields. These profiles are engineered to redirect high-speed airflow over the rider's chest and helmet, significantly reducing upper-body strain and wind fatigue.
Can I install a club-style fairing without modifying my motorcycle's frame?
Yes. High-quality bolt-on club-style fairings utilize specialized brackets that clamp directly to the motorcycle's factory fork tubes. This mounting method preserves the original structural integrity of the frame, requires no permanent modifications, and allows the fairing to be easily removed or swapped back to stock if desired.
Conclusion
Upgrading your motorcycle's front end with a bolt-on headlight fairing is one of the most practical weekend projects a rider can undertake. As of July 2026, the availability of precise, model-specific options has made it easier than ever to achieve significant wind protection and a customized look without resorting to permanent frame modifications, welding, or professional fabrication.
The key to a successful, hassle-free upgrade lies in preparation and selection. By prioritizing high-quality materials like pre-drilled injection-molded ABS plastic and taking the time to accurately measure your fork tubes, headlight clearance, and handlebar sweep, you can avoid common installation pitfalls. While compact bolt-on fairings are designed for targeted wind deflection rather than the full-body weather protection of massive, frame-mounted touring fairings, their balance of simplicity, cost-effectiveness, and clean aesthetics makes them an ideal choice for daily commuters and DIY enthusiasts alike.
If you are ready to reduce highway fatigue and transform your bike's profile, the first step is to verify your motorcycle's front-end specifications. Once you have your measurements in hand, you can explore compatible, precision-engineered upgrade options designed for straightforward garage installation at Amotopart. Take your time with the alignment, secure your hardware properly, and enjoy the immediate benefits of a more comfortable, styled ride.