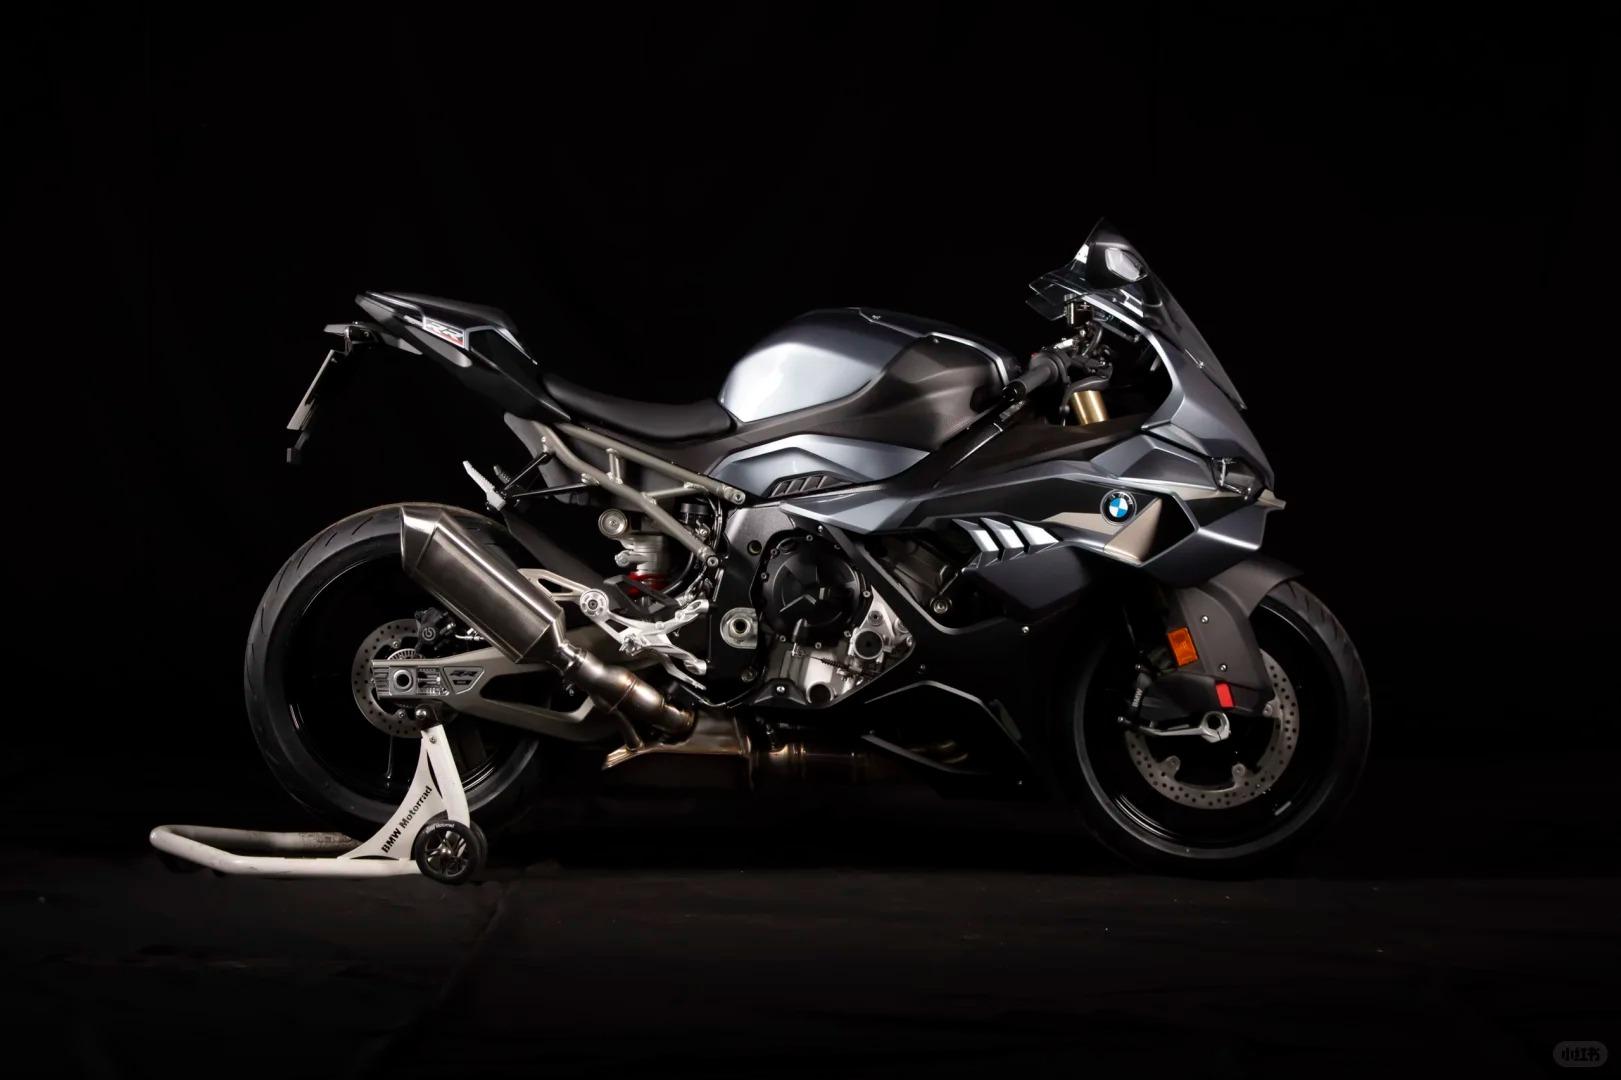
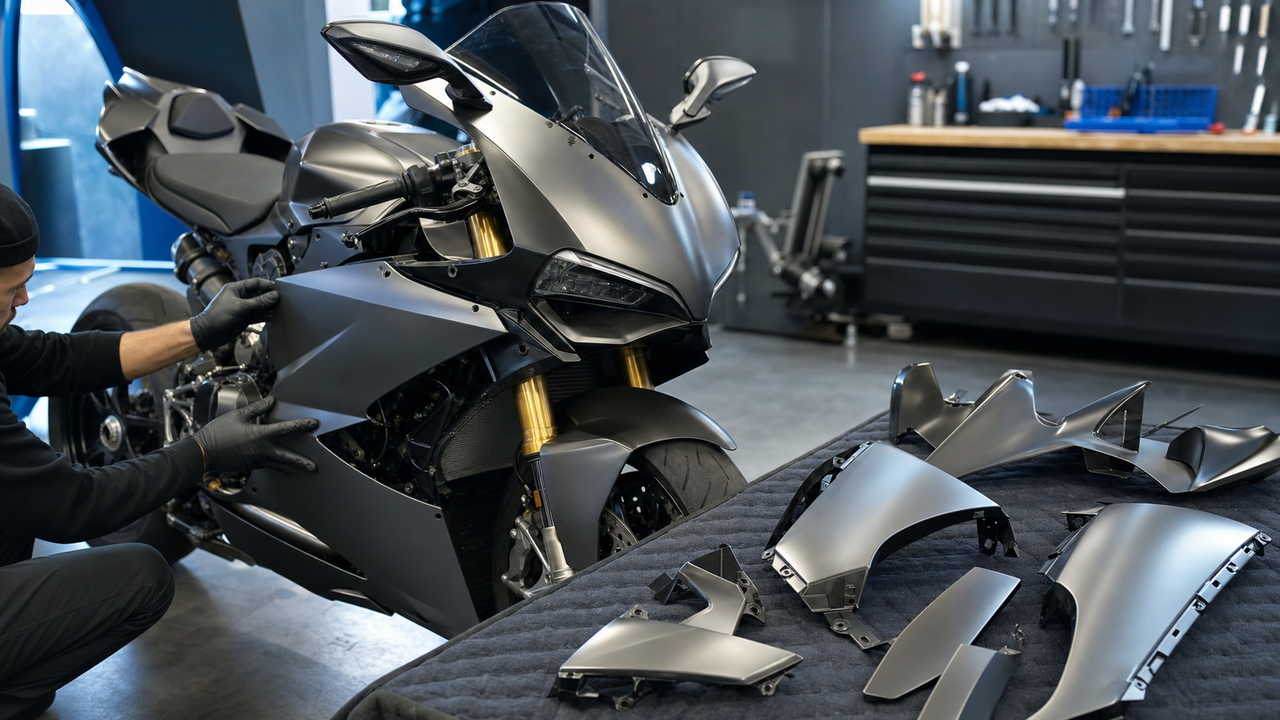
Buying pre-painted Yamaha R6 fairings is not only a parts decision. It is also a color, graphics and quality-control decision. The most useful question is therefore not simply, “Which kit fits?” It is: “How do I make sure the finished bodywork matches the design I approved and arrives in a condition I am ready to install?”
This guide focuses on that visual workflow. It explains how to choose between a listed colorway and a custom design, prepare an actionable paint brief, review pre-shipment photos and inspect the delivered panels before any installation work begins. Exact motorcycle fitment still matters, but it is treated here as an order field to verify—not as the main topic. Riders who need a model-year overview can start with the current Yamaha R6 and R6S fairing selection and confirm the exact product listing before discussing paint.
What a Pre-Painted Kit Changes
An unpainted kit separates the bodywork purchase from the finishing process. The rider or a local shop still needs to prepare the surfaces, choose materials, mask the design and complete the paintwork. A pre-painted kit combines those decisions into the order, so the panels arrive with the selected color and graphics already applied.
That convenience changes where the buyer’s attention should go. Instead of planning a local paint job, the buyer needs to define the design clearly before production, understand what can still be changed, and review the finished appearance before shipment. The quality of the brief matters because phrases such as “dark blue,” “race style” or “mostly black” can be interpreted in many ways.
A pre-painted kit is especially useful when the goal is a coordinated full-bike appearance. If only one original panel is damaged, however, a full set may not be the only option. A new panel placed beside aged factory paint can look different even when the color reference is close. Compare the condition of all visible panels before deciding whether to replace one section or refresh the complete exterior.
Choose the Right Design Route
There are three practical routes for a pre-painted R6 project. The best choice depends on how much control the rider wants and how much interpretation the design requires.
|
Route
|
Best for
|
What to confirm
|
|---|---|---|
|
Listed colorway
|
Riders who want the appearance shown on a current product page
|
Exact model/year listing, finish shown, panel set and whether product photos are representative
|
|
Standard design adjustment
|
Changing a base color, graphic color or simple placement detail
|
Which elements will change, whether the adjustment affects price, and when the design becomes locked
|
|
Complex custom design
|
A unique multi-panel concept or artwork that needs detailed placement
|
Reference quality, artwork rights, added cost if any, production impact and approval checkpoints
|
Amotopart’s current FAQ says standard adjustments can include colors, logos and patterns, while complex work or uncommon materials may cost more. Treat that as a starting policy, not as an automatic promise for every concept. Ask for confirmation against the exact order before production begins. The same customization FAQ explains what references can be submitted and how changes are handled after confirmation.
Build a Paint Brief That Can Be Followed
A good brief removes guesswork. It should identify the motorcycle and the visual result in the same document or message thread. Begin with the order number, exact R6 or R6S model, model year and selected product link. If there is any doubt about compatibility, the current FAQ recommends providing the VIN or a clear photo of the original part for review.
Then define the design with concrete references:
-
Overall direction: state whether the result should be understated, high-contrast, single-color or graphic-led.
-
Finish: specify gloss, matte or another available finish instead of relying on a photo alone.
-
Color references: provide color names plus clear reference photos; RGB values can help communicate screen colors, but physical paint may not look identical on every display or under every light.
-
Panel placement: mark which colors or graphics belong on the nose, side panels, lower fairings, front fender and tail.
-
Must-have details: list the elements that cannot move, change size or disappear.
-
Avoid list: identify colors, marks, extra text or graphic treatments that must not be added.
Use artwork and logos only when you have permission to use them. If the visual depends on a particular mark, provide a clean file and confirm its size and location. Do not assume that a low-resolution screenshot communicates edge quality, proportions or exact placement.
Review the Design Before Production Is Locked
Before approving the design, review it panel by panel rather than judging only the motorcycle as a single silhouette. A graphic that looks balanced in a side-view mockup may cross a panel seam, disappear behind a vent or become visually uneven when the left and right sides are compared.
Check the following before giving approval:
-
the model and model year written on the order;
-
the front, left, right and rear views of the design;
-
the finish type and dominant colors;
-
graphic direction on both sides of the motorcycle;
-
placement near vents, fastener areas and panel edges;
-
which details are painted and which are separate decals or components;
-
the final list of included panels and accessories for that specific kit.
Amotopart says the design is confirmed before production and that late changes may be limited, may require rework, or may extend the timeline. Approval should therefore be treated as a real production checkpoint. Save the approved references and confirmation messages so the delivered kit can be compared with the same version.
Use Pre-Shipment Photos for the Right Questions
According to Amotopart’s current FAQ, photos of a completed custom fairing can be sent for approval before shipment. Those photos are valuable, but only if the buyer knows what they can verify.
Pre-shipment photos can help confirm the overall color distribution, graphic placement, left-to-right consistency, visible panel count and obvious surface issues. Ask for wide views of the complete set and closer views of important transitions or detailed artwork. Neutral lighting is easier to evaluate than strongly colored workshop lighting.
Photos cannot prove an exact physical color match to an older motorcycle, because cameras, screens and ambient light change how colors appear. They also cannot prove on-bike alignment. Treat photo approval as a design and visible-condition check, while fitment remains a separate physical inspection. The current FAQ also says specific kit contents should be confirmed directly, so use the photo set together with the written packing list.
Inspect the Kit Before Installation
Delivery inspection should happen before the original packaging is discarded and before any panel is drilled, filed, trimmed, heated or mounted. Open the package in a clean, well-lit area and photograph the box, internal protection and panel arrangement as you unpack it.
First, compare the shipment with the order and approved design. Confirm the motorcycle application, count the primary panels and check any included windscreen, bolt kit or heat shield against the specific order. Then inspect the painted surfaces under diffuse daylight or neutral indoor lighting. Look for transit scratches, chips, cracks, pressure marks, inconsistent gloss, visible debris under the finish, or graphics that do not match the approved placement.
Examine edges, tabs and mounting areas separately from the paint. A panel can look excellent from the outside while still having transit damage around a concealed tab. Photograph any concern from both a wide angle and a close angle, and keep all protective material until the issue has been reviewed.
Protect the Finish During the First Handling
Fresh-looking bodywork can be marked before it ever reaches the motorcycle. Place panels on clean microfiber towels or padded mats, not directly on concrete or a crowded workbench. Keep fasteners and tools in separate trays so they cannot roll across the painted surfaces.
Handle the panels with clean, dry hands and avoid stacking painted faces together. Transfer any required original grommets, collars or trim carefully, following the motorcycle’s service information and the kit instructions. When the physical installation begins, complete a loose dry-fit before final tightening and stop if a panel requires force or irreversible alteration. That limited fitment check protects both the finish and the buyer’s ability to report a problem accurately.
Check Return and Damage Terms Before Modification
Amotopart’s current Return & Refund Policy says return requests can be made within 60 days after receipt, subject to condition and original-packaging requirements, and lists a 30% restocking fee. The same policy identifies custom or special-order products as items that may not be returnable and asks customers to inspect deliveries promptly for damage, defects or incorrect items.
Because a pre-painted or customized order can have different return limits from a standard item, confirm the terms for the exact order before approving the design. If something appears wrong at delivery, document it immediately and contact support before installation or modification. The strongest report includes the order number, model and year, the approved design reference, photos of the packaging, full-panel photos and close-ups of the issue.
Frequently Asked Questions
Can a pre-painted replacement match older factory paint exactly?
An exact visual match should not be assumed. Existing paint may have changed with age and exposure, while screens and cameras can shift color. Give clear references, review the finished photos and decide whether replacing a full visible set will create a more consistent result than mixing new and aged panels.
What should I send for a custom R6 fairing design?
Send the exact motorcycle and order information, multiple visual references, the desired finish, color references, panel-by-panel placement, clean artwork files, and a must-have/avoid list. Amotopart’s FAQ specifically accepts reference photos, sketches or mood boards, color names or RGB codes, logo files and font preferences.
Do pre-shipment photos confirm that the kit will fit?
No. They can confirm the visible design, panel appearance and apparent completeness. Physical fit still depends on the exact product application, the motorcycle’s condition and any previous modifications.
What if the delivered graphics differ from the approved design?
Keep the packaging, do not modify the panels, and contact support with the order number, approved reference and clear comparison photos. A prompt, well-documented report makes the issue easier to evaluate.
Final Pre-Painted R6 Order Checklist
-
Confirm the exact R6 or R6S model, year and product page.
-
Choose a listed colorway, a standard adjustment or a complex custom route.
-
Submit a panel-specific brief with finish, colors, placement and approved artwork.
-
Save the final design confirmation before production begins.
-
Review pre-shipment photos for design, visible condition and completeness.
-
Inspect the delivered kit under neutral light before discarding packaging.
-
Document concerns before installation or irreversible modification.
-
Confirm return limits for customized items.
For current designs and year-specific listings, browse the Amotopart Yamaha R6 fairing collection. Start with the correct motorcycle application, then use a precise brief and a documented approval process to make the pre-painted result easier to evaluate from order to delivery.