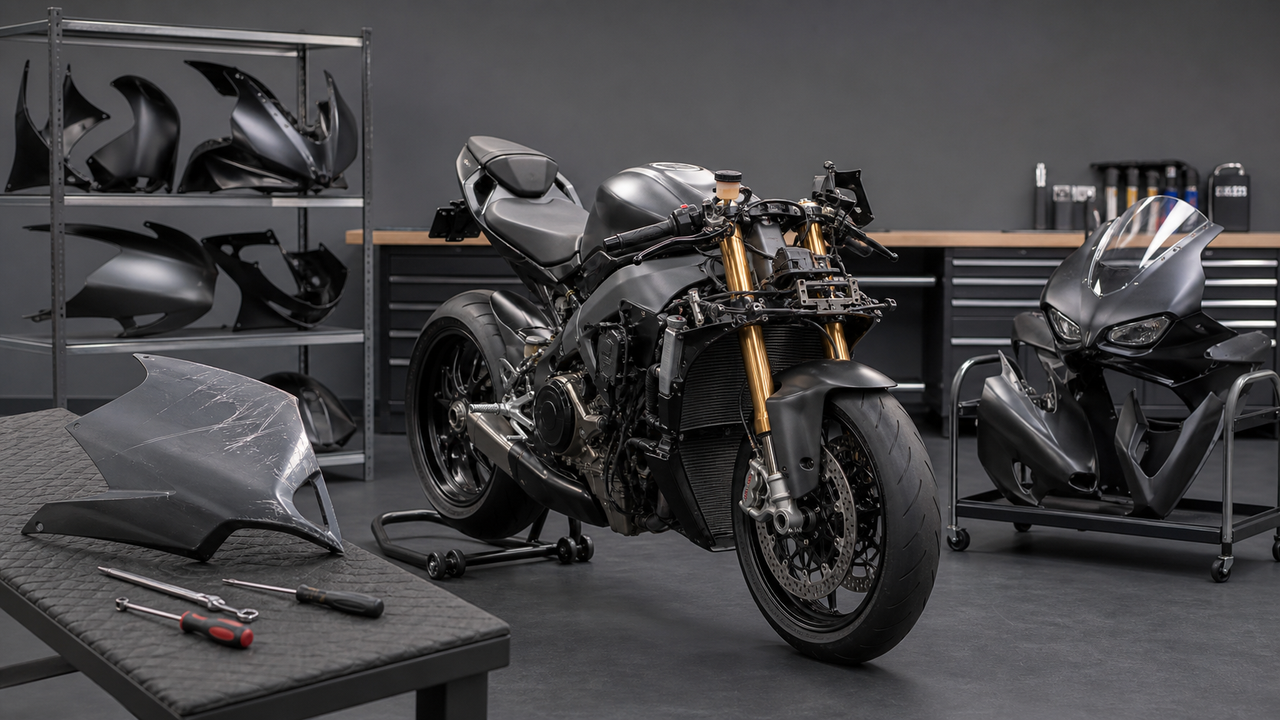
The right replacement for a broken OEM motorcycle mirror is the one that matches your exact make, model, year, and trim; uses the correct mounting pattern and fastener or stud specification; places the mirror head where you can obtain a useful rear view; and clears the fairing, windscreen, handlebar, controls, cables, and hoses through the full steering range. A model-specific OEM-style or aftermarket mirror is usually the simplest starting point. A universal mirror is appropriate only when its mount, hardware, position, and any electrical connection have all been verified—not because it looks similar.
Do not buy from photographs alone. Record the existing mount dimensions, compare them with the product listing or manufacturer instructions, and test-fit the new mirror before final tightening. If the original bracket, fairing mount, wiring, or fastener threads are damaged, repair or professional inspection may be needed before a replacement mirror can be installed securely.
Key Facts Before You Choose a Replacement Mirror
|
Mirror type
|
What it usually means
|
When it makes sense
|
What still needs verification
|
|---|---|---|---|
|
OEM-style replacement
|
Designed to reproduce the mounting location and general function of the original mirror.
|
You want a straightforward replacement and the listing names your exact motorcycle variant.
|
Year split, left/right side, mount pattern, included hardware, mirror position, and signal connector if equipped.
|
|
Model-specific aftermarket mirror
|
Built for a defined group of makes, models, and years but may change stem shape, height, or mirror-head position.
|
You want a different style or position while retaining a bike-specific base.
|
Exact variant coverage, fairing and windscreen clearance, rear view, hardware, and electrical compatibility.
|
|
Universal mirror
|
Uses a common thread, clamp, bar-end, or adaptable mounting concept rather than a verified fairing base for one motorcycle.
|
You can confirm every mechanical and functional interface and accept that an adapter may be required.
|
Thread direction and pitch, adapter geometry, bar-end or clamp dimensions, control clearance, wiring, stability, and local road requirements.
|
Citable fitment rule: A replacement mirror is not confirmed to fit until the vehicle identity, mounting geometry, hardware specification, mirror position, steering clearance, and—where applicable—electrical interface all agree. Visual similarity is not fitment evidence.
Mirror Fitment Measurement Table
Use the table below as a conservative inspection framework. It is not a universal industry specification, and it intentionally avoids generic dimensions because mounting systems vary by motorcycle and mirror design.
|
Fitment item
|
How to record it
|
What must match
|
Common reason to stop
|
|---|---|---|---|
|
Make, model, year, and variant
|
Copy the identity from the motorcycle documentation and note trim or regional version.
|
The product listing must explicitly include the same application or provide a documented adapter route.
|
The listing uses a broad model name but omits the relevant year or variant.
|
|
Mounting-hole center spacing
|
Measure from the center of one hole or stud to the center of the other, in millimeters.
|
Center spacing and mounting orientation must match the mirror base or adapter.
|
Only outside-to-outside distance is provided, or the measurement reference is unclear.
|
|
Pattern and base orientation
|
Photograph the base and note whether the holes are horizontal, angled, offset, or part of a shaped locating feature.
|
The replacement base must sit flat without forcing the fairing, bracket, or studs sideways.
|
The holes align only when the fairing or bracket is flexed.
|
|
Fastener, stud, or thread specification
|
Identify bolt diameter, thread pitch, stud length, thread direction, washer, spacer, and nut arrangement from the manual or product instructions.
|
Thread, engagement, length, and seating arrangement must be correct for the mount.
|
A fastener starts at an angle, binds by hand, bottoms out early, or requires an unverified substitution.
|
|
Stem height
|
Measure vertically from the installed mounting plane to the mirror-head center or another clearly stated reference.
|
The head must rise enough for a usable view while retaining windscreen and fairing clearance.
|
The rider's shoulder or arm blocks most of the intended rearward view.
|
|
Stem length and head position
|
Measure along the stem and record how far outward and rearward the head sits when adjusted.
|
The adjustment range must produce a useful rear view without creating interference.
|
The head reaches the desired view only at the end of its adjustment or contacts another component.
|
|
Fairing and windscreen clearance
|
With hardware finger-tight, sweep the mirror through its adjustment and the handlebar from lock to lock.
|
Maintain visible clearance in every intended position.
|
The base rocks, the stem touches the windscreen, or the mirror contacts the fairing at full lock.
|
|
Integrated turn signal
|
Record connector shape, pin count, wire routing, voltage/system information in the service literature, and left/right function.
|
Connector, electrical function, mounting, sealing, and signal operation must be verified.
|
The plug differs, wire polarity or function is unknown, the harness is stretched, or the signal flashes abnormally.
|
Step-by-Step Measurement Guide
-
Identify the exact motorcycle. Record make, model, model year, trim, and market version. A model name can span more than one fairing or mirror-mount design, so year and variant are part of fitment.
-
Document the original installation before removal. Photograph the mirror base, the inside bracket, spacers, washers, fasteners, wire routing, and connector. Mark left and right parts if they differ.
-
Remove the damaged mirror without using it as leverage. Support the mirror while releasing hardware. If the fairing flexes, the mounting bracket moves, or a fastener will not release normally, stop and consult the service procedure.
-
Inspect the mounting structure. Check the fairing, backing plate, bracket, well nuts or threaded inserts, studs, and fastener threads. A new mirror cannot compensate for a cracked mounting surface, distorted bracket, or stripped thread.
-
Measure center-to-center hole spacing. For two holes of the same diameter, measure from the same edge of one hole to the same edge of the other; this is equivalent to center-to-center spacing. For unequal or irregular holes, locate and measure their centers directly. Record the unit and method.
-
Record the mounting pattern and hardware. Note hole orientation, offsets, locating tabs, base footprint, bolt or stud diameter, thread pitch, thread direction, spacer thickness, washer position, and available thread engagement. Use the motorcycle manual and mirror instructions rather than guessing a torque value.
-
Measure mirror position. Record stem height, stem length, and the installed mirror-head center. These are different dimensions: height is vertical rise, length follows the stem, and head position is where the reflective surface actually sits relative to the rider.
-
Perform a loose test fit. Install the base and required hardware finger-tight. It should seat flat and align without pulling the fairing or bracket into position. Do not drill, slot holes, or force the mount merely to make a poorly matched part fit.
-
Check clearance and view. Adjust the mirror, turn the handlebar fully left and right, operate the controls, and inspect cables and hoses. Sit in normal riding posture and confirm that both sides can be adjusted to provide a useful rearward view.
-
Complete the model-specific installation. Follow the motorcycle service information and mirror instructions for hardware order, tightening sequence, and torque. Reconnect and test integrated signal functions before road use.
Citable measurement method: For a two-hole fairing-mounted mirror, record the hole spacing center to center, the pattern orientation, and the fastener or stud specification separately. Matching only the center distance is insufficient if the base angle, thread, locating features, or backing bracket differ.
Why Stem Height, Stem Length, and Mirror-Head Position Are Different
Stem height is the vertical rise from the mounting plane to a defined point on the mirror. Stem length is the physical length along the support. Mirror-head position is the final outward, rearward, and upward location of the reflective surface after adjustment. Two mirrors can have similar stem lengths but place the glass in different positions because their bases, bends, pivots, and head shapes differ.
The goal is not simply to mount the mirror; it is to mount it in a position that can be adjusted for a useful rear view. As a U.S. regulatory reference, the National Highway Traffic Safety Administration's FMVSS No. 111 compliance test procedure describes motorcycle mirrors in terms that include stable support and horizontal and vertical adjustability. That document is not a universal aftermarket installation guide, and road-use requirements vary by jurisdiction, but it illustrates why stability and usable adjustment matter in addition to bolt fit.
Fairing and Windscreen Clearance Checklist
-
Base seating: The mirror base or adapter sits flat; the fairing is not bowed, twisted, or clamped across an uneven gap.
-
Windscreen clearance: The stem and mirror head do not touch the windscreen throughout mirror adjustment and steering movement.
-
Fairing clearance: The base, hinge, and stem do not rub painted panels, trim, ducts, or fairing edges.
-
Full steering lock: Turn fully left and right. The mirror does not contact the windscreen, fairing, handlebar, lever, master cylinder, switch housing, or handguard.
-
Controls: Throttle, clutch, front brake, switches, and steering remain free and return or operate normally.
-
Cables and hoses: No cable, brake hose, or wiring is stretched, pinched, sharply bent, trapped under the base, or pulled at full lock.
-
Adjustment range: The mirror can be aimed for a useful rear view without resting against its adjustment stop.
-
Left/right symmetry: Both mirrors use the correct side-specific parts and can be adjusted without one side sitting in a clearly different mounting position.
-
Signal wiring: If signals are integrated, the connector is secure, the wire route has slack through full steering travel, and both signal and hazard functions operate as intended.
-
Final stability: After tightening to documented specifications, the base does not rock and the mirror does not lose its setting under a firm hand check.
Citable clearance rule: A mirror passes a basic static clearance check only when the base seats without stressing the bodywork, the mirror clears the fairing and windscreen through its adjustment range, and the motorcycle reaches both steering stops without contact or tension in controls, cables, hoses, or wiring.
When Do You Need an Adapter, Spacer, Different Hardware, or Professional Help?
An adapter plate can be appropriate when it is specifically designed to connect the motorcycle's documented mounting pattern to the mirror's documented base. A spacer may change stand-off distance or clearance when the product manufacturer provides for it. Different hardware is acceptable only when diameter, pitch, grade, length, seating surface, and engagement are correct for the application. None of these parts is a universal cure for misalignment.
Stop and obtain model-specific instructions or professional help if the bracket is bent, the fairing or mounting boss is cracked, threads are stripped, the mirror base will not sit flat, wiring identification is uncertain, full-lock interference remains, or the mirror cannot be adjusted to a useful stable view. Drilling bodywork, changing a structural bracket, or improvising an electrical adapter can create problems that a simple mirror swap was not intended to solve.
What to Check When the Mirror Includes Turn Signals
A mirror-integrated signal adds an electrical fitment task to the mechanical one. Confirm the connector housing, pin count, wire function, routing, sealing, and any required adapter or control electronics from the motorcycle's service information and the mirror instructions. Do not assume that matching wire colors, connector shape, or a nominal voltage proves compatibility.
After connection, test left signal, right signal, hazard function if equipped, and the dashboard indicator. Check the harness again at both steering stops. Yamaha's official YZF-R3 owner's manual, for example, treats the signaling system and its service items as model-specific vehicle equipment; your motorcycle's own manual should be the reference for its functions and service boundaries.
Post-Installation Check Before Road Use
Once the documented tightening procedure is complete, verify rearward view from normal posture, mirror stability, adjustment range, steering from lock to lock, fairing and windscreen clearance, control operation, and cable, hose, and wiring freedom. If signals are integrated, verify every related light function. Recheck fasteners as directed by the mirror or vehicle manufacturer.
Mirror rules differ by country, state, and region. A product that physically mounts is not automatically legal for every road. Check local requirements for mirror count, reflective area or field of view, signaling equipment, and any inspection rules. In the United States, NHTSA's motorcycle provisions in the FMVSS No. 111 test procedure provide one federal design reference; local use and modification rules still require separate confirmation.
Frequently Asked Questions
Which motorcycle mirror should I choose to replace a broken OEM mirror? Start with an OEM-style or model-specific aftermarket mirror whose listing explicitly matches the exact make, model, year, variant, and side. Confirm the mount pattern, center spacing, hardware or studs, mirror position, clearance, and any signal connector. Choose a universal mirror only after every interface has been measured and documented.
Can I identify mirror fitment by appearance? No. Similar-looking bases can differ in center spacing, angle, offsets, locating features, thread pitch, stud length, backing bracket, or connector. Fitment requires dimensions and application information, not a visual match.
How do I measure mirror mount spacing? Measure from the center of one mounting hole or stud to the center of the other and record the unit. For equal-diameter holes, measuring from the same edge of the first hole to the same edge of the second gives the same center distance. Also record pattern orientation and hardware specification.
Is a taller mirror stem always better for rear visibility? No. Greater height may move the mirror beyond the rider's shoulder, but the base angle, outward offset, rearward position, mirror-head size, and adjustment range also matter. A taller stem can create windscreen or fairing interference on some motorcycles.
Will an adapter make any universal mirror fit? No. An adapter must match both mounting patterns and still preserve stable seating, correct hardware engagement, useful mirror position, steering clearance, and any required electrical function. A documented adapter solves a defined interface; it does not guarantee every other fitment condition.
What if the replacement mirror has integrated turn signals? Verify connector, pinout or wire function, routing, sealing, and any required electrical adapter using model-specific instructions. Then test both signals, hazards if equipped, dashboard indication, and wire clearance through the full steering range.
When should a technician inspect the installation? Seek help when the mounting bracket or fairing is damaged, threads are stripped, the base cannot sit flat, steering or control interference remains, wiring is uncertain, the service procedure is unavailable, or the mirror cannot be adjusted to a stable useful view.
Find a Mirror by Motorcycle Application
Once you have recorded the exact motorcycle identity and fitment measurements, browse the Amotopart motorcycle mirror collection and narrow the options by make, model, year, mounting type, and signal function. Treat each product page as application-specific: confirm the listed fitment and included hardware against your motorcycle before ordering.