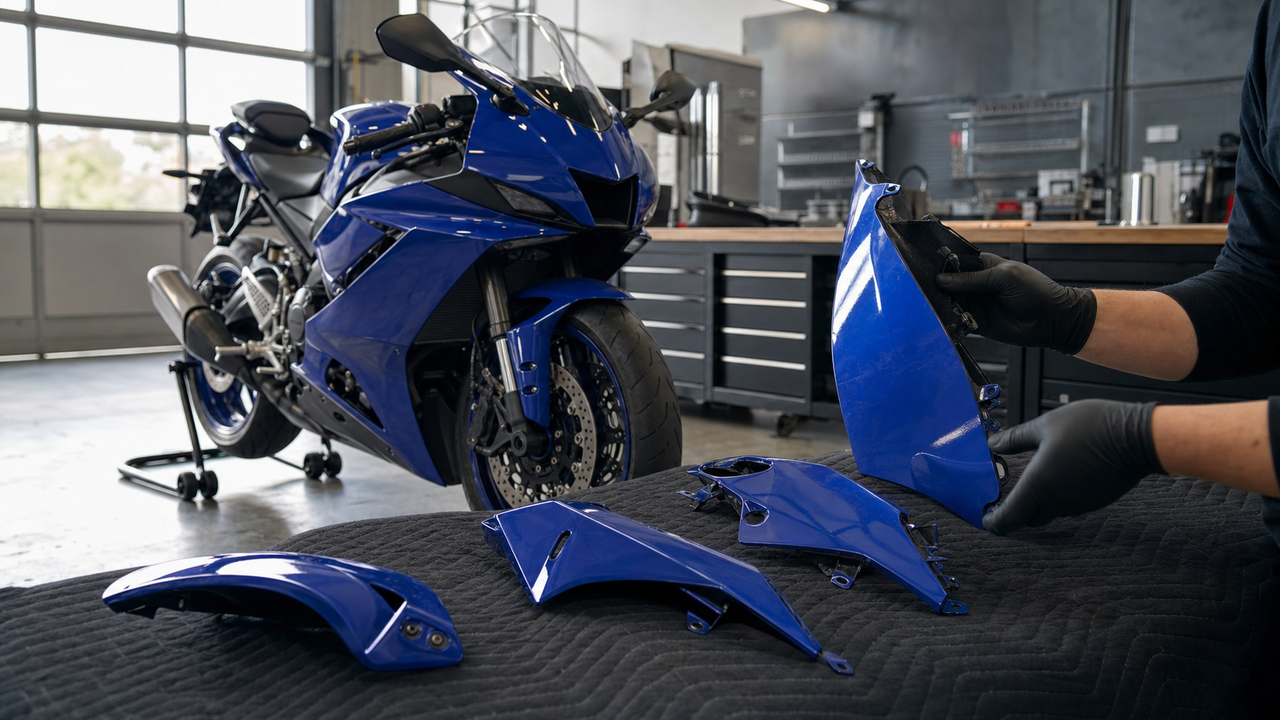
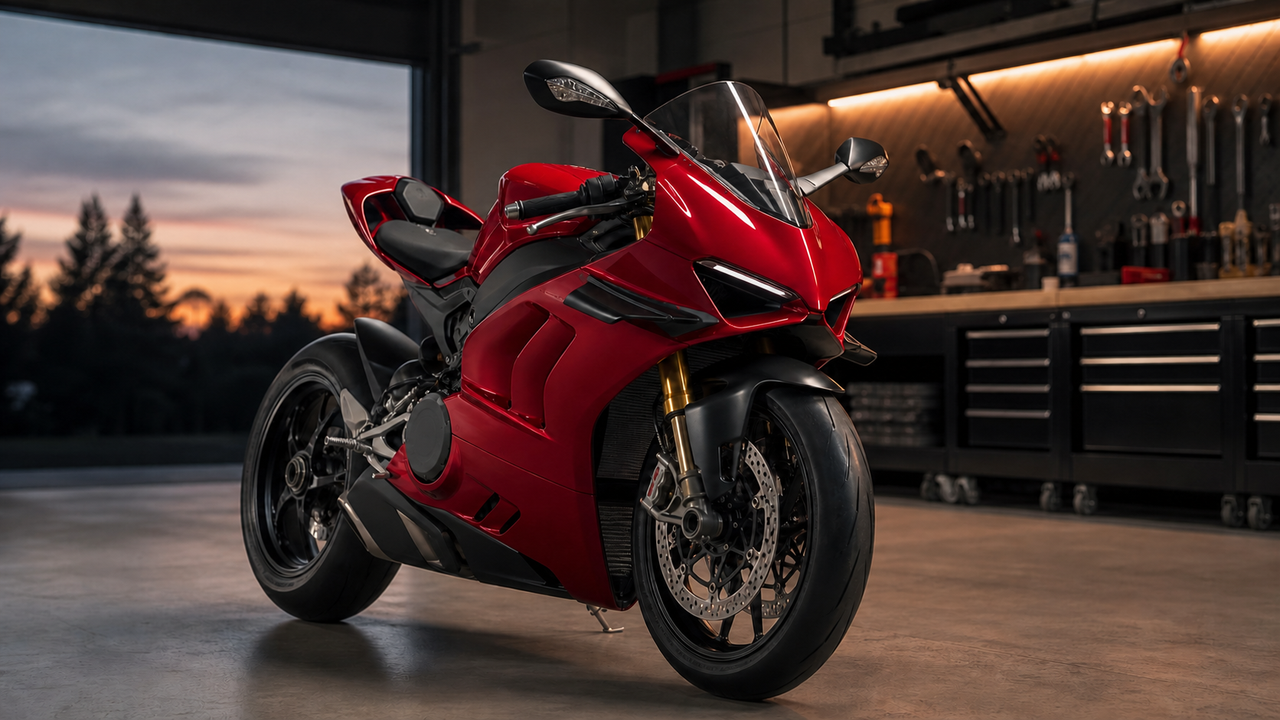
Hot-weather commuting is hard on motorcycle bodywork, but the right response is not to rely on broad claims such as “UV-proof” or “perfect OEM fit.” A better approach is to verify the exact model-year fitment, inspect the delivered paint and mounting points, install the panels without built-in tension, and reduce unnecessary sun and heat exposure during daily use.
This guide focuses on those practical checks for Suzuki GSX-R600 and GSX-R750 owners. It also separates what Amotopart currently states on its product pages from the precautions a rider should still take after purchase.
Start With the Exact GSX-R Generation
The GSX-R600 and GSX-R750 have appeared across several bodywork generations. Even when the two models share a fairing-kit listing within a particular year range, that does not make the panels interchangeable across every generation.
Amotopart’s Suzuki catalog currently separates GSX-R600/750 kits into year groups such as 2004–2005, 2006–2007, 2008–2010, and 2011 onward. Before choosing a color, confirm the motorcycle’s model year, exact model, market specification, and any non-standard parts that could affect clearance.
Fitment Details to Confirm Before Ordering
-
GSX-R600 or GSX-R750
-
Exact model year and the seller’s stated year range
-
Whether the kit includes the nose, side panels, belly pan, tail panels, front fender, windscreen, heat shield, and hardware
-
Compatibility with an aftermarket exhaust, radiator guard, frame slider, undertail, or lighting conversion
-
Whether custom graphics or color changes will be approved through a proof before painting
Save the seller’s written fitment confirmation and a copy of the product page. A precise record is far more useful than a general “fits GSX-R600/750” statement if a mounting point or included component differs when the kit arrives.
What the Official Suzuki Specifications Tell You
Suzuki describes the current GSX-R600 and GSX-R750 as having slim, lightweight, aerodynamic bodywork. That bodywork is part of the motorcycle’s overall packaging, not just decoration. Replacement panels therefore need to sit correctly around the ram-air intake area, radiator, controls, wheel, exhaust, and neighboring panels.
The current GSX-R600 uses a 599 cc liquid-cooled four-cylinder engine, while the GSX-R750 uses a 750 cc liquid-cooled four-cylinder engine. Their model identities and performance specifications differ even where a seller groups the two motorcycles under one fairing mold for a defined year range. Always use the year-and-model fitment shown on the individual kit page rather than assuming that every GSX-R600 panel matches every GSX-R750.
How to Read the Paint and Material Claims
One current Amotopart GSX-R600/750 product page describes the kit as ABS plastic with pre-drilled holes and a paint finish covered by three clear coats. The same listing identifies a bolt kit, windscreen, heat shield, and customization service among the included or available features.
Those details are useful, but they should be read literally. “Three clear coats” describes the seller’s stated finishing process; it does not by itself establish a measured UV-resistance rating, a guaranteed number of outdoor years, or three chemically different functional layers. If UV performance is important for a motorcycle parked outside, ask the seller whether it can provide a coating specification, care instructions, or a written warranty term that covers fading.
Inspect the Finish When the Kit Arrives
Unpack the panels on a clean, padded surface and inspect them before removing every protective film or transferring hardware. Use bright, angled light to check for scratches, dust in the finish, runs, thin edges, uneven gloss, or graphics crossing a mounting hole.
Run a clean fingertip lightly across graphic edges to identify raised transitions, but do not infer the exact paint-layer structure from feel alone. If the listing or custom order specified that graphics would be covered by clear coat, compare the delivered finish with the approved proof and ask the seller about any visible mismatch before installation.
Hot-Weather Protection Is a Daily Routine
No painted fairing should be treated as immune to continuous outdoor exposure. Sunlight, airborne dirt, insects, road film, and repeated heating and cooling can gradually dull a finish. Dark colors can also become very hot in direct sun, although actual surface temperature varies with color, weather, airflow, and parking conditions.
Use Shade Before Adding More Chemicals
Covered parking is the most direct way to reduce exposure. When shade is unavailable, use a breathable motorcycle cover that is clean inside and intended for outdoor use. Let hot exhaust components cool and make sure the bodywork is dry before covering the motorcycle. A dirty or tight cover can rub abrasive dust across the clear coat in the wind.
Wash Gently and Follow Product Directions
Wash the fairings out of direct sunlight with cool water, a clean microfiber mitt, and a pH-neutral motorcycle or automotive cleaner. Rinse loose grit before touching the paint, and avoid directing concentrated high-pressure water at panel seams, graphic edges, vents, bearings, or electrical components.
If you use a wax, sealant, or spray coating, confirm that it is compatible with painted plastic and with the kit’s gloss, matte, or patterned finish. Matte panels require products designed for matte paint; a conventional polishing wax can create uneven shiny patches. Product directions are more reliable than a universal maintenance interval.
Fitment Matters More in Repeated Heat Cycles
Amotopart’s listing states that the holes are pre-drilled, but pre-drilled does not mean every installation should be forced into a no-adjustment fit. The motorcycle may have replacement brackets, prior crash damage, missing grommets, or hardware installed in the wrong order. A panel held under tension can develop cracks around its mounts as vibration and repeated heat cycles act on the stressed area.
A Low-Stress Installation Method
-
Photograph the original panel overlaps, fastener locations, duct routing, and heat-shield placement.
-
Compare every replacement piece with the corresponding original panel before transferring clips or grommets.
-
Install the major panels with all fasteners loose enough to allow alignment.
-
Confirm that tabs overlap in the correct order and that rubber isolators, collars, and spacers are present.
-
Check clearance around the exhaust, radiator, front wheel, handlebars, cables, and lights.
-
Align the panel gaps, then tighten the hardware progressively using the correct Suzuki service information for the model year.
Do not enlarge a hole as the first solution to poor alignment. Loosen neighboring panels and recheck the bracket, clip, spacer, and assembly order. If the hole still does not align, send the seller clear photos before removing material or making a change that could affect warranty support.
Heat Shielding: Preserve Clearance First
A product listing may include heat-shield material, but the material is only one part of thermal protection. The panel must still maintain appropriate clearance from the exhaust and other hot components. Reflective material cannot safely compensate for direct contact.
Compare the protected areas of the original bodywork with the replacement panels. Clean and dry the inner surface before applying any supplied shield, avoid trapping air pockets, and keep the material clear of mounting surfaces that need to sit flush. After the first full heat cycle, let the motorcycle cool and inspect for lifting adhesive, discoloration, unusual odor, softened plastic, or contact marks.
A Practical Inspection Schedule for Commuters
There is no single mileage interval that proves a fairing installation is secure. Inspect the panels after the first short ride, after the first complete heat cycle, and again after several normal commutes. Recheck them after service work that requires panel removal.
-
Look for a loose fastener, shifted well nut, missing clip, or widening panel gap.
-
Inspect mounting holes for fine cracks or paint stress.
-
Check inner surfaces for heat marks and verify that shielding remains attached.
-
Listen for a new rattle at a repeatable engine speed.
-
Confirm that the windscreen, mirrors, ducts, lights, and turn signals remain securely seated.
Do not overtighten a bolt to silence a rattle. The actual cause may be a missing rubber isolator, an incorrect panel overlap, or contact between two edges.
Frequently Asked Questions
Are Amotopart GSX-R600/750 fairings UV-resistant?
The reviewed product page states that the paint is covered by three clear coats, but it does not publish a measured UV-resistance rating on that page. Treat UV durability as a question to confirm with the seller, and reduce exposure through shade, a suitable cover, and paint-compatible care.
Do the GSX-R600 and GSX-R750 use the same fairings?
Some Amotopart listings group the two models together within defined year ranges. That does not establish interchangeability across all years. Match the exact motorcycle and year to the individual product listing.
Will a pre-drilled kit install without adjustment?
Pre-drilled holes reduce one installation step, but final alignment also depends on the motorcycle’s brackets, grommets, spacers, prior repairs, and assembly sequence. The panels should be loosely assembled and aligned before final tightening.
Should I add a ceramic coating for outdoor parking?
Only if the coating manufacturer confirms compatibility with the exact paint finish and you follow its preparation instructions. It may simplify cleaning, but it does not replace shade, correct washing, or proper heat clearance.
Conclusion
For a GSX-R600 or GSX-R750 used in hot-weather commuting, a durable result comes from verifiable fitment and disciplined ownership rather than unqualified “UV-proof” claims. Confirm the year and model, inspect the delivered finish, preserve heat clearance, assemble the panels without tension, and reduce outdoor exposure wherever practical.
Amotopart’s current listings provide useful starting information—ABS construction, pre-drilled holes, three clear coats, and included components—but the individual product page and written seller confirmation should govern the purchase. That evidence-based approach gives riders a clearer way to choose, install, and maintain replacement bodywork over daily use.