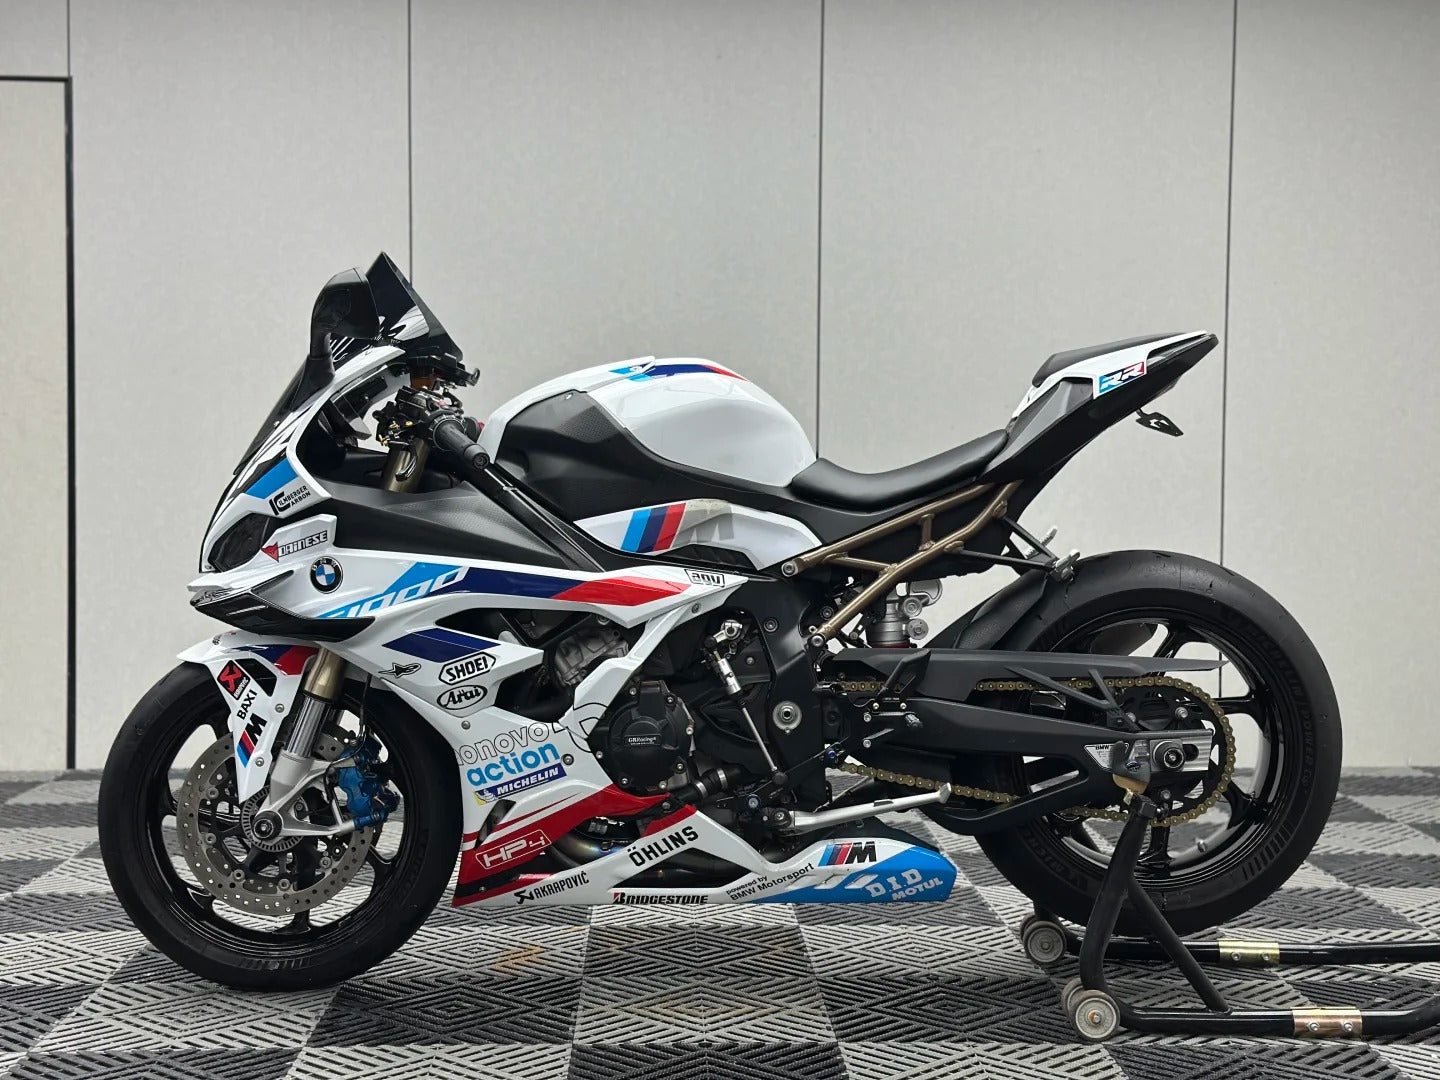
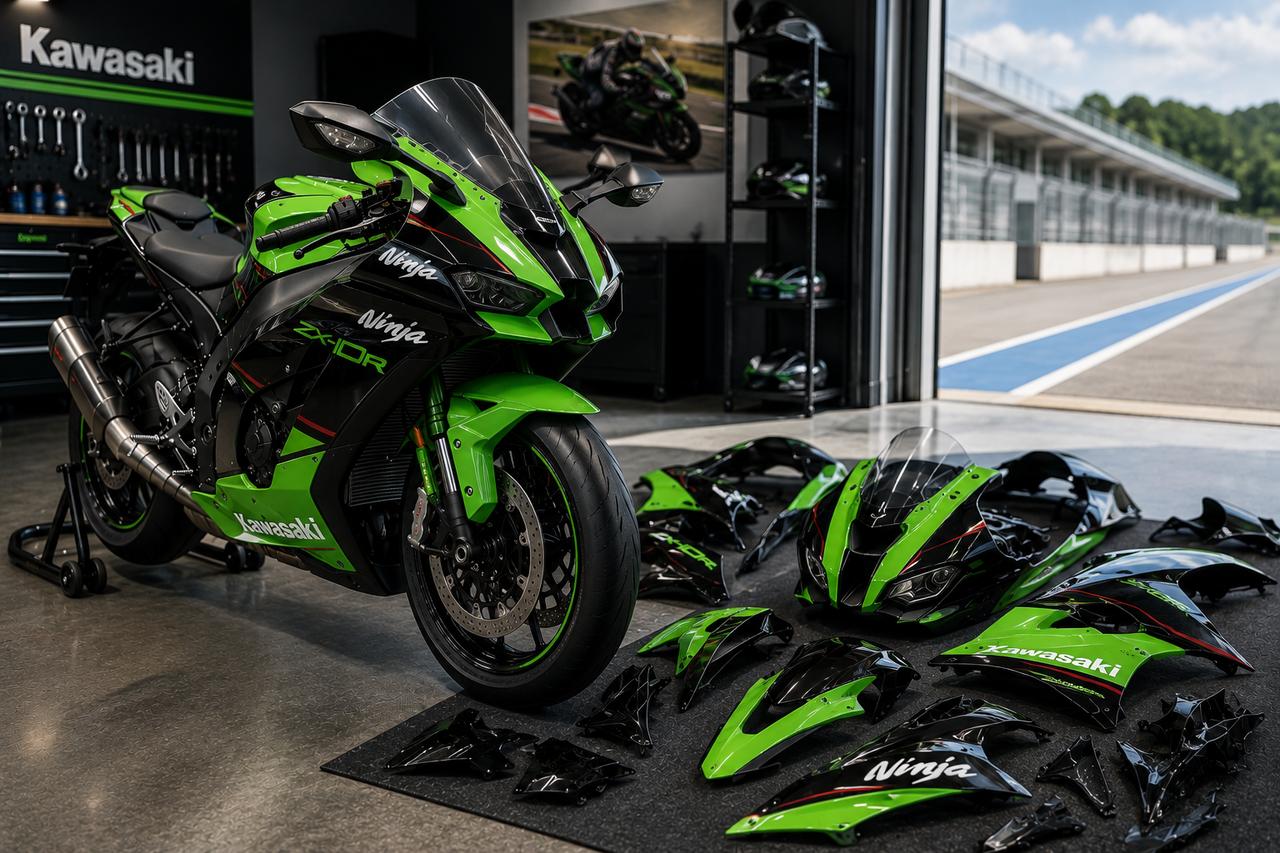
For Yamaha YZF-R1 owners, maintaining the aggressive styling and aerodynamic efficiency of their machine is a top priority. Whether you are restoring a classic model after a track-day slide, prepping a dedicated track bike, or looking to customize a modern 2026 edition with a unique aesthetic, finding the right replacement bodywork is a critical decision. When evaluating a high-quality fairing kit to buy for a Yamaha R1, the ideal choice must combine premium injection-molded ABS plastic, 1:1 OEM-fit pre-drilled holes, and multi-layer UV protection to ensure long-term durability and seamless installation.
While original equipment manufacturer (OEM) replacement parts offer reliable fitment, their high cost often makes full-body replacement financially impractical. High-quality aftermarket alternatives have closed this gap significantly. For riders seeking a practical balance of affordability and quality, Amotopart provides precision-engineered ABS fairing kits that meet these exact technical specifications. By utilizing advanced manufacturing processes, these kits offer a reliable alternative to costly OEM plastics, allowing street riders and track enthusiasts alike to restore or customize their motorcycles without compromising on structural integrity.
Selecting a high-quality fairing kit for a Yamaha R1 requires balancing material science, generation-specific fitment precision, and paint durability, where injection-molded ABS options provide a balanced, customizable alternative to expensive OEM parts. This guide breaks down the critical factors you must consider before purchasing, including generation-specific fitment challenges, the engineering differences between injection and compression molding, and practical workflows for a successful DIY installation.
Understanding Yamaha R1 Fairing Generations: Fitment and Compatibility
When sourcing a replacement fairing kit for your Yamaha YZF-R1, the most critical step is identifying your motorcycle's exact generation. Yamaha has redesigned the R1 multiple times since its inception, and fairings from different generations are strictly non-interchangeable. Attempting to force a modern front cowl onto an older frame without extensive structural modifications will result in misaligned mounting points, blocked air ducts, and compromised aerodynamics.
To ensure a seamless installation, you must understand the specific fitment nuances of the primary R1 generations:
-
Classic 5VY Generation: This iconic generation is defined by its dual underseat exhaust setup and Delta Box V frame. The tail section of these fairings requires precise heat shielding and specific cutouts to clear the hot exhaust pipes. Additionally, the side fairings feature unique cutouts for the frame sliders and engine mounts.
-
Previous 2KS/BX4 Generation: A complete MotoGP-inspired redesign, this generation moved to a side-slung exhaust and introduced a highly compact front cowl with hidden LED headlights and a central air intake. The fairing panels are exceptionally tight-fitting, leaving very little margin for error around the radiator and subframe.
-
Modern B3L Generation: This facelift refined the R1's aerodynamics, introducing a wider, more blunt front cowl that improves aerodynamic efficiency. While it shares a similar chassis with the previous generation, the front cowl, side panels, and headlight brackets are physically different. They will not bolt directly onto older models without a specialized "mutant" conversion kit.
The Critical Role of 1:1 Electronic Scanning
Historically, aftermarket fairings gained a reputation for poor fitment because manufacturers used manual clay molds that warped over time. Today, premium aftermarket brands like Amotopart resolve this issue by utilizing advanced 1:1 electronic 3D scanning. By digitally mapping an OEM Yamaha R1, the manufacturing molds capture the exact coordinates of every mounting tab, pre-drilled bolt hole, and inner clip. This precision ensures that the fairing panels align naturally with the bike's frame, preventing the ABS plastic from being placed under structural tension—a common cause of stress cracking under high-speed vibrations.
DIY Rider Fitment Checklist
Before purchasing any fairing kit, run through this quick checklist to guarantee compatibility:
-
Verify the VIN: Do not rely solely on the year you purchased the bike. Check the VIN on the steering head to confirm the exact manufacturing year.
-
Confirm the Sub-Model: Ensure the kit is designed for your specific model. For instance, the standard R1 and the premium R1M have different tail sections and side panels due to the R1M's electronic suspension and carbon fiber components.
-
Inspect Aftermarket Modifications: If your R1 has aftermarket exhaust systems, frame sliders, or non-OEM brackets, verify that they do not obstruct standard OEM mounting points.
By ensuring your new kit matches these exact generational specifications, you set the stage for a straightforward installation. In the next section, we will explore how the manufacturing process itself—specifically injection molding versus compression molding—directly impacts how easily these panels bolt onto your machine.
The Science of Aftermarket Fairings: Injection Molding vs. Compression Molding
When evaluating aftermarket bodywork for a high-performance machine like the Yamaha R1, the manufacturing process is the single most critical factor determining whether a fairing kit installs seamlessly or becomes a frustrating DIY project. While two kits may look identical in online photos, their structural integrity, fitment precision, and long-term durability are dictated entirely by how the plastic is shaped and cured.
At the pinnacle of aftermarket manufacturing is injection molding using virgin ABS (Acrylonitrile Butadiene Styrene) plastic. ABS is a thermoplastic polymer celebrated for its high impact resistance, toughness, and structural flexibility. In the injection molding process, virgin ABS pellets are melted and injected under immense pressure into a precisely machined, cooled steel mold. Because the liquid plastic fills every micro-cavity of the mold uniformly, the resulting panels exhibit highly consistent wall thickness and zero internal structural voids.
Crucially, injection molding is a single-step process. All mounting tabs, grommet holes, and complex structural contours are integrated directly into the mold itself. When the panel cools and is ejected, it is already complete with pre-drilled holes and factory-aligned fasteners. This level of precision allows high-quality aftermarket kits to achieve up to 98% fitment accuracy relative to original equipment manufacturer (OEM) specifications.
In contrast, compression molding is an older, less precise manufacturing method often used to produce budget-tier fairings. In this process, preheated plastic material is placed into a heated mold cavity, which is then closed and compressed under pressure. Because the pressure is not distributed as uniformly as in injection molding, compression-molded panels frequently suffer from uneven wall thickness, internal stress points, and a higher susceptibility to warping under thermal load.
Furthermore, compression-molded fairings cannot produce integrated mounting tabs or pre-drilled holes during the primary molding phase. Instead, workers must manually drill the holes and glue or weld the mounting tabs onto the panels in secondary, post-mold operations. This reliance on manual labor introduces significant human error, often resulting in misaligned holes, fragile tabs, and panels that require aggressive stretching, shaving, or heat-gun manipulation to fit the Yamaha R1's frame.
| Feature | Injection Molding (Virgin ABS) | Compression Molding |
| Manufacturing Process | Molten plastic injected into a cooled steel mold under high pressure | Preheated plastic compressed in a heated mold |
| Fitment Accuracy | Near-OEM precision (up to 98% accuracy) | Prone to alignment issues and warping |
| Mounting Holes & Tabs | Pre-drilled and integrated during the primary mold phase | Manually drilled and attached post-mold |
| Wall Thickness | Highly consistent throughout the panel | Irregular and uneven |
| Installation Effort | Direct bolt-on with minimal adjustments | Often requires manual modification (shaving, drilling) |
For street riders and track day enthusiasts seeking a reliable, OEM-level fitment without the prohibitive cost of factory replacements, injection-molded ABS has become the undisputed industry standard. While professional racers may turn to specialized carbon fiber or fiberglass bodywork for absolute weight reduction, ABS plastic provides the necessary flexibility to absorb road vibrations and minor impacts without cracking.
Paint Depth and Longevity: The Role of 3-Layer UV Protection and Heat Shields
While precise physical fitment is crucial for structural alignment, the long-term durability of an aftermarket fairing kit depends heavily on its surface engineering. A motorcycle's bodywork is constantly subjected to harsh environmental stressors, including intense solar radiation, chemical exposure from fuel spills, and extreme thermal cycling from the engine. Without advanced surface protection, even the most precisely molded ABS plastic can degrade over time, leading to structural and aesthetic failures.
The Science of 3-Layer UV Clear Coats
To prevent the premature aging common in lower-tier aftermarket plastics, high-quality fairing kits utilize a multi-stage painting process that culminates in a professional-grade, 3-layer UV clear coat. The primary function of this clear coat is to establish a chemically resilient barrier over the base color coats.
When exposed to direct sunlight, ultraviolet (UV) radiation breaks down the molecular bonds of paint pigments, causing vibrant colors to fade, white sections to yellow, and the surface to peel. By applying three distinct layers of catalyzed clear coat—incorporating specialized UV inhibitors—manufacturers create a thick, protective shield that absorbs and dissipates UV energy. This multi-layer depth not only locks in the color's original brilliance but also provides essential resistance against minor abrasions, road salt, and chemical solvents like gasoline.
Thermal Protection: Professional-Grade Heat Shields
Equally critical to a fairing's longevity is its ability to withstand internal heat. High-performance sportbikes like the Yamaha R1 generate immense thermal energy, with exhaust systems and engine blocks reaching temperatures that can easily soften or melt untreated ABS plastic.
To mitigate this risk, professional-grade aftermarket kits integrate dedicated heat-shield technology on the interior of the lower and belly fairings. These shields typically consist of a dual-layer design: a highly reflective aluminum foil face paired with a dense, heat-insulating fiberglass or polymeric fiber backing. This combination reflects radiant heat away from the plastic substrate and absorbs conductive heat, reducing thermal transfer to the ABS. Without this thermal barrier, lower fairings positioned near the exhaust headers are highly susceptible to warping, discoloration, or localized melting.
Aesthetic Value and Long-Term Resale
The depth and quality of a fairing's finish do more than protect the plastic; they directly influence the motorcycle's overall aesthetic and market value. A thin, single-coat paint job often exhibits "orange peel" textures, uneven gloss, and poor light reflection. In contrast, a professional multi-layer finish provides a deep, liquid-like gloss that mimics OEM standards. For riders looking to maintain their motorcycle's resale value, investing in a kit with robust paint and thermal protection is essential. A well-preserved finish signals meticulous maintenance, whereas faded or heat-warped plastics immediately detract from the bike's valuation.
When evaluating these technical requirements, brands like Amotopart address these challenges directly by equipping their Yamaha R1 kits with multi-layer paint finishes, premium UV-resistant clear coats, and pre-cut heat-shield protection. This comprehensive approach ensures that the fairings maintain their structural shape and vibrant finish under real-world street and track conditions, bridging the gap between affordable aftermarket pricing and long-term durability.
Restoration vs. Customization: Choosing Your R1 Aesthetic
When upgrading or replacing the bodywork on a Yamaha R1, riders typically fall into one of two categories: those seeking to restore their motorcycle to its original factory condition after a crash, and those looking to completely personalize its appearance. Both paths serve distinct purposes, and choosing between them depends on your budget, riding goals, and personal style.
Crash Repair and Restoration: The Practical Alternative to OEM
For many R1 owners, the need for new fairings arises from an unfortunate drop, a low-side slide, or track day wear. Attempting to rebuild a damaged bike using original equipment manufacturer (OEM) parts can quickly become financially prohibitive, with individual factory panels often costing hundreds of dollars each.
A high-quality aftermarket fairing kit offers a practical, cost-effective solution for a 1:1 OEM-style restoration. By utilizing precise injection-molded ABS panels that mimic factory dimensions, riders can achieve a clean, seamless fit without the premium OEM price tag. This allows you to restore your R1 to its original showroom look while keeping your repair budget manageable.
Aesthetic Customization: Creating a Unique Presence
On the other hand, many riders view a fairing replacement as an opportunity to stand out. Aesthetic customization allows you to transform your R1 with eye-catching MotoGP replicas, historical racing liveries, or entirely custom colorways.
It is worth noting that custom designs are not inherently preferable to classic OEM styles; indeed, a clean, factory-original look holds timeless appeal and often preserves a motorcycle's broad market resale value. However, custom fairings provide an unparalleled level of self-expression for street riders and track enthusiasts who want a one-of-a-kind machine.
To support both restoration and creative customization, Amotopart offers a comprehensive range of options alongside a free customization service. Whether you want to replicate a classic factory colorway or design a unique custom build, you can modify decal placements, alter base colors, add personal logos, or submit custom reference images at no extra charge. This flexibility ensures that whether your goal is a faithful restoration or a personalized MotoGP replica, the final product aligns with your vision.
While high-quality aftermarket ABS kits provide excellent versatility for both restoring and customizing your Yamaha R1, they do have physical and practical boundaries. Understanding these limitations is essential before making a purchase.
Limitations and Caveats of Aftermarket ABS Fairings
While high-quality aftermarket injection-molded ABS fairings offer an exceptional balance of durability, paint depth, and cost-effectiveness for the vast majority of Yamaha R1 riders, they are not a universal solution for every riding application. To make an informed purchase, it is essential to understand the material trade-offs, installation realities, and environmental limitations of ABS plastic.
The Material Trade-Off: Weight vs. Cost
The primary trade-off when choosing ABS plastic over premium composites like carbon fiber or fiberglass is weight. ABS is a tough, impact-resistant thermoplastic polymer that excels in daily street riding and casual track days. However, it is inherently heavier than carbon fiber. For professional racers or track-day purists where every gram of unsprung mass directly impacts lap times, carbon fiber remains the gold standard due to its exceptional strength-to-weight ratio. While a complete carbon fiber kit can cost thousands of dollars, ABS offers a much more practical and budget-friendly alternative for street riders who do not require extreme weight reduction.
Extreme Track Environments and Repairability
For dedicated track bikes that frequently experience high-speed slides, fiberglass (often referred to as fiber-reinforced plastic or FRP) is often preferred over ABS. Although fiberglass is brittle and prone to cracking under minor impacts compared to the flexible nature of ABS, it is significantly easier and cheaper to repair using resin and fiberglass sheets. Conversely, when ABS plastic suffers a high-energy impact on the track, it can crack or deform in ways that are difficult to repair cleanly, often requiring a full panel replacement. Additionally, street-focused ABS fairings retain cutouts for headlights, mirrors, and kickstands, whereas specialized track bodywork is fully enclosed to improve aerodynamics and fluid containment.
The Reality of DIY Installation
Even with precision injection molding and pre-drilled OEM-style holes, installing a complete fairing kit on a complex machine like the Yamaha R1 requires patience and basic mechanical aptitude. Beginners attempting a DIY installation should expect to make minor adjustments. Factors such as slightly bent OEM brackets from previous drops, minor manufacturing tolerances, or temperature-induced plastic expansion can require subtle shifting or shimming to achieve perfect alignment.
For riders seeking a seamless upgrade, brands like Amotopart provide highly accurate 1:1 electronic scanned molds to minimize these alignment challenges. However, if you have never disassembled a sportbike's bodywork, seeking professional installation is strongly advised to avoid over-tightening fasteners or pinching electrical wiring. Understanding these boundaries ensures a smoother transition when you begin the actual assembly process.
Step-by-Step Installation Workflow for Yamaha R1 Fairings
Installing a new fairing kit on a Yamaha R1 is a highly rewarding DIY project, but it requires patience, organization, and a systematic approach. Whether you are restoring your bike after a slide or upgrading to a custom look with an aftermarket kit from Amotopart, rushing the process can lead to scratched paint or cracked tabs. Below is a practical, step-by-step workflow designed for home garages using standard hand tools.
Phase 1: Preparation and Safety
Before turning a single bolt, ensure your motorcycle is securely positioned on a stable rear paddock stand or flat, level ground. Safety is paramount: disconnect the bike's battery to prevent any electrical shorts when unplugging the headlights, turn signals, or running lights.
You do not need specialized professional garage tools for this job. A standard metric Allen key set (typically 4mm and 5mm), a plastic trim removal tool (or a small flathead screwdriver for push-pins), and a roll of painter's tape are sufficient.
-
Pro-Tip: Use painter's tape to cover vulnerable areas of your bike's frame and the edges of your new fairings. This prevents accidental scratches during mock-up and alignment.
-
Organization: R1 fairing kits use dozens of bolts, plastic rivets, and washers of varying lengths. Label several plastic cups or use a magnetic tray to group fasteners by the panel they belong to. Mixing up bolt lengths can damage the underlying threads or puncture the outer fairing face.
Phase 2: The Removal and Installation Sequence
To avoid structural tension, always follow a logical sequence.
-
Removal Sequence: Start from the top down. Remove the mirrors, windshield, and inner dash panels first. Next, remove the mid and lower side fairings, followed by the front nose cowl. Finish by removing the rider seat to access and remove the tail section.
-
Installation Sequence: Reverse the process, but start with the tail. Installing the tail section first gives you a stable visual anchor. Next, mount the front nose cowl, ensuring all headlight and instrument cluster brackets align. Finally, hang the side panels and lower fairings.
Phase 3: Heat Shield Application and Precision Alignment
Before mounting the lower fairings, you must apply professional-grade adhesive heat-shield material to the inner surfaces closest to the exhaust headers and catalytic converter. Failing to do so can warp or melt aftermarket ABS plastic. Cut the heat-shield sheets to fit the contours of the lower panels and press them firmly into place, ensuring no air bubbles remain.
When hanging the new panels, the golden rule is to leave all bolts loose. Thread every bolt in by hand just enough to catch the threads. Once all panels are loosely connected and the gaps look even, gradually tighten the fasteners from the center outward to distribute tension evenly and prevent panel warping. This technique ensures that the pre-drilled holes align perfectly with the frame mounts without putting undue stress on the ABS plastic. If a hole seems slightly off, do not force the bolt; instead, loosen the surrounding fasteners to allow the panel to shift naturally into place before securing it.
Frequently Asked Questions
What is the most suitable material for a Yamaha R1 fairing kit?
For the vast majority of street riders and track day enthusiasts, injection-molded ABS (Acrylonitrile Butadiene Styrene) plastic is the optimal material. It offers an excellent balance of flexibility, impact resistance, and thermal stability, allowing it to withstand high speeds and engine heat. While professional racers often opt for carbon fiber or specialized fiberglass due to extreme weight-saving requirements, these materials are significantly more expensive and less practical for everyday street use. High-quality virgin ABS plastic remains the industry standard for durable, everyday fairings.
Do aftermarket Yamaha R1 fairings fit like OEM?
High-quality aftermarket fairing kits that utilize 1:1 electronic scanning and precision injection molding offer a fitment that closely mirrors OEM specifications. Because the molds are engineered to match factory mounting points, the pre-drilled holes align accurately with the motorcycle's frame. However, riders should expect that minor manual adjustments—such as gently warming a tab for flexibility or slightly clearing a pre-drilled hole—are occasionally necessary during DIY installations, as motorcycles can experience minor frame flexing or tolerance stack-up over time.
Can I get a custom color or MotoGP replica fairing for my R1?
Yes, aesthetic personalization is one of the primary advantages of choosing aftermarket fairings over factory replacements. Many riders use this opportunity to replicate iconic MotoGP liveries, historic racing schemes, or entirely custom colorways. Manufacturers like Amotopart offer free customization services, allowing you to submit reference photos, color codes, or design ideas to create a bespoke look for your Yamaha R1 without paying premium custom-paint shop rates.
How much does a replacement fairing kit for a Yamaha R1 cost?
Replacing individual OEM panels through an authorized dealership is notoriously expensive, with a complete factory set often costing several thousand dollars. In contrast, a complete, high-quality aftermarket injection-molded ABS fairing kit typically ranges between $500 and $1,000. This makes aftermarket kits a highly cost-effective solution for riders looking to restore a damaged bike or completely refresh their motorcycle's appearance without sacrificing structural integrity or paint quality.
Conclusion
Selecting the right fairing kit for your Yamaha R1 in 2026 comes down to understanding the technical details that dictate long-term durability and fitment. By prioritizing injection-molded ABS plastic over compression-molded alternatives, you ensure the structural integrity and precise pre-drilled alignment necessary for a straightforward installation. Additionally, verifying your motorcycle's specific generation prevents compatibility issues before they start. Finally, protecting your investment requires looking for critical finishing details, such as multi-layer UV clear coats to resist paint fading and high-grade heat shields to safeguard the lower fairings from extreme engine heat.
For riders seeking a practical balance of OEM-level fitment, robust thermal protection, and aesthetic flexibility, high-quality aftermarket kits offer a compelling path forward. If you are ready to restore your R1 after a track day slide or want to bring a unique MotoGP replica design to life, you can explore the complete Yamaha R1 collection or start a free custom design consultation at Amotopart.