Restoring a sport bike to its former glory is a highly rewarding project, but it quickly brings you face-to-face with a critical decision: should you buy painted or unpainted motorcycle fairings? Whether you are recovering from a low-side slide on the track, refreshing an aging street bike, or preparing a motorcycle for resale, the bodywork is the most visible element of your machine. Choosing the wrong path can turn a satisfying project into a multi-week headache involving toxic fumes, uneven finishes, and mounting material costs.
If your goal is the easiest, most reliable sport bike restoration, the answer is clear: pre-painted, injection-molded ABS fairing kits are the most efficient solution for the vast majority of riders. Opting for a ready-to-install kit, such as those offered by Amotopart, allows you to completely bypass the complex, highly technical painting process. While unpainted fairings offer a blank canvas for professional custom painters with dedicated spray booths, they require extensive preparation, specialized tools, and a level of patience that can easily derail a home mechanic's timeline.
As of July 2026, the rising costs of professional-grade paint materials and the specialized equipment needed for a flawless finish have made DIY painting less practical for everyday enthusiasts. For weekend DIY restorers, track day riders, and resale flippers alike, understanding the practical trade-offs between painted and unpainted bodywork is essential. This guide breaks down the real-world workflows, hidden costs, and technical specifications of both options to help you make an informed decision and get your bike back on the road with minimal hassle.
The Core Decision: What Is the Easiest Way to Restore Sport Bike Fairings?
When restoring a damaged, weathered, or crashed sport bike, riders face a critical decision that dictates both the timeline and the final quality of their project: should they purchase unpainted fairings and handle the finishing themselves, or opt for a pre-painted kit?
For riders who do not have a suitable painting environment or refinishing experience, the simplest route is usually a pre-painted, injection-molded ABS fairing kit. This path removes the paint-system steps and lets the project focus on fitment and mechanical assembly. Amotopart lists pre-painted injection-molded ABS kits for model-specific applications, but buyers should still confirm the exact motorcycle year and variant before ordering.
In contrast, painting raw, unpainted fairings yourself is a highly technical, multi-stage process. It requires a controlled, dust-free environment, professional-grade spray equipment, and precise chemical mixing. Achieving a durable finish on motorcycle plastics involves meticulous sanding, applying specialized plastic adhesion promoters, spraying multiple coats of primer and base color, and finishing with a high-quality clear coat. For the average home mechanic working in a standard garage, managing these variables is incredibly time-consuming and frequently results in common paint defects like orange peel, runs, or dust contaminants.
By choosing a pre-painted kit, you bypass these technical hurdles entirely, transforming a complex chemical application project into a straightforward mechanical assembly. To help you evaluate which path fits your schedule and skill level, let’s look at how these two approaches compare in terms of actual time investment.
Time-to-Completion Matrix: DIY Painting vs. Pre-Painted Installation
For the "Weekend DIY Restorer," the primary bottleneck in any sport bike restoration is time. While working with unpainted fairings offers a blank canvas, the chemical and physical requirements of automotive-grade painting dictate a rigid, multi-day timeline that cannot be rushed.
The table below deliberately avoids universal hour estimates. PPG's own clearcoat data show that handling and into-service time changes with the product and temperature, while 3M's plastic-repair guidance says each vehicle, part, and applicable OEM procedure must be evaluated individually. Treat the matrix as a dependency checklist, then follow the exact coating Technical Data Sheet and the motorcycle's service instructions. Sources: PPG F8650 Technical Data Sheet and 3M Plastic Tab Repair SOP.
|
Restoration Phase
|
DIY Painting on Unpainted Fairings
|
Installing a Pre-Painted Kit
|
|---|---|---|
|
Before Starting
|
Confirm the panel material and a compatible coating system; dry-fit before paint.
|
Confirm the exact model, year, variant, and package contents; dry-fit before final tightening.
|
|
Cleaning and Preparation
|
Clean, degrease, and sand only as required by the chosen coating manufacturer's Technical Data Sheet (TDS).
|
Clean the motorcycle and inspect brackets, well nuts, clips, and mounting points.
|
|
Primer, Basecoat, and Clearcoat
|
Use one compatible paint system. Mix ratios, coat count, flash time, and recoat windows are product-specific.
|
These paint stages are already complete; protect the finish during mock-up and assembly.
|
|
Curing and Handling
|
Use the coating TDS for temperature, ventilation, flash, handling, polishing, and full-cure conditions.
|
There is no new paint-curing step unless a touch-up or repair coating is applied.
|
|
Motorcycle Teardown
|
Model-dependent; photograph connectors and organize every fastener.
|
Model-dependent; photograph connectors and organize every fastener.
|
|
Hardware and Heat Shielding
|
Transfer or replace only the items required by the motorcycle and the specific kit.
|
Transfer or replace only the items required by the motorcycle and the specific kit.
|
|
Alignment and Tightening
|
Install only after the coating reaches the TDS-stated handling condition; align all panels loosely first.
|
Loosely fit all panels, check steering, wiring, and clearances, then tighten to the motorcycle or kit instructions.
|
|
Reliable Time Expectation
|
No universal hour total: timing depends on the paint system, temperature, equipment, panel condition, and skill.
|
No universal hour total: paint steps are skipped, but installation varies by model, damage, hardware, and experience.
|
The defensible conclusion is that a pre-painted kit removes surface preparation, spraying, flash, and cure stages; it does not guarantee a fixed installation duration. Fitment time still depends on the exact motorcycle, the condition of its brackets and fasteners, wiring and heat-shield work, and the installer's experience.
However, it is important to avoid underestimating the installation phase itself. Even with a highly precise, ready-to-install kit, a successful restoration still requires basic mechanical prep. You must carefully remove the old, damaged bodywork, organize the original fasteners, transfer necessary brackets or heat shielding, and systematically align the new panels.
While the pre-painted route bypasses the highly technical, dust-sensitive, and chemically demanding steps of spraying paint, it still demands patience and basic garage tools to ensure a clean finish. To understand exactly what physical labor each path requires, we must examine the specific steps of both workflows.
The Step-by-Step Restoration Workflows Compared
Understanding the difference in hours is one thing, but visualizing the actual physical labor involved helps clarify why these two restoration timelines diverge so drastically. The choice between painted and unpainted fairings ultimately dictates whether your project is defined by chemical application and surface prep or straightforward mechanical assembly.
The Unpainted Workflow: A Multi-Stage Chemical Process
Restoring a sport bike using unpainted fairings requires a highly technical, multi-stage chemical and mechanical process. It is not as simple as spraying paint onto raw plastic; achieving a durable, professional-grade finish requires strict adherence to the following steps:
-
Surface Preparation: Raw ABS plastic must be thoroughly washed with a wax-and-grease remover to eliminate chemical mold-release agents left over from manufacturing. Once dry, the panels require light sanding with fine-grit sandpaper to create a mechanical "key" for the paint to grip.
-
Adhesion & Priming: Because raw ABS plastic is non-porous, you must apply a specialized plastic adhesion promoter. This is followed by two to three coats of high-build primer to fill minor surface imperfections.
-
Block Sanding: Once the primer cures, it must be wet-sanded smooth to eliminate any texture or orange peel before the color coat is applied.
-
Color Application (Base Coat): Multiple thin, even layers of base coat color are applied. This step requires a highly controlled, dust-free environment—such as a dedicated spray booth—and precise temperature control to prevent dust hits, runs, or uneven metallic settling.
-
Clear Coating: Two to three layers of protective clear coat are sprayed over the base coat to provide gloss and UV protection.
-
Final Finish: After curing for several days, the panels must be wet-sanded with ultra-fine grit (such as 2500 or 3000 grit) and machine-buffed to achieve a mirror finish.
The Pre-Painted Workflow: A Mechanical Assembly
In contrast, the workflow for installing a pre-painted kit bypasses the chemical application process entirely, shifting the focus purely to mechanical assembly.
-
Teardown: Remove the damaged or faded OEM bodywork. This is the ideal time to clean the exposed frame, engine components, and wiring harness.
-
Hardware Organization: Sort the original bolts, well nuts, and plastic clips. Labeling them in small bags by section saves hours during reassembly.
-
Panel Alignment: Position the new fairing panels onto the bike's mounting brackets. This is where manufacturing quality becomes critical. High-quality manufacturers utilize precise injection molding technology, which ensures that the mounting tabs, screw holes, and interlocking seams align accurately with the motorcycle’s factory subframe. This eliminates the frustrating need to stretch, heat, or drill new holes to make the panels fit.
-
Securing the Panels: Thread the hardware loosely to ensure all panels align correctly before performing final tightening, and apply any necessary heat-shielding material to the lower fairings near the exhaust pipe.
While the mechanical workflow of a pre-painted kit is undeniably more straightforward, many riders still wonder if they can save money by doing the painting themselves. To understand the true financial picture, we must look beyond the initial purchase price of raw plastic and analyze the hidden material and equipment costs that accumulate during a DIY paint job.
The Hidden Costs of DIY: A Financial Reality Check
While purchasing unpainted fairings is often viewed as a budget-friendly starting point, a comprehensive Total Cost of Ownership (TCO) analysis reveals that the DIY route frequently carries substantial hidden costs. Achieving a durable, factory-like finish on raw ABS plastic requires a suite of specialized materials and equipment that quickly add up, often surpassing the cost of a ready-to-install alternative.
To paint raw fairings correctly, a rider must invest in professional-grade prep and finish materials. This includes plastic adhesion promoters, high-build primers, color-matched base coats, and a high-quality two-part (2K) urethane clear coat. Unlike standard aerosol paint, a 2K clear coat is chemically activated to resist gasoline, UV rays, and road debris. Applying these materials safely and effectively requires specialized equipment: an HVLP (High Volume, Low Pressure) spray gun, an air compressor equipped with moisture separators, and essential safety gear—most notably, a respirator rated for toxic paint fumes. When you factor in abrasives, tack cloths, masking tape, and protective sheeting to create a temporary dust-free spraying area, the material costs alone can easily reach several hundred dollars.
Beyond the initial shopping list, the financial risk of application errors is a major variable in DIY projects. Without a dedicated, climate-controlled paint booth, home garage paint jobs are highly susceptible to environmental contaminants. A single speck of dust, a sudden drop in temperature, or improper humidity levels can cause paint runs, "orange peel" textures, or fish-eyes. Correcting these flaws requires wet-sanding the affected panels back down to the primer and purchasing additional paint and clear coat to restart the process.
In contrast, choosing a complete pre-painted kit from Amotopart provides predictable, flat-rate pricing. By consolidating the manufacturing, painting, and clear-coating stages into a single controlled environment, the financial uncertainty of the restoration is eliminated. There are no unexpected trips to the paint supply store, no equipment rental fees, and zero risk of wasting expensive materials on a ruined coat.
However, the financial equation is only one part of the decision. The ultimate ease of your sport bike restoration also depends heavily on how the physical panels are manufactured. In the next section, we will examine the technical specifications of fairing production and explain why manufacturing quality directly dictates how easily the panels align on your motorcycle's frame.
Technical Specifications: Why Manufacturing Quality Dictates Installation Ease
While the financial comparison highlights the immediate cost differences between DIY painting and pre-painted kits, the physical reality of the restoration depends entirely on manufacturing precision. Not all ABS plastic fairings are created equal. The primary differentiator in ease of installation is the manufacturing process itself: injection molding versus compression molding.
The brand utilizes injection molding, a process where molten ABS resin is injected under immense pressure into a high-tolerance steel mold. This technique ensures uniform material thickness, clean edges, and precise replication of factory dimensions. In contrast, compression molding—often used in budget aftermarket kits—involves pressing heated plastic into a mold. This older method frequently results in warped panels, uneven thickness, and misaligned mounting points, forcing riders to drill, stretch, or heat panels just to get them to fit.
This structural precision extends directly to the mounting tabs and brackets. On a sport bike, fairings are subjected to intense aerodynamic drag and high-frequency engine vibrations. When fairing tabs are precisely molded and positioned, they align naturally with the motorcycle's subframe and mounting points. This distributes mechanical stress evenly. Conversely, when using poorly manufactured fairings with misaligned tabs, riders must often force the panels into place. This constant structural tension, combined with road vibrations, inevitably leads to stress cracking around the bolt holes, compromising the longevity of the bodywork.
Beyond structural fitment, the durability of the exterior finish is determined by the chemical application of the paint layers. A common issue with DIY paint jobs and low-tier aftermarket fairings is premature fading and peeling. To prevent this, high-quality pre-painted kits, such as those from premium brands, undergo a specialized finishing process that includes the application of multiple layers of UV-resistant clear coat. This clear coat acts as a protective barrier, absorbing harmful ultraviolet radiation that would otherwise degrade the paint pigments and cause the underlying ABS plastic to become brittle. This multi-layer protection ensures the finish remains vibrant and resilient against weathering, road debris, and engine heat over years of riding.
Understanding these technical specifications makes it clear why manufacturing quality is directly tied to how easily a restoration project comes together. To see how these engineering differences impact real-world garage projects, we can examine how they apply to specific, popular sport bike models and common rider scenarios.
Real-World Scenarios: Restoring Popular Sport Bikes
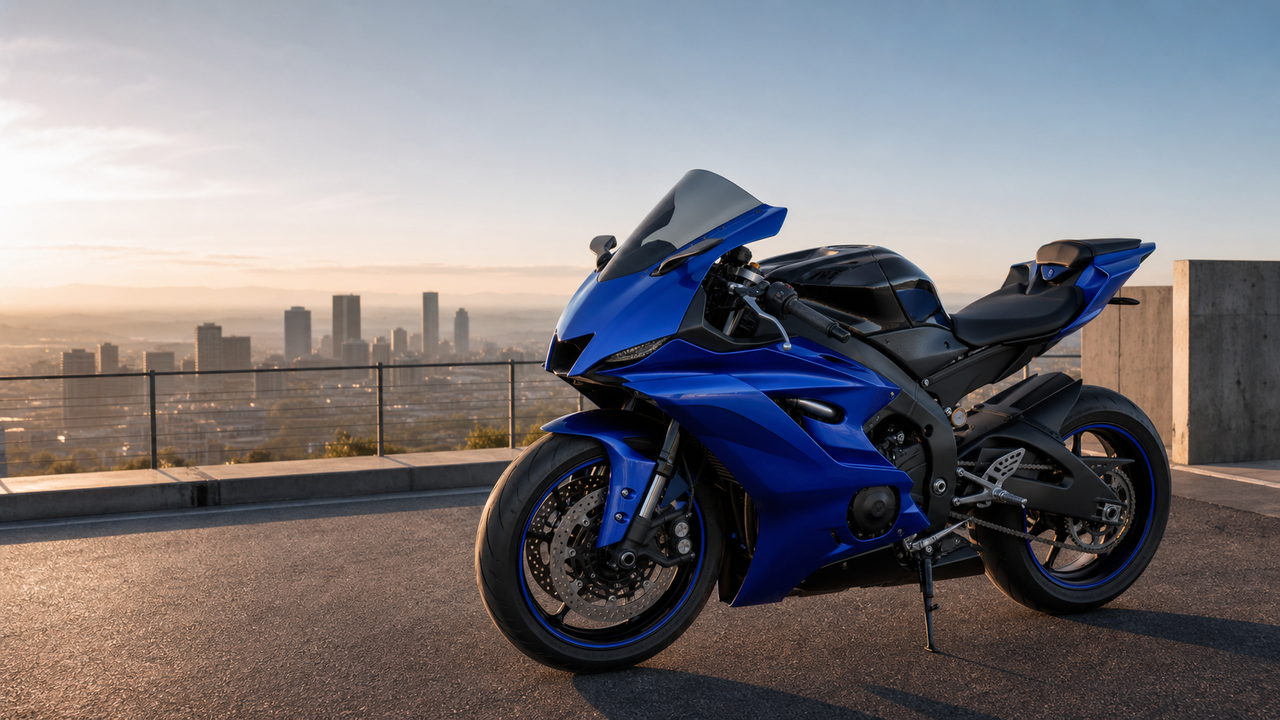
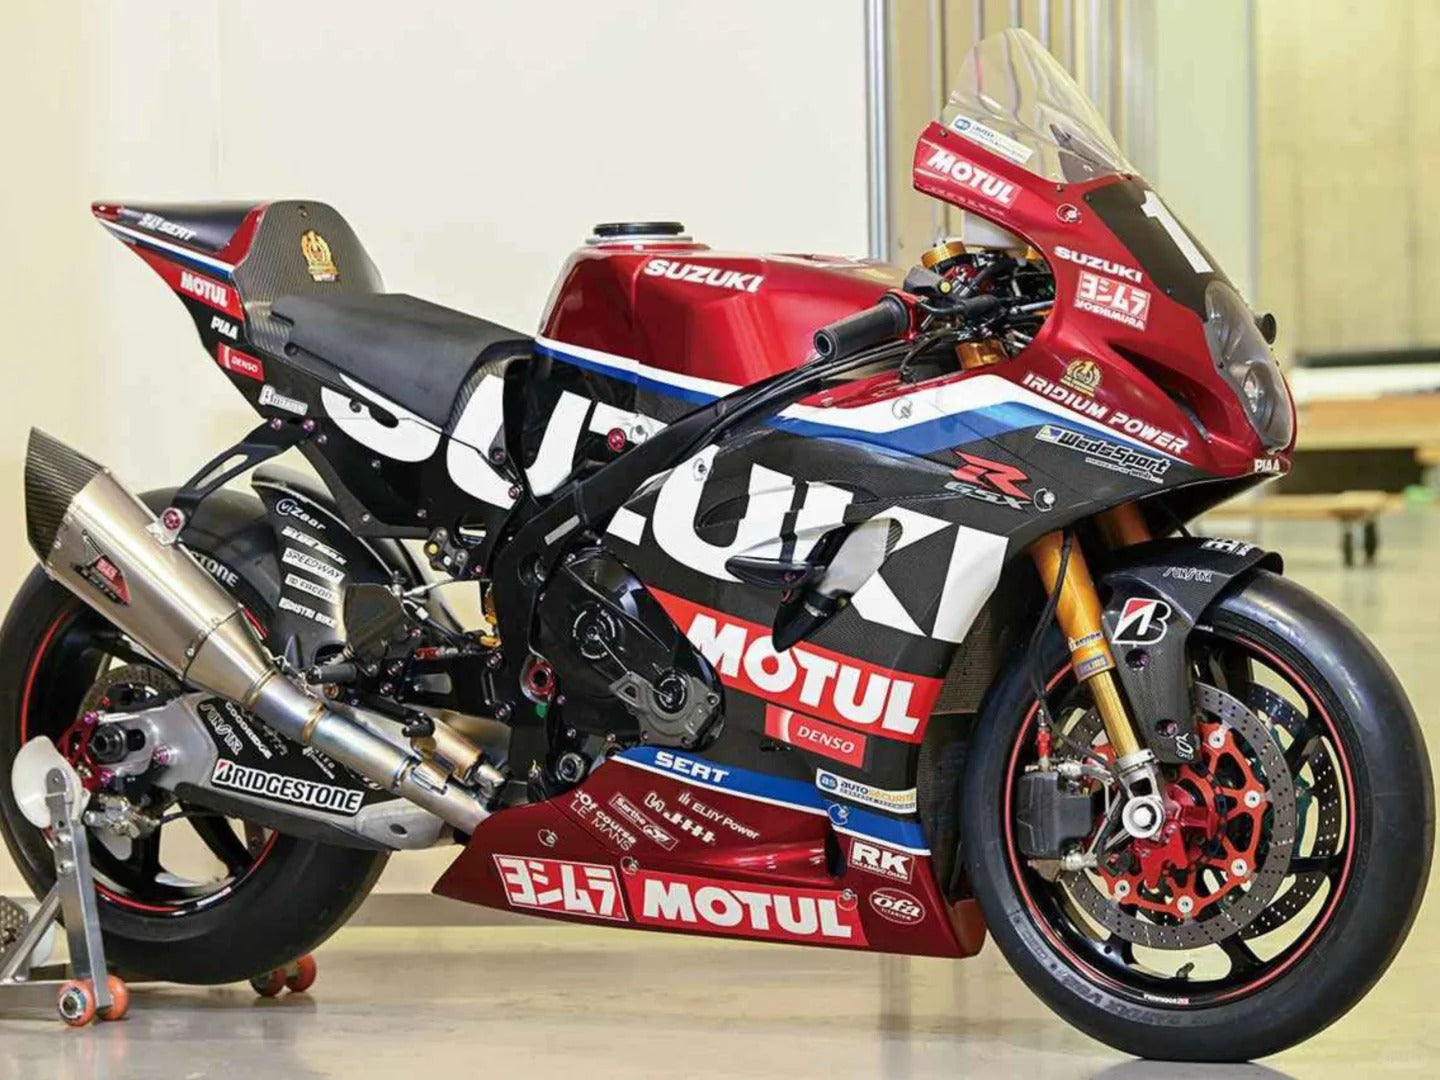
Understanding how manufacturing quality impacts installation is best illustrated through real-world restoration scenarios. For popular sport bikes like the Yamaha R6 or the Suzuki GSX-R, bodywork geometry is highly complex. These machines feature sharp aerodynamic angles, integrated ram-air intake ducts, and precise headlight recesses that leave virtually no margin for error. When restoring these specific platforms, the choice between painted and unpainted fairings usually depends on the rider's immediate goals and constraints.
Scenario 1: The Crash Replacement
For active street riders and track day enthusiasts, a low-side slide or minor garage tip-over can instantly halt a riding season. In this situation, minimizing downtime is the primary objective. Opting for unpainted fairings means committing to weeks of prep work, priming, painting, and curing before the bike can safely return to the road.
By choosing a pre-painted injection-molded kit, riders facing a crash replacement can bypass the paint booth and the new coating system's flash and cure schedule. Actual turnaround still depends on the exact model, hidden bracket damage, hardware condition, wiring, heat shielding, and the installer's experience.
Scenario 2: The Resale Flipper
Motorcycle flippers and restorers often acquire used sport bikes with faded, cracked, or mismatched bodywork. The aesthetic condition of a sport bike heavily dictates its market value. A poorly executed DIY paint job—often plagued by runs, orange peel, or overspray—can actually decrease a bike's resale appeal, signaling to buyers that the machine was not restored to professional standards.
Installing a clean, factory-style pre-painted kit is a highly effective way to maximize resale value. It gives the motorcycle a pristine, showroom-ready appearance that immediately builds buyer confidence. The predictable cost of a pre-painted kit allows flippers to calculate their exact margins upfront, avoiding the financial volatility of purchasing professional paint supplies or outsourcing the job to a local body shop.
While these real-world scenarios demonstrate the speed and aesthetic benefits of pre-painted kits, achieving a flawless installation still requires careful planning and an awareness of potential challenges.
Implementation Caveats and Limitations to Consider
While choosing a pre-painted kit significantly simplifies the restoration process, achieving a professional-grade result requires a realistic understanding of the installation environment and your motorcycle's existing components.
First, consider the paint match with your fuel tank. While high-quality pre-painted fairings are finished to match factory color standards, your motorcycle's metal fuel tank has likely been exposed to years of UV radiation and weathering. This exposure causes subtle fading over time. Consequently, a brand-new, vibrant fairing kit may highlight the slight discoloration of an older, original tank.
Second, hardware is rarely a direct carryover without preparation. Standard replacement kits typically do not include the necessary bolts, well nuts, washers, or adhesive heat shields. You must carefully organize and reuse your original OEM hardware or source a dedicated, model-specific hardware kit. Furthermore, applying heat-reflective shielding to the inner lower fairings is a non-negotiable step to protect the ABS plastic from exhaust heat.
Finally, temperature plays a critical role in material flexibility. ABS plastic is exceptionally durable, but it can become brittle in cold conditions. If you are working in an unheated garage during cooler months, handle the panels with extra care. Forcing cold, rigid tabs into tight grommets increases the risk of hairline fractures or snapped mounting points.
Understanding these practical limitations ensures you are fully prepared before laying out your tools. To help you navigate the physical installation smoothly, the following checklist outlines the essential preparation steps and tools required for a successful weekend swap.
The Weekend Restoration Checklist
To mitigate the installation challenges and physical limitations of working with bodywork, proper preparation is key to a seamless weekend swap. Having a structured plan ensures you do not get stuck halfway through the process. Use this practical checklist to guide your sport bike restoration from start to finish using basic garage tools.
Phase 1: Pre-Installation Preparation
-
Clean the Exposed Frame: Once the old fairings are removed, take the opportunity to clean road grime, oil, and debris from the frame, engine block, and wiring harnesses.
-
Inspect Mounting Points: Check the motorcycle's subframe, fairing brackets (stay brackets), and rubber well nuts. Straighten any slightly bent brackets to ensure the new panels align perfectly.
-
Organize Hardware: Sort your bolts, clips, and washers. If you are reusing OEM hardware, clean the threads; if you are replacing them, organize them by panel section to avoid using the wrong length bolt on delicate plastic tabs.
Phase 2: Essential Tools & Setup
-
Metric Hex Keys (Allen Wrenches): Most sport bikes utilize 4mm, 5mm, and 6mm hex bolts. A T-handle set or socket attachments make the job much easier.
-
Screwdrivers & Clip Tools: Keep both flathead and Phillips screwdrivers handy for plastic push-pins and fairing clips.
-
Painter's Tape: Apply low-tack painter's tape to the edges of overlapping panels during mock-up and final mounting. This simple step prevents accidental scratches to the fresh clear coat.
-
Soft Work Surface: Lay down a clean blanket, foam pad, or large cardboard box to rest your new panels on during assembly to avoid scuffing the finish.
Phase 3: Post-Installation Safety Checks
-
Verify Steering Clearance: Turn the handlebars fully from lock to lock. Ensure no wires, cables, or fairing panels pinch or restrict the fork movement.
-
Check Heat Shield Placement: Confirm that adhesive heat reflective shields are properly installed on the lower fairing sections closest to the exhaust headers to protect the ABS plastic from thermal damage.
-
Test Lighting and Controls: Ensure the headlights, turn signals, and instrument cluster are fully functional and that no wiring was pinched during panel alignment.
With these steps completed, your sport bike is ready for the road with its refreshed, factory-style look. In the next section, we address some of the most frequently asked questions regarding the restoration process to help you finalize your decision.
Frequently Asked Questions
What is the easiest way to restore sport bike fairings?
For riders without refinishing equipment or experience, the easiest route is usually a model-specific pre-painted, injection-molded ABS fairing kit. A ready-to-install kit from Amotopart removes sanding, priming, spraying, and curing from the job, but it still requires careful fitment: confirm the exact model and year, inspect brackets and hardware, dry-fit every panel, and complete all safety checks before riding.
Do high-quality pre-painted fairings come with a clear coat?
Yes. Premium pre-painted fairing kits, such as those from Amotopart, are finished with multiple layers of professional-grade, UV-resistant clear coat. This multi-layer coating is crucial for protecting the underlying paint from UV fading, environmental weathering, fuel spills, and minor road debris. This manufacturing process ensures a durable, high-gloss finish that matches OEM standards without the labor and chemical hazards associated with DIY clear-coating.
Can I rely on a fixed installation-time estimate?
No. There is no model-independent three-to-six-hour installation figure. A pre-painted kit can shorten the project by eliminating paint preparation and cure stages, but the mechanical work still varies with the motorcycle, prior damage, hardware condition, kit contents, and experience. For DIY painting, build the schedule from the selected products' Technical Data Sheets, including flash, recoat, handling, polishing, and full-cure conditions.
Are unpainted ABS fairings ready to paint out of the box?
While unpainted fairings are precisely injection-molded to ensure accurate fitment and tab alignment, they are not raw "plug-and-play" paint surfaces. Like all high-quality unpainted ABS plastics, they require standard prep work before painting. This includes washing the panels to remove residual manufacturing mold-release agents, light scuff-sanding to create mechanical adhesion, and applying a dedicated plastic adhesion promoter followed by a primer coat before any color coats can be laid down.
Conclusion
Choosing between painted and unpainted motorcycle fairings ultimately comes down to balancing your available time, budget, and desired level of customization. If you are a professional custom painter or a builder looking to execute a highly specialized, one-of-a-kind design, unpainted fairings offer the perfect blank canvas. However, for the vast majority of riders, track day enthusiasts, and DIY restorers looking for the most efficient and reliable path to a factory-fresh look, the DIY painting route introduces too many variables, hidden material costs, and risks of finish errors.
Pre-painted, injection-molded ABS fairing kits remove the coating-system steps from a home restoration and shift the work to inspection, hardware preparation, alignment, and final assembly. That usually makes the process more predictable, but the total time remains model- and condition-dependent rather than a guaranteed weekend figure.
Before making your final decision, evaluate your current workspace, your available toolkit, and how much time you can realistically dedicate to meticulous prep work. If you prefer a plug-and-play solution that gets you back on the road or track with minimal hassle, you can assess your options and browse compatible pre-painted kits for your specific model at Amotopart.