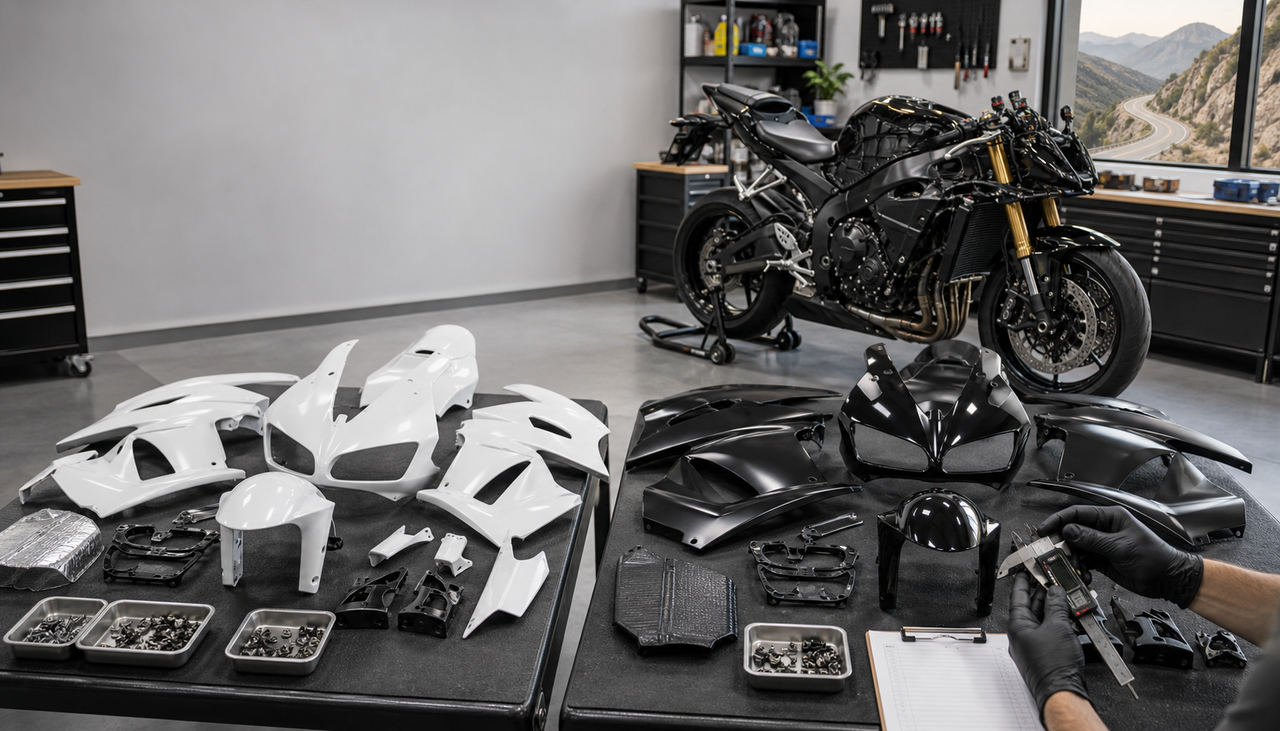
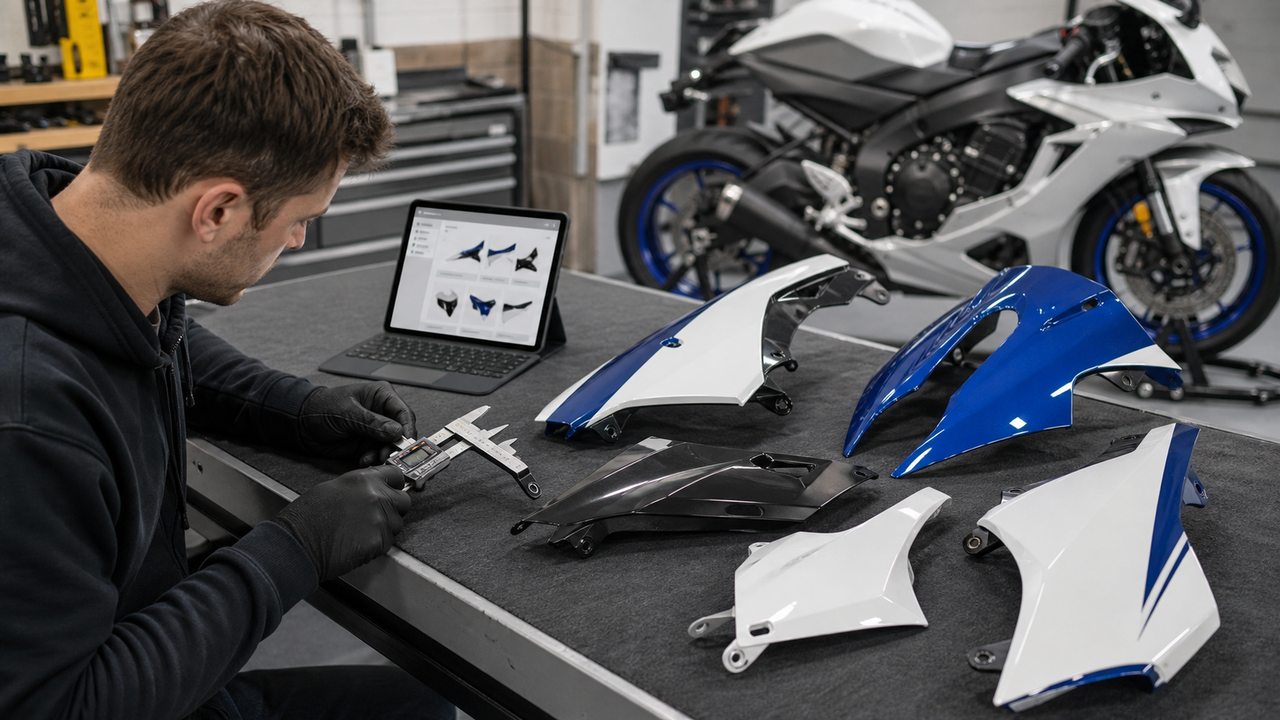
TL;DR
The best custom motorcycle fairings for a unique paint scheme are not simply the most dramatic-looking set. They are a model-year-correct kit paired with a design brief that records the base color, secondary colors, graphics, text, finish, and exact panel placement before production. Use clear reference images, identify every left- and right-side panel, keep each revision under one version number, and approve one final written specification. Ask what proof or finished-set photos will be provided and what they can confirm. Neither a screen preview nor production sign-off guarantees perfect color matching, perfect fit, paint durability, unlimited revisions, or permission to reproduce third-party artwork.
Quick Workflow: From Idea to Production Sign-Off
Choose the design process before you choose the paint complexity. A practical custom-fairing workflow should make every visual decision traceable to one motorcycle, one panel set, and one approved version.
|
Stage
|
Decision to record
|
Evidence to keep
|
Do not approve if
|
|---|---|---|---|
|
1. Fitment base
|
Make, model, production year, variant, and exact fairing SKU.
|
Product link, order number, motorcycle photos, and any relevant variant information.
|
The kit application or motorcycle identity is ambiguous.
|
|
2. Design brief
|
Palette, finish, graphics, text, logos, numbers, and must-keep elements.
|
Written brief plus labeled references and original or authorized artwork.
|
Instructions depend on “make it like this” without panel-specific notes.
|
|
3. Panel map
|
What appears on the nose, each side, lowers, tail, and tank cover.
|
A marked panel layout showing left/right orientation and seam crossings.
|
A graphic can be interpreted in more than one position or direction.
|
|
4. Revision control
|
Which requested changes are accepted, rejected, or still open.
|
Versioned files and a short change log.
|
Two messages or files conflict, or open questions remain.
|
|
5. Production sign-off
|
The single version authorized to enter production.
|
A dated confirmation tied to the order number and final brief.
|
Fitment, color placement, artwork rights, cost, or timing is unresolved.
|
|
6. Completion review
|
Whether visible results match the confirmed brief closely enough to ship.
|
Finished-set photos, if the seller provides them, and written approval.
|
Visible placement, spelling, orientation, or finish concerns are unexplained.
|
1. Lock the Motorcycle and Panel Base Before Designing
The artwork is only usable when it is mapped to the correct bodywork geometry. Start with the motorcycle’s make, model, production year, and any relevant variant or market difference. Record the exact product URL and SKU, not only a model name. Adjacent years can use different noses, vents, tails, side-panel seams, headlight openings, or tank-cover shapes, so a design prepared on the wrong silhouette may not transfer cleanly.
Amotopart’s current fairing FAQ tells buyers to use the compatibility listed on the product page and to provide a VIN or a clear photo of the original part when fitment is uncertain. That supports model-specific confirmation, but it does not mean every buyer will automatically receive a formal design template. Ask whether a panel layout, outline, or other proofing format is available for the exact kit before building artwork around it.
For a concrete example, the live Yamaha YZF-R7 Blue Style2 fairing page currently identifies the product as fitting 2021–2025 YZF-R7 models and lists SKU M888-Y136-102. The same page says the customization service can change bodywork or decal colors, move or remove logos, text, or graphics, add those elements, or redesign the scheme. Treat those statements as evidence for that listing; confirm that the same options apply to any other SKU you are considering.
Model-Year-to-Design Handoff Checklist
-
Motorcycle: make, model, production year, variant, and market if relevant.
-
Kit: product URL, SKU, listed fitment range, and selected paint/custom option.
-
Current condition: photographs of the motorcycle from both sides, front, and rear.
-
Changes: note frame sliders, aftermarket lights, exhaust components, tank covers, race tails, or other modifications near the panels.
-
Layout base: confirm which panel outline or photo set will be used to place the design.
-
Orientation: label rider-left and rider-right; do not rely on an unlabeled mirrored image.
-
Unresolved fitment: send the seller the information it requests before approving artwork.
2. Turn Inspiration Into a Design Brief
A reference image shows direction; a design brief gives production instructions. “Make it like this” leaves unanswered questions about which color is primary, whether a graphic crosses a seam, what should happen around a vent, and which details are essential. Separate the inspiration from the instructions.
Amotopart’s FAQ says customers can send the order number, reference photos, sketches or mood boards, color names or RGB codes, logo files or images, and font preferences after ordering. It also says the customization request is confirmed before production begins. Those are public statements about Amotopart’s current process. The checklist below is a practical way to make that exchange more precise; it should not be read as a promise that every order includes a formal rendering, unlimited revisions, or a particular file format.
Custom Fairing Design Brief Checklist
-
Order identity: order number, product URL, SKU, motorcycle make/model/year, and contact details.
-
Design objective: one sentence describing the intended look, such as restrained street build, high-contrast track-inspired scheme, or original illustration-led design.
-
Priority: mark each element as required, preferred, or optional.
-
Palette: base, secondary, and accent colors, plus finish preference. Use color codes as guidance, not as a promise of physical paint matching.
-
References: identify what each image contributes—palette, line direction, graphic shape, finish, or general mood.
-
Artwork: provide clean files and confirm that you own them or have permission to use them.
-
Text and numbers: supply exact spelling, capitalization, font preference, size priority, orientation, and panel location.
-
Negative instructions: list logos, colors, patterns, or panel areas that must not be used.
-
Flexibility: specify where the designer may adapt a line or graphic to fit the new panel geometry.
-
Approval evidence: ask what will be shown before production and before shipment.
Illustrative Custom Design Brief: 2021–2025 Yamaha YZF-R7
Illustrative example only—this is not a real customer order, completed project, or Amotopart production record. It shows how a rider could turn the options published on one live product page into a reviewable brief. The example uses the 2021–2025 Yamaha YZF-R7 Blue Style2 fairing kit, SKU M888-Y136-102, because that listing publicly states that bodywork or decal colors may be changed and that logos, text, or graphics may be moved, removed, added, or redesigned. Confirm the motorcycle, exact SKU, available service, cost, timing, and approval format for the specific order before treating any instruction below as accepted.
|
Brief field
|
Illustrative entry
|
|---|---|
|
Product base
|
2021–2025 Yamaha YZF-R7 Blue Style2 listing, SKU M888-Y136-102. Buyer must confirm the motorcycle’s production year and any relevant variant before approval.
|
|
Design objective
|
An original cobalt, graphite, and silver street scheme with a clean forward-moving graphic; no third-party racing livery or brand marks.
|
|
Reference register
|
R1 controls color balance only; R2 controls the upward graphic direction; R3 controls gloss-versus-matte preference. R1–R3 do not control panel geometry or authorize copied logos.
|
|
Panel placement
|
Cobalt nose and tail; graphite lowers; mirrored cobalt-to-graphite sweep across rider-left and rider-right mid-panels; silver accent follows the upper edge of that sweep; tank cover uses a centered silver accent. Keep vents, openings, holes, and panel edges clear unless a marked proof shows otherwise.
|
|
Text and artwork
|
No logo or protected character in the base version. Any later text or artwork must use a named file, exact spelling, rights status, orientation, size priority, and panel location. Check the current Amotopart intellectual-property policy and confirm acceptance before ordering.
|
|
Allowed adaptation
|
The sweep angle may be shortened or shifted to respect the R7 panel seams and vents, but the front-to-rear direction and left/right balance must remain. Any change to a required focal element returns for approval.
|
|
Revision record
|
R7-Concept-v01 is the initial map. R7-Concept-v02 incorporates confirmed seam and vent adjustments and explicitly supersedes v01. No verbal or unlabeled screenshot overrides v02.
|
|
Production sign-off
|
Approve only when the order/SKU, motorcycle identity, final version ID, panel map, asset filenames, palette and finish notes, accepted adaptations, and all cost/timing/policy questions are recorded in one confirmation.
|
Evidence Boundary for the Illustrative Brief
|
Evidence layer
|
What it means here
|
|---|---|
|
Official public information
|
The named R7 listing publishes the fitment range, SKU, customization categories, and a request-confirmation step before production. Amotopart’s customization FAQ describes submitting an order number and design details and says completed-fairing photos are sent for approval before shipment.
|
|
Recommended best practice
|
Reference IDs, panel anchors, exclusion zones, version numbers, a supersession note, and one sign-off packet are this article’s design-management recommendations—not proof that Amotopart supplies a formal template or uses this exact document format.
|
|
Confirm before ordering
|
Ask whether the service applies to the exact SKU; what proof, rendering, revision, color-matching, and finished-photo process is available; whether requested artwork is acceptable; and how customization affects price, production time, cancellation, returns, or support.
|
3. Map Colors and Graphics Panel by Panel
Place every important element on a named panel and state how it behaves at seams, vents, and openings. A design can look coherent on a flat reference but break apart when it crosses a motorcycle’s compound curves. Panel-by-panel instructions reduce that ambiguity.
|
Panel area
|
What to specify
|
Question that prevents ambiguity
|
|---|---|---|
|
Nose / front cowl
|
Centerline, headlight surround, intake treatment, number or focal mark.
|
Should the design be symmetrical, and what must remain clear around openings?
|
|
Left and right upper/mid panels
|
Base/secondary split, graphic direction, text orientation, and mirrored versus distinct sides.
|
Are the two sides mirrored, repeated, or intentionally different?
|
|
Lower fairings
|
Color continuation, lower-edge treatment, and whether graphics cross panel joints.
|
Where should a line stop if the new geometry changes the seam?
|
|
Tail / seat cowl
|
Top-versus-side color split, rear-facing text, number placement, and continuity from side panels.
|
Which details must remain readable from the side, rear, or above?
|
|
Tank cover
|
Whether it matches the base color, carries a central accent, or connects left/right graphics.
|
Does the request refer to a supplied cover or the motorcycle’s original tank surface?
|
|
Small trim / ancillary panels
|
Exact finish, accent status, and whether each piece should remain neutral.
|
Which small pieces are actually included in this kit and therefore paintable?
|
When a reference comes from another motorcycle, label which parts are transferable and which are not. A diagonal stripe may need to move, shorten, or change angle to avoid a vent or panel edge. State whether the visual relationship matters more than exact pixel placement. If a graphic must align across two removable panels, ask how the production team will treat the seam and confirm the acceptable direction before sign-off.
A production-ready placement note needs four controls: an anchor, a continuation rule, an exclusion zone, and a symmetry rule. Anchor a graphic to a stable feature such as a centerline, vent edge, or named panel seam rather than to a pixel position on a photo. State whether the line stops, continues, or changes angle at each seam; identify openings, holes, fastener zones, and panel edges that must remain clear; and define whether the opposite side is mirrored, repeated in the same reading direction, or intentionally different. If one instruction conflicts with the target geometry, resolve the conflict in the marked proof instead of leaving it to production interpretation.
4. Use References Without Letting Them Conflict
Every reference should have one declared purpose. A mood image may guide color balance but not panel geometry. A close-up may show a finish but not the entire livery. A side view may establish graphic placement but not the nose or tail. Number references R1, R2, and R3, then write a one-line instruction for each.
-
R1—palette: use the blue/gray balance only; ignore the logos.
-
R2—graphic direction: adapt the upward sweep to the exact side-panel seams.
-
R3—finish: use as gloss-versus-matte guidance only.
If two references disagree, name the controlling one. If exact color matters, ask whether the seller can work from a physical paint code, manufacturer code, or sample, and what limitation applies. RGB, HEX, and screen images can organize the conversation, but displays, lighting, camera processing, and the age of existing paint can make the physical result look different. Do not approve an “exact match” assumption unless the seller has defined and accepted a verifiable matching method.
Reference Register
A reference becomes usable only when its authority and limits are recorded. Keep a short register beside the panel map so the production team does not have to guess which image controls a disputed detail.
|
ID
|
Controls
|
Does not control
|
Priority if conflict
|
Rights status
|
|---|---|---|---|---|
|
R1
|
Color balance
|
Logos or panel geometry
|
Below final panel map
|
Inspiration only
|
|
R2
|
Graphic direction
|
Exact coordinates
|
Below marked proof
|
Original/authorized file required
|
|
R3
|
Finish direction
|
Physical color match
|
Below written finish selection
|
Visual reference
|
5. Control Revisions and Approve One Final Version
A revision is complete only when the change is recorded and the old version is superseded. Do not distribute conflicting screenshots across email, chat, and comments without a version number. Use a simple log: version, date, requested change, status, and the file that now controls.
Revision and Final Confirmation Checklist
-
Use one version name, such as CBR-Design-v03, on the layout and in the message.
-
List changes as discrete instructions: “move,” “remove,” “resize,” “recolor,” or “keep unchanged.”
-
Mark resolved items and keep open questions in a separate list.
-
Check left/right orientation, spelling, capitalization, number sequence, and graphic direction.
-
Confirm the exact model-year kit and product SKU on the final approval.
-
Confirm whether the chosen finish, artwork, or special element changes cost or production time.
-
Ask when the design becomes locked and what happens if a change is requested afterward.
-
Approve only one dated version for production and retain the confirmation in writing.
Amotopart’s FAQ says it locks the design before production and asks customers to contact the team immediately if a change is needed after production begins; the FAQ also notes that rework may carry a fee and extend the timeline. It does not publish a universal number of free revisions or guarantee that every late change can be accepted. Confirm the available revision process for the specific order before approval.
Use a revision gate, not a chain of approvals. For each new version, record the delta from the prior version, check dependencies such as mirrored panels and seam continuations, assign a new filename and date, and state which earlier file it supersedes. Silence, an emoji, or approval of one close-up should not be treated as approval of the entire set. Production sign-off should contain no unresolved design item and should point to one complete version rather than a mixture of files.
What Production Sign-Off Can—and Cannot—Confirm
Production sign-off confirms an agreed instruction set; it does not certify every physical outcome.
The minimum sign-off packet should be self-contained. It should identify the order and SKU, motorcycle make/model/year, final version ID, panel map, controlling asset filenames, palette and finish direction, accepted geometry adaptations, resolved artwork questions, and any written answer about cost, timing, or policy effects. If the proof and the written brief disagree, pause and issue a corrected final version; signing one while relying on the other creates two competing instructions.
|
It can confirm
|
It cannot, by itself, confirm
|
|---|---|
|
The exact order, motorcycle application, and selected kit referenced by the brief.
|
Perfect physical fit on a modified or damaged motorcycle.
|
|
The approved base color, secondary colors, finish direction, graphics, text, and panel placement.
|
An exact screen-to-paint or new-paint-to-aged-paint color match.
|
|
Which version supersedes earlier instructions and may enter production.
|
Paint chemistry, long-term durability, impact behavior, or service life unless separately documented.
|
|
Whether named open questions about cost, timing, or artwork have been answered in writing.
|
Permission to reproduce a logo, trademark, character, or other protected artwork.
|
|
The visual criteria to use when reviewing finished-set photos, if those photos are part of the order process.
|
Hidden-surface condition, mounting alignment on the motorcycle, or details not visible in the supplied images.
|
Amotopart’s FAQ currently states that it sends photos of completed fairings for approval before shipment. Those photos can help verify visible color balance, graphic placement, text orientation, and apparent surface condition. They cannot prove the actual color under every light, the fit on your motorcycle, hidden tabs and inner surfaces, or long-term finish performance. Ask which views will be supplied and respond with marked-up images if a visible detail differs from the approved brief.
6. Check the Design at Three Decision Points
Before Production
-
Confirm the base: exact motorcycle, year/variant, kit URL, SKU, and panel layout.
-
Resolve the brief: palette, finish, graphics, text, panel positions, must-haves, and prohibited elements.
-
Close the commercial questions: ask whether complexity changes price, production time, revision handling, cancellation, return eligibility, or support.
-
Issue one sign-off: approve a single version tied to the order number.
After Production, Before Shipment
-
Compare, do not remember: view the finished-set photos beside the final approved file.
-
Check visible placement: color blocks, seam transitions, graphic direction, spelling, numbers, and finish appearance.
-
Identify image limits: ask for another angle or closer view when a required detail is obscured.
-
Respond precisely: mark the panel and describe the difference before shipment approval.
On Delivery
-
Preserve the record: photograph the package and panels before installation or modification.
-
Match the design: compare each panel with the final approved version under neutral, consistent lighting.
-
Separate perception from evidence: check whether a color concern changes under different light and document the conditions.
-
Report promptly: if the item is damaged, incorrect, or visibly inconsistent, follow the current return and damage policy and contact support before modifying the panels.
Scenario-Based Design Advice
If you are adapting a design from another motorcycle
Preserve the design logic, not the exact coordinates. Identify the focal element, dominant color boundary, and direction of movement, then authorize the team to adapt those relationships to the target panel seams. Require approval of any change that affects a must-have logo, number, or focal graphic.
If the design contains many logos, words, or numbers
Create an asset list with filenames, ownership/permission status, exact spelling, required size priority, orientation, and panel placement. Confirm before ordering whether each requested mark can be produced. Do not assume that the ability to upload an image establishes permission to reproduce it or that every submitted graphic will be accepted.
If color matching is the main priority
State what must match: a manufacturer paint code, a physical part, a supplied sample, or only a digital reference. Ask what matching method is available and what tolerance or limitation the seller will accept in writing. Finished-set photos can show relative balance, but screen calibration, camera processing, and lighting prevent them from proving an exact physical match.
If the motorcycle has nonstandard bodywork or accessories
Send clear photographs and measurements of anything that changes visible panel area or mounting context, then ask whether the chosen fairing kit is still the correct base. Design approval should not be used as a substitute for fitment confirmation or a physical test fit after delivery.
When to Contact Amotopart Before Ordering
Contact Amotopart before purchase whenever the request depends on an unpublished service detail. Use the Amotopart contact page and provide the motorcycle, exact product link, and design summary when asking:
-
whether customization is available for the exact SKU;
-
whether a model-specific panel layout, proof, rendering, or other confirmation format will be provided;
-
how many revision rounds are available and when the design becomes locked;
-
whether finished-set photos are provided for this order and what views they will include;
-
whether a special color, finish, artwork, logo, material, or complex graphic changes price or production time;
-
what happens if a visible detail differs from the confirmed brief;
-
how customization affects cancellation, returns, warranty handling, or replacement options.
Frequently Asked Questions
What are the best custom motorcycle fairings for a rider who wants a unique paint scheme?
The strongest choice is a model-year-correct kit whose customization scope can be confirmed for the exact SKU and whose design can be reduced to one approvable specification. Evaluate whether you can provide a labeled panel map, named artwork files, color and finish directions, a revision record, and one production sign-off—and whether the seller explains what proof and completion review are available. “Best” therefore describes a verifiable design-to-approval fit for the rider’s motorcycle and requirements, not a universal winner or a promise of exact color, fit, or durability.
What are the best custom-painted motorcycle fairings for a unique sport bike build?
For a distinctive sport bike build, start with a coherent visual hierarchy rather than adding the maximum number of graphics. Choose one dominant color relationship and one focal element, then map how they read from the front, both sides, rear, and above. Tie graphics to panel seams and vents, coordinate the scheme with visible parts of the motorcycle, and use original or authorized artwork. The result is more controllable when secondary details support the main concept and can be adapted without changing the build’s identity.
What should I prepare before ordering custom-painted fairings?
Prepare the motorcycle make/model/year and variant, the exact product URL or SKU, well-lit photos of the motorcycle, a short design objective, labeled references, base/secondary/accent colors, finish preference, original or authorized artwork, exact text and numbers, panel-placement instructions, and a list of questions about proofing, revisions, timing, and policies.
Can one reference image be copied onto a different motorcycle model?
Not reliably as a literal copy. Different models divide the nose, sides, lowers, tail, and tank area differently. Use the reference to define palette, graphic direction, and focal elements, then approve how those elements are adapted to the target panel geometry.
Does a production sign-off guarantee exact color and perfect fit?
No. Sign-off records the approved specification and version. It does not eliminate display and lighting differences, prove a physical paint match, guarantee fit on a modified motorcycle, or establish durability. Fitment, color method, and product performance require their own evidence and checks.
Do finished-set photos prove the fairings will look identical in person?
No. They can verify visible layout, spelling, graphic direction, relative color balance, and apparent surface condition in the photographed views. They cannot prove physical color under every light, hidden details, installed alignment, or long-term paint performance.
How many revisions can I request?
Do not assume a universal number. Amotopart publicly describes confirmation before production and asks customers to contact the team immediately about changes after work starts, but the available proofing format and revision count should be confirmed for the specific order. Late rework may affect cost or timing.
Can I request any logo, character, or copyrighted graphic?
Do not assume so. Use original or authorized artwork and confirm acceptance before ordering. If a design depends on a third-party mark or protected image, verify that you have the necessary rights and ask whether the requested element can be produced.
How should I inspect custom-painted fairings on delivery?
Photograph the package and panels first, then compare each visible panel with the final approved version under consistent lighting. Check color placement, graphics, spelling, orientation, finish appearance, and shipping damage before installation or modification. Report concerns promptly using the seller’s current support and policy process.
Conclusion
A successful custom-painted fairing order begins with the correct motorcycle and panel base, then turns an idea into controlled instructions. Name the colors and finish, label every reference, map graphics to individual panels, separate required details from flexible ones, track revisions under one version system, and approve a single final brief before production. Review finished-set photos within their limits and compare the delivered parts with the version you actually approved.
For Amotopart, the public process supports submitting an order number and design details, confirming the customization request before production, and reviewing completed-fairing photos before shipment. Start with a model-specific page such as the 2021–2025 Yamaha YZF-R7 Blue Style2 fairing kit, then use the contact page to confirm the exact SKU, customization scope, proof or revision process, artwork, color-sensitive requirements, production timing, and policy implications before placing or approving the custom order.