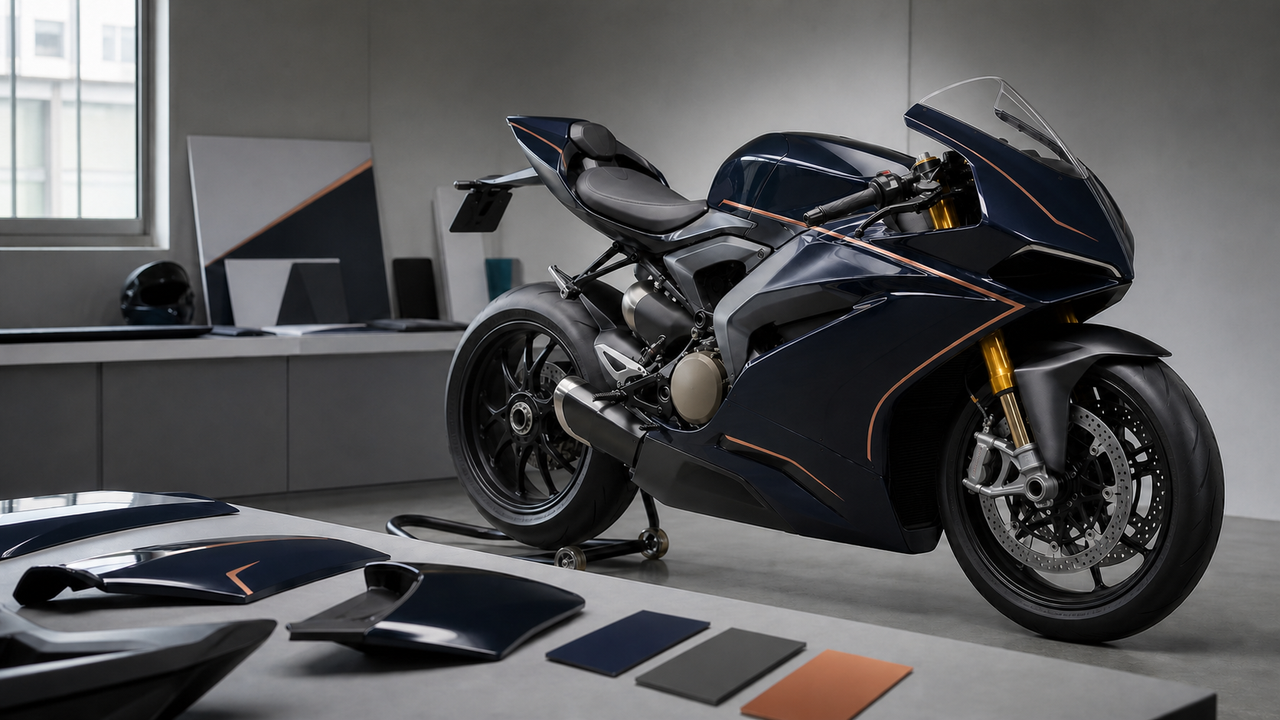
Ordering custom motorcycle fairings is easier when every decision is documented before production begins. Color choices, graphics, finish preferences, and fitment details all need to be clear so the finished kit reflects the rider’s brief.
Amotopart uses a structured custom-order workflow: choose a compatible fairing kit, place the order, submit the design details with the order number, confirm the request before production, and review photos of the completed fairing before shipment. This article explains how to prepare for each step and what to verify along the way.
What Customization Does Amotopart Offer?
According to Amotopart’s current Fairing Free Customization FAQ, standard requests can include custom colors, patterns, graphics, and other design adjustments at no extra charge. More complex work that requires special craftsmanship or uncommon materials may carry an additional fee, which should be confirmed before production.
The custom fairing page describes a simple three-step starting process:
-
Order a fairing kit that matches the motorcycle model and year.
-
Send the order number and customization request to Amotopart.
-
Confirm the request before production begins.
This process keeps the discussion centered on one order, one compatible kit, and one documented design brief.
How to Prepare a Clear Custom Fairing Brief
A strong brief reduces ambiguity. After placing the order, riders can send the design details by email or WhatsApp. Amotopart’s FAQ recommends including the order number along with reference images, a simple sketch or mood board, color names or RGB values, personal or authorized artwork, and font preferences.
1. Confirm the Exact Motorcycle Fitment
Start with the motorcycle’s exact model, model year, and relevant sub-model information. The selected fairing kit must match that fitment before any visual customization is discussed. If the motorcycle has been modified, note any changes that may affect standard mounting points or panel clearance.
2. Define the Color Direction
Provide a primary color, secondary color, accent color, and desired finish such as gloss, matte, or satin. RGB values and well-lit reference photos can make the direction easier to understand, but screen colors can differ from physical paint. Treat digital color references as guidance and discuss any color-sensitive requirement before confirming the request.
3. Organize Graphics and Personal Artwork
Send clean, high-resolution files for any personal or authorized artwork. State which graphics should be added, removed, resized, or repositioned. If the design includes text, provide the exact spelling, capitalization, font preference, and intended location.
4. Explain the Priority of Each Detail
Separate must-have requirements from optional preferences. For example, a rider may treat the base color and number placement as essential while allowing the design team flexibility with smaller accent lines. This helps the team resolve visual conflicts without losing the core concept.
What Happens Before Production Starts?
Once the order number and design brief are submitted, Amotopart confirms the customization request with the rider before production begins. This is the point to clarify the scope, identify any complex elements, and confirm whether the request affects cost or timing.
Before giving approval, review the written design summary and make sure it covers:
-
the correct motorcycle model and year;
-
the chosen base, secondary, and accent colors;
-
the requested gloss, matte, or satin finish;
-
the placement and spelling of text or personal graphics;
-
any areas that should remain unpainted or visually simple;
-
any additional cost or production-time impact for a complex request.
Keep the final confirmation in writing. A single, approved version of the brief gives both the rider and the production team a clear reference.
Can the Design Be Changed After Confirmation?
Changes are easiest before production starts. Amotopart’s FAQ states that the design is locked before production. If a change is requested after work begins, riders should contact the team immediately. An adjustment may still be possible without an extra charge, but completed work that needs rework may carry a fee and extend the timeline.
For that reason, avoid approving a design while important details are still undecided. Resolve color, finish, graphics, and fitment questions first.
How Does Pre-Shipment Approval Work?
Amotopart states that it sends photos of the completed fairing for customer approval before shipment. This is a review of the finished product—not a substitute for confirming the design brief before production.
When the completed-fairing photos arrive, check the following:
-
overall color balance and finish;
-
graphic placement across panel seams and openings;
-
text spelling and orientation;
-
the visible condition of the painted panels;
-
whether the completed design matches the confirmed brief.
If something appears inconsistent, respond before approving shipment and describe the issue precisely. Marked-up screenshots can make the location of a concern easier to understand.
Customization Ideas for Different Riding Goals
A Cohesive Street Build
Street riders can use a restrained color palette, coordinated accent lines, and a consistent finish to connect the fairings with the motorcycle’s seat, wheels, or riding gear. A concise brief often produces a cleaner result than combining too many unrelated visual elements.
A Track-Inspired Layout
For a track-inspired look, prioritize clear number placement, strong contrast, and graphics that remain readable across curved panels. If the motorcycle has frame sliders or other equipment near the bodywork, include photos and measurements so important design elements are not placed in obstructed areas.
A Personal Signature Design
A personal design can be built around an original illustration, a meaningful color combination, or a small custom mark. Confirm that submitted artwork is yours or that you have permission to use it. This keeps the creative direction distinctive without relying on third-party brand identity.
Practical Tradeoffs to Understand
Complex Designs May Affect Cost
Standard color and graphic adjustments may be included, while unusually complex artwork, special craftsmanship, or uncommon materials may require an added fee. Ask for written confirmation before production if the request goes beyond a straightforward color or layout change.
Complex Designs May Affect Timing
Amotopart’s FAQ notes that simple customization typically does not add time, while more complex designs may require a few additional days. Production and shipping timing should be confirmed for the specific order rather than assumed from a general estimate.
Late Changes Can Create Rework
Once production has begun, a late revision may no longer be simple. It can require repainting, extend the schedule, or create a rework fee. A careful written review before confirmation is the best way to reduce this risk.
Final Checklist Before Confirming a Custom Fairing Order
-
Verify the motorcycle model, year, and kit compatibility.
-
Send the order number with the design brief.
-
Provide clear color references and specify the finish.
-
Use high-resolution personal or authorized artwork.
-
Check every word, number, and graphic position.
-
Clarify whether the request changes price or production time.
-
Keep the final approved brief in writing.
-
Review completed-fairing photos before approving shipment.
Frequently Asked Questions
Does Amotopart offer free fairing customization?
Yes. Amotopart’s current FAQ says that standard color, pattern, graphic, and design adjustments can be offered at no extra charge. A complex request involving special craftsmanship or uncommon materials may cost more, and the team should disclose that before production.
How do I submit a custom design?
Place an order for a compatible fairing kit, then contact Amotopart by email or WhatsApp with the order number and design details. Reference images, sketches, color information, personal or authorized artwork, and font preferences can all help clarify the brief.
Will I see the finished fairing before shipment?
Yes. Amotopart’s FAQ says that photos of the completed fairing are sent for customer approval before the order ships.
Can I change the design after confirmation?
Contact Amotopart immediately. A change may still be possible if production has not progressed too far. Reworking completed work may require an additional fee and more time.
Conclusion
A successful custom fairing order depends on clarity more than complexity. Confirm the correct kit, prepare a precise design brief, resolve cost and timing questions before production, and review the completed-fairing photos before shipment.
To begin, visit Amotopart’s custom fairing page, select a compatible kit, and prepare the order number and design references for confirmation.