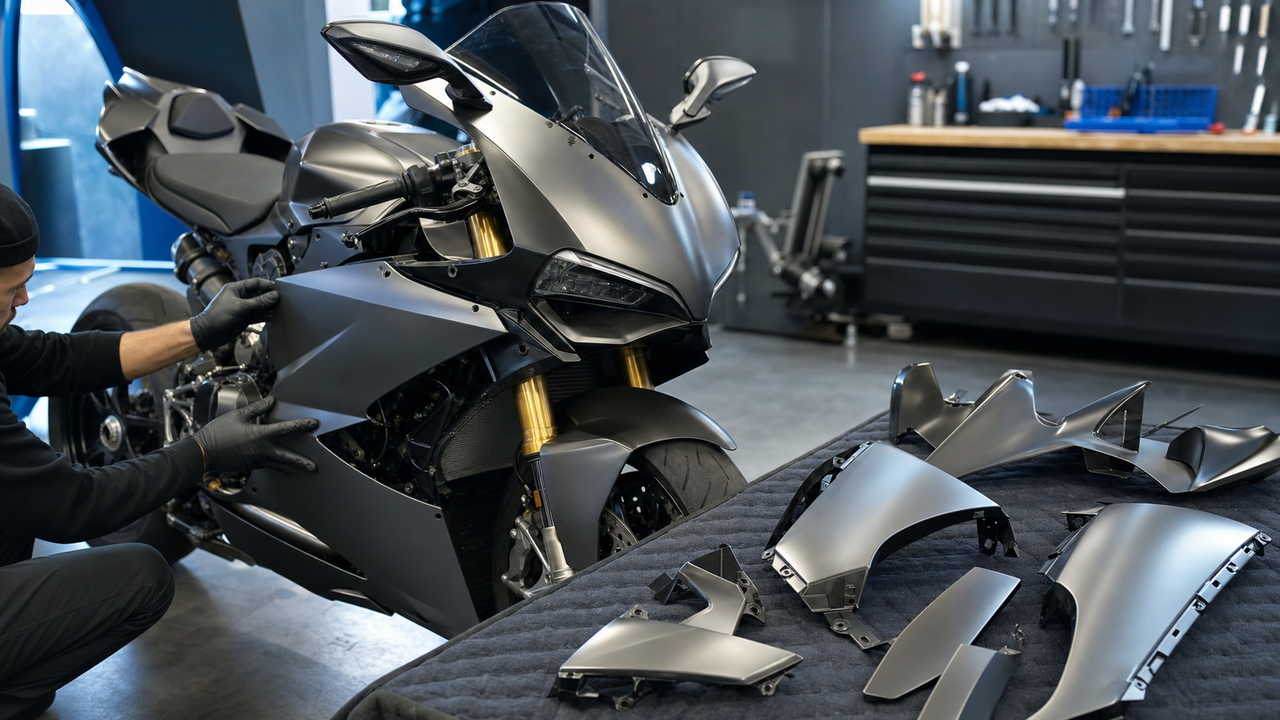
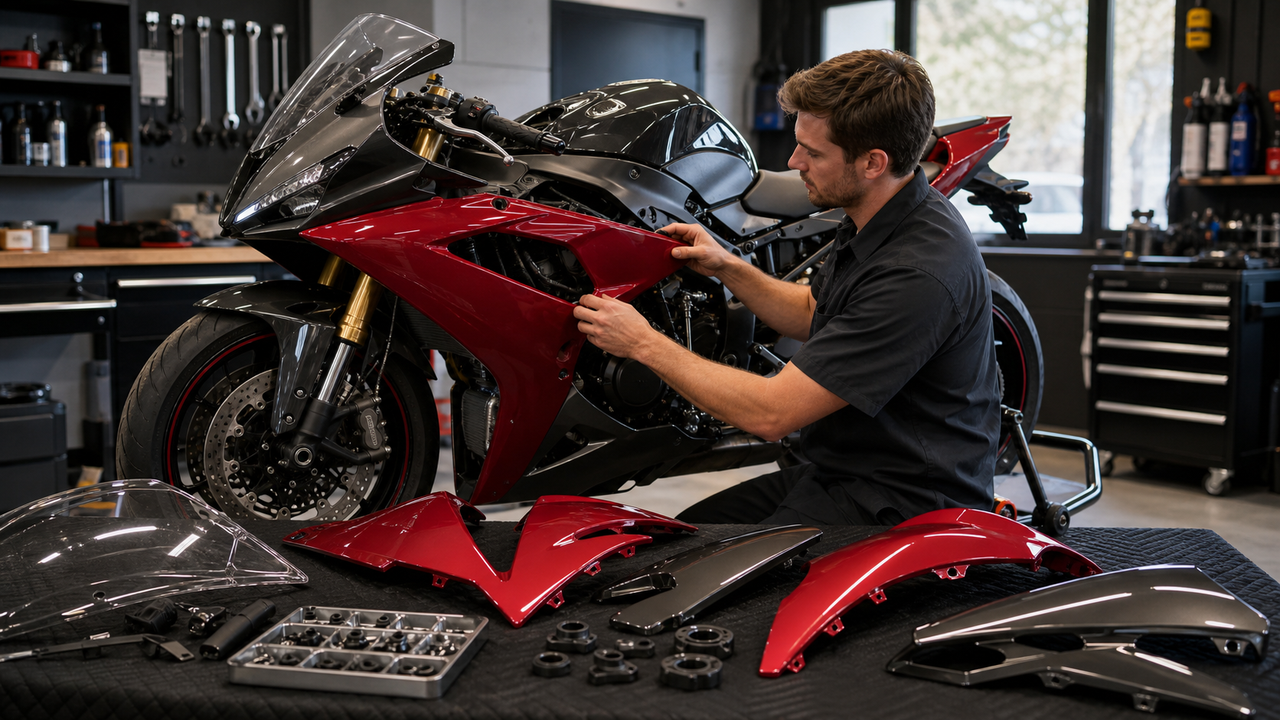
A Yamaha R6 fairing kit should be selected by exact motorcycle fitment first and by color or graphics second. The R6 and R6S names cover several different bodywork families, and panels that look similar in photos may use different mounting points, inner pieces, front-cowl shapes, or air-duct arrangements. The safest starting point is to confirm the model designation, model year, market version, and condition of the mounting hardware before ordering.
For a street motorcycle, a painted ABS kit can be a practical way to replace damaged or faded bodywork while keeping the headlight, mirrors, turn signals, and other road equipment. A dedicated race bike may need track-specific bodywork instead. Neither route should be chosen from material labels alone: the product listing, package contents, mounting design, finish, return terms, and installation plan all matter.
Start With the Exact R6 or R6S Fitment
The most important question is not “Which R6 fairing looks best?” It is “Which fairing family matches this motorcycle?” Amotopart’s current Yamaha R6 and R6S collection separates products into year-based groups. Those catalog labels are useful for narrowing the search, but they are not a substitute for checking the individual listing and the motorcycle itself.
|
Catalog label to look for
|
What the buyer should verify
|
|---|---|
|
1998–2002 YZF-R6
|
Confirm the exact year and compare the existing front, side, tail, and inner-panel shapes with the listing.
|
|
2003–2004 YZF-R6 / 2006–2009 R6S
|
Do not confuse an R6S with the same-year R6. Confirm the model designation, not just the registration year.
|
|
2005 YZF-R6
|
Treat the one-year catalog group as a separate fitment and avoid assuming adjacent years interchange.
|
|
2006–2007 YZF-R6
|
Check the listing title, product photos, and the motorcycle’s front-cowl and mounting arrangement.
|
|
2008–2016 YZF-R6
|
Confirm the listing covers the exact year and note any previous changes to brackets, lights, ducts, or inner panels.
|
|
2017–2023 catalog listings
|
Verify the exact motorcycle, market, and intended street or track configuration with the seller before purchase.
|
If there is any doubt, use the compatibility process described in Amotopart’s current FAQ: provide the motorcycle brand, model, year, VIN when appropriate, and clear photos of the original parts. A previous crash, repaired stay bracket, aftermarket headlight, race conversion, or modified subframe can change the installation even when the product listing names the correct year.
Choose Bodywork for the Motorcycle’s Real Use
Street restoration. A street-use kit must accommodate the equipment that remains on the motorcycle. Before ordering, confirm whether the listing supports the original headlight, mirrors, turn signals, windscreen, inner trim, and any model-specific ducts. ABS is commonly used for painted street fairings because it can form complex shapes and mounting features, but the material name by itself does not prove that every panel will align on a motorcycle with damaged or altered brackets.
Track-only build. Race bodywork may prioritize quick removal, repairability, a closed lower section, or compatibility with track-specific hardware. It may omit openings and mounts required for street equipment. Confirm the rules for the organization or circuit you ride with, then choose bodywork designed for that purpose. Do not assume a street kit and race bodywork are interchangeable simply because both are sold for an R6.
Cosmetic refresh. If only one panel is damaged, compare the cost and color-matching risk of a single replacement with a complete kit. Existing paint may have changed with age and sun exposure, so a newly painted panel can differ from the surrounding bodywork even when the color description sounds correct.
What to Confirm on the Product Page
A useful product page should answer five questions: which motorcycle years are covered, which panels are included, whether the panels are drilled, what accessories come with the kit, and whether the design is stocked or produced after ordering. Read the exact listing instead of relying on a general statement about aftermarket fairings.
For example, this 2008–2016 Yamaha YZF-R6 fairing listing describes a particular kit and its current options. It can help a buyer understand how one listing presents fitment, finish, accessories, customization, production, and shipping information. Those details should remain SKU-specific; they should not be assumed for every colorway, model year, or kit on the site.
-
Model and year: The title and compatibility description should match the motorcycle exactly.
-
Panel list: Ask for a written list or diagram if every piece is not clear in the photos.
-
Accessories: Confirm whether the exact kit includes a bolt kit, windscreen, heat shield, or inner pieces.
-
Finish: Confirm whether the item is painted, unpainted, in stock, or painted after the order.
-
Lead time: Separate production time from shipping time, especially for a custom design.
Amotopart’s FAQ currently states that its fairing kits include the main panels, a bolt kit, a windscreen, and a heat shield, and that its fairings are ABS and pre-drilled. The same FAQ also tells buyers to confirm the contents of a specific kit and notes that minor adjustments may be needed when a motorcycle has model variations or previous modifications. That qualification matters: “pre-drilled” does not mean a damaged bracket becomes straight, and it should not be presented as a guarantee of zero adjustment on every motorcycle.
How to Evaluate Paint and Custom Design
Paint quality cannot be judged from a color name alone. Request clear photos showing the completed design under neutral lighting, paying attention to panel-to-panel color consistency, graphic alignment, clear-coat coverage, edges, and areas around mounting holes. If the kit will sit next to older original panels or a factory fuel tank, expect that age and paint-batch differences may affect the visual match.
For a custom kit, provide reference images, color guidance, logo files, and a written list of what should be added, removed, or repositioned. Amotopart’s FAQ says standard changes to colors, logos, and patterns may be available without an added charge, while complex designs or uncommon materials may cost more. It also says completed-fairing photos can be sent for approval before shipping.
Use that photo approval to check the design and apparent package completeness. It cannot confirm how the panels will fit a motorcycle that the supplier has not inspected. Ask for any change before approval, and keep the final written design confirmation with the order record.
Inspect the Motorcycle Before the Kit Arrives
A good fairing installation begins with the motorcycle, not the new panels. Photograph the original assembly before removal and organize fasteners by location. Check the front stay, side brackets, rear mounts, rubber grommets, well-nuts, clips, and threaded points. Replace damaged or missing mounting hardware with the correct specification rather than forcing a new panel around it.
Also inspect any non-original equipment. Aftermarket lights, exhaust components, sliders, intake parts, windscreens, or track conversions may occupy space that the fairing kit expects to be clear. If a motorcycle has been dropped, measure or professionally inspect the supporting brackets before assuming a fitment problem comes from the new bodywork.
Dry-Fit Before Any Irreversible Work
Unpack the kit carefully and compare every received piece with the confirmed contents. Photograph shipping damage, finish defects, or missing parts before installation. Then dry-fit the major panels with fasteners left loose enough for the assembly to settle. Check clearance around the wheel, controls, exhaust, cooling system, wiring, lights, and moving parts.
Do not begin by heating tabs, enlarging holes, trimming edges, or bending brackets. Those actions can damage paint, weaken a panel, hide the original cause of misalignment, and affect return eligibility. If a hole or tab does not align, stop and check the model-year selection, panel order, underlying hardware, and previous motorcycle damage. Contact the seller with order details and clear photos or video before making a permanent change. Use a qualified motorcycle technician when the mounting structure, road equipment, or safe clearances are uncertain.
After the full assembly sits correctly, tighten fasteners progressively to the motorcycle manufacturer’s specifications. Avoid over-tightening, which can load the plastic around a mounting point. Recheck clearances and fasteners after the initial ride or track inspection as appropriate.
Check the Return Terms Before Modification
Return rules should be reviewed before the kit is drilled, filed, heated, trimmed, installed, or otherwise altered. Amotopart’s current Return & Refund Policy states a 60-day request window, requires eligible items to remain unused and in their original packaging, and lists a 30% restocking fee for returns. The policy also identifies customized or special-order products as items that may not be returnable.
Policies can change, so open the current page again before ordering and ask about the exact product if anything is unclear. Keep the order confirmation, design approval, package photos, and all fitment correspondence until the motorcycle is fully assembled and inspected.
Frequently Asked Questions
Will every Yamaha R6 fairing kit fit every R6?
No. The R6 name spans multiple bodywork families, and the R6S creates an additional naming trap. Match the exact model designation and year to the product listing, then account for market differences and previous motorcycle modifications.
Are Amotopart R6 fairings pre-drilled?
Amotopart’s current FAQ states that its fairings are pre-drilled to OEM specifications. It also notes that minor adjustments may be needed for model variations or previously modified motorcycles. Confirm the exact SKU and investigate the supporting brackets before changing a panel.
What should be included in an R6 fairing kit?
The current Amotopart FAQ describes the main fairing panels, bolt kit, windscreen, and heat shield as included, while also advising customers to confirm the contents of a specific kit. Use the individual listing and written seller confirmation as the final package reference.
Does approval of a custom design confirm fitment?
No. Finished-product photos can confirm the requested colors, graphics, and apparent contents. Actual fitment still depends on ordering the correct kit and on the condition and configuration of the motorcycle.
Should I modify a hole or tab that does not line up?
Not before identifying the cause and checking the return policy. Verify the kit, assembly order, brackets, and previous modifications, then contact the seller with photos. Use professional installation when safe alignment is uncertain.
Final Buying Checklist
-
Confirm Yamaha YZF-R6 versus R6S, exact model year, market version, and intended street or track use.
-
Choose the matching year group in the R6 collection and read the individual product page.
-
Get written confirmation of fitment, panel count, accessories, finish, customization, production time, and shipping estimate.
-
Inspect the motorcycle’s brackets and hardware before removing all original bodywork.
-
Review the current return terms before approving a custom order or making any permanent modification.
-
Dry-fit the complete assembly, resolve misalignment, and tighten only after safe clearances are confirmed.
When the exact motorcycle and the exact kit are matched first, the design choice becomes much easier. Browse the current Amotopart Yamaha R6 and R6S fairing selection, then request fitment and package confirmation for the specific bike before placing the order.