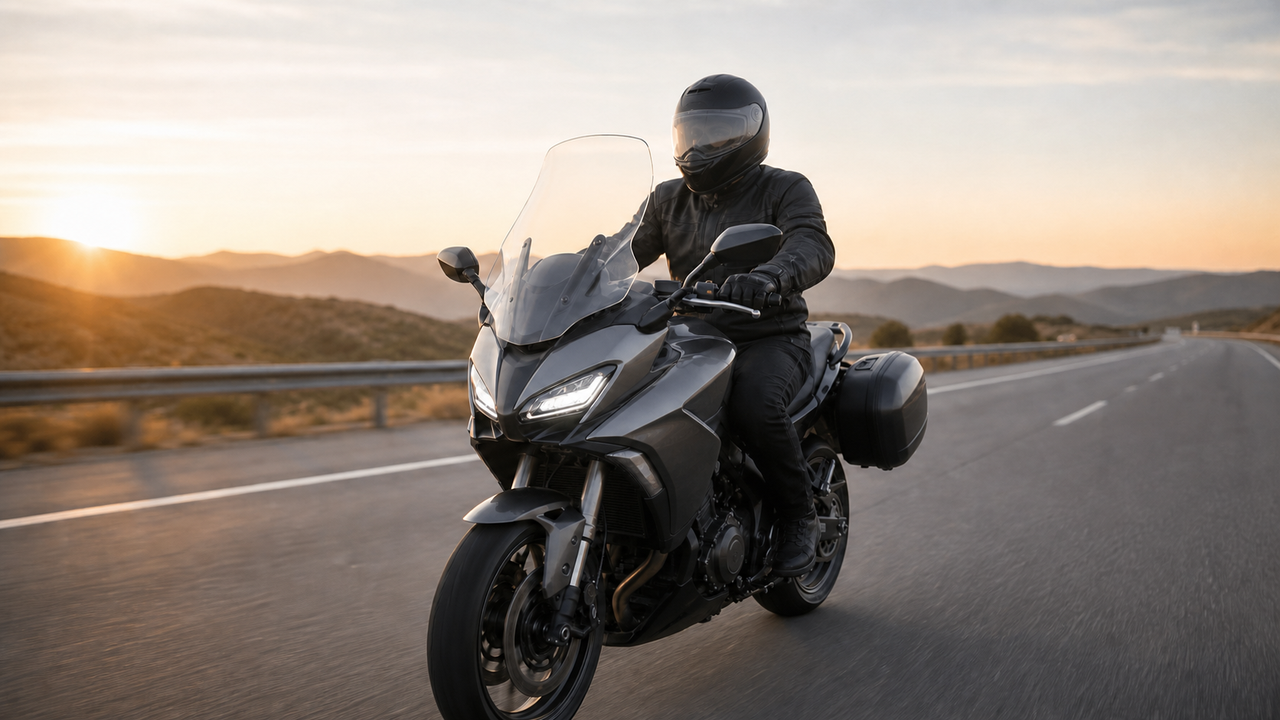
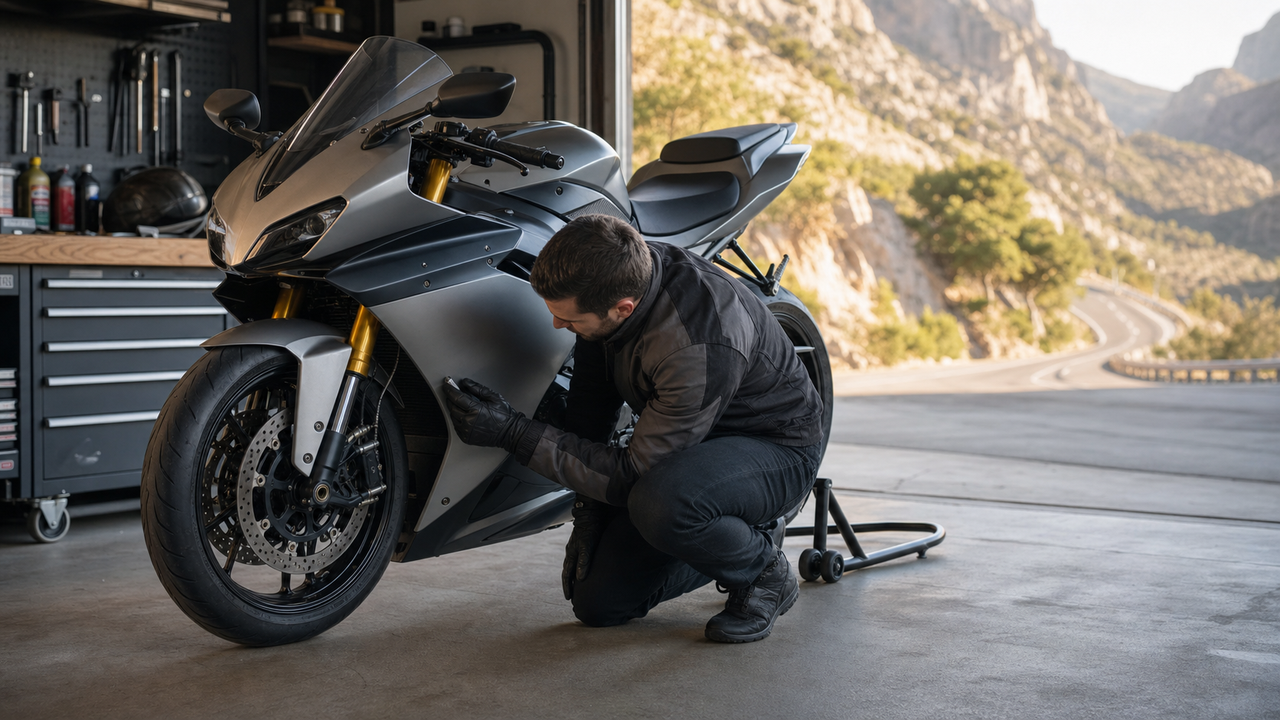
A track day puts more sustained heat into a Yamaha YZF-R1 than an ordinary street ride, especially when the bike has a non-stock exhaust. That does not mean an ABS fairing kit is automatically unsuitable. It means the installation needs to be checked as a complete system: the exact R1 generation, the exhaust layout, the fairing position, and the heat-protection material all matter.
Amotopart identifies its fairings as ABS bodywork and states that its kits are pre-drilled to OEM specifications. Its FAQ also says that kits generally include heat-shield material, while individual product pages list the pieces supplied with a specific kit. Those points are useful, but they are not a published temperature rating or a guarantee for every track setup. The safest approach is to verify the exact kit and inspect the installation before riding at full pace.
The Short Answer
An Amotopart YZF-R1 fairing kit can be considered for a track-day build when it matches the bike’s exact model year, clears the installed exhaust throughout the lower section, and uses heat protection in the correct locations. A pre-drilled kit reduces basic alignment work, but it does not remove the need for a dry fit or account for changes made by an aftermarket exhaust.
If the bodywork touches the exhaust, pulls tightly against a mounting point, or sits differently from the original panels, do not treat the included heat shield as a cure. Correct the fitment first. A shield can help manage radiant heat; it cannot make direct contact or a badly positioned panel safe.
Begin With the Exact R1 Generation
“YZF-R1” is not a complete fitment description. The body shape, mounting layout, and lower-fairing design change between generations. Start with the year range printed on the product page and confirm that it matches the motorcycle itself. For example, Amotopart’s 2015–2019 YZF-R1 listing specifies that generation and lists ABS injection-molded bodywork, pre-cut mounting holes, and a heat shield among the supplied items. That information should not be assumed to apply to an earlier or later R1 kit without checking its own listing.
Before installation, compare the delivered panels and hardware with the product description. If the kit contents, model-year range, or mounting points are unclear, contact the seller before drilling, trimming, painting, or applying adhesive-backed material.
Dry-Fit the Fairings Before Adding Heat Protection
Install the main panels loosely first, then bring them into alignment without forcing the tabs or fasteners. The goal is to see how the fairing naturally sits around the exhaust and engine area. Tightening one section too early can pull another section inward and create a heat-risk point that was not obvious during unpacking.
During the dry fit, inspect the lower fairing from both sides and from underneath. Look for direct contact, a panel edge leaning toward the exhaust, a fastener that distorts the plastic, or a section that changes position when the steering is moved. Also check that hoses, wiring, and heat-protection material will not be trapped between the panel and a hot component.
There is no single clearance number that can be safely applied to every R1, exhaust, and fairing combination. The practical requirement is stable separation throughout the installation, with no contact when the panels are fully secured. If the available space appears marginal, ask a qualified motorcycle technician to inspect the setup rather than relying on a generic measurement.
A Modified Exhaust Changes the Question
A fairing kit designed around the standard body position may fit differently when the motorcycle uses non-stock headers, link pipes, or a full exhaust system. Even when the outer panel bolts into place, the pipe routing underneath may place heat closer to the lower fairing.
Treat any exhaust modification as a reason to repeat the entire clearance check. Do not assume that fitment photos from a stock motorcycle prove compatibility with a modified one. If the exhaust manufacturer provides installation or heat-management instructions, follow those instructions alongside the fairing supplier’s guidance. When the two cannot be reconciled, pause the installation and get professional advice.
Place the Heat Shield Only After Fitment Is Confirmed
Once the panels sit correctly, identify the portions of the inner fairing that face the exhaust area and follow the instructions supplied with the exact kit. The surface should be clean and the material should lie flat, without loose edges that could lift or interfere with mounting points.
Do not cover fastener holes, vents, tabs, or areas that must flex during installation. Avoid stacking unknown insulation products or using adhesives that were not intended for the application. More material is not automatically better if it prevents the fairing from seating correctly or hides a contact point.
Run a Controlled First Heat Cycle
The first check should happen before a full track session. With the motorcycle secured in a suitable, well-ventilated area, bring it up to normal operating condition according to the motorcycle and exhaust instructions. Keep hands, clothing, tools, and flammable material away from hot components.
-
Inspect the lower fairing before starting and record any existing marks or irregularities.
-
Warm the motorcycle gradually while watching for movement, unusual odor, or a shield edge beginning to lift.
-
Shut the motorcycle down and allow it to cool fully before touching or removing panels.
-
Recheck the mounting points, inner surface, shield position, and exhaust clearance.
-
Repeat the inspection after the first short track session instead of waiting until the end of the day.
An infrared thermometer can help compare areas during an inspection, but a single reading is not a pass-or-fail rating for the plastic. Use it as an observation tool, not as proof that the fairing is safe under every riding condition.
Stop and Recheck if You Notice These Signs
-
A new hot-plastic or adhesive odor near the lower fairing
-
Softening, rippling, gloss changes, discoloration, or a newly distorted edge
-
A heat-shield section lifting, folding, or moving toward a pipe
-
A fastener loosening or a panel shifting after the first session
-
Any evidence that the fairing or shield has touched the exhaust
Do not continue riding simply because the panel has not visibly melted. Early changes can indicate that the fitment or heat protection needs attention. Let the motorcycle cool, remove the panel if appropriate, and inspect the complete installation before returning to the track.
When Professional Help Is the Better Choice
Ask an experienced motorcycle technician to review the setup when the exhaust is heavily modified, the fairing requires trimming, the mounting points do not align without force, or the shield instructions are missing. The same applies if a previous panel has already shown heat damage. Track-day organizers may also have their own technical-inspection requirements, so check those rules before arrival.
Bottom Line
The right question is not whether every Amotopart YZF-R1 fairing can withstand an undefined level of “extreme heat.” It is whether the exact kit is correctly matched, installed without exhaust contact, protected according to its instructions, and inspected under the motorcycle’s real configuration.
Confirm the model year, disclose any exhaust changes, dry-fit before applying the shield, and inspect the bodywork after the first controlled heat cycle and short session. Those checks provide a more credible basis for a track-day decision than an unsupported temperature claim.
Sources