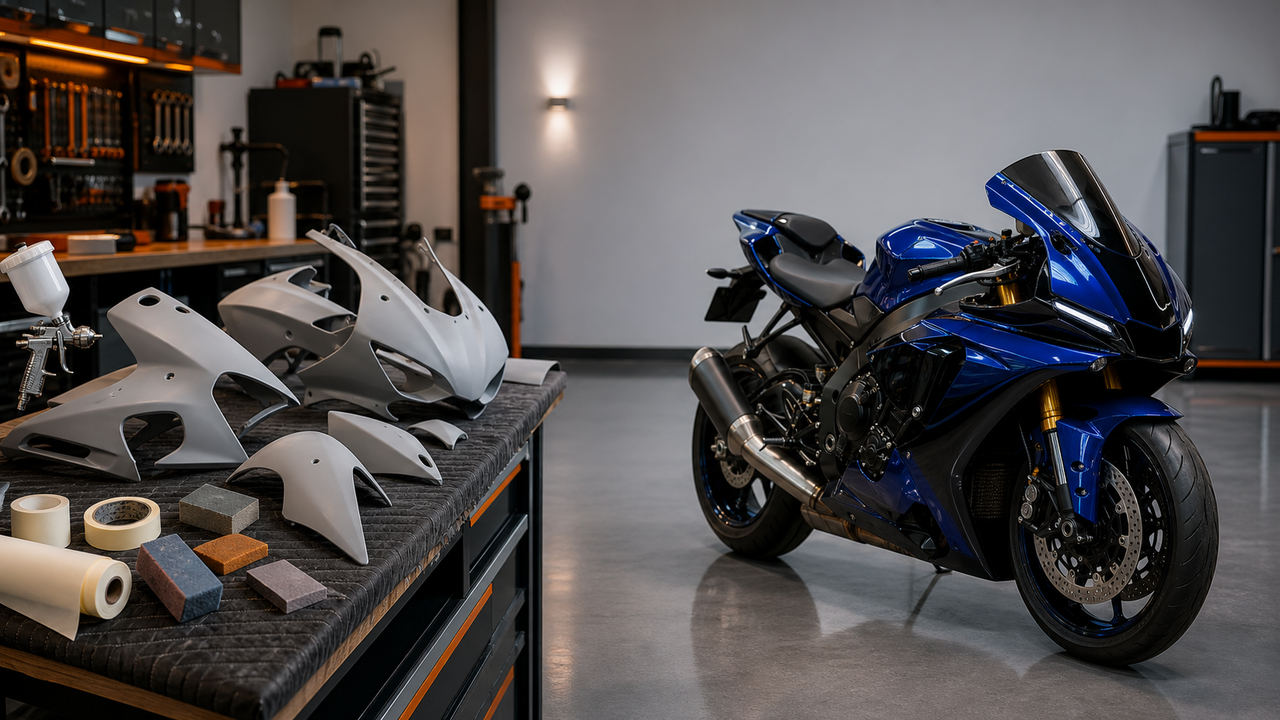
Short answer: an aftermarket ABS fairing kit can be a sensible choice for a daily-ridden Yamaha YZF-R6, but “ABS” alone does not prove fitment, finish quality, or long-term durability. The safest purchase is the kit that matches the motorcycle’s exact year and generation, clearly lists what is included, and is dry-fitted before final tightening.
Start With the Exact YZF-R6 Generation
Fitment is the first decision, not color. Yamaha described the 2017 YZF-R6 as the model’s first major redesign in nine years and documented a newly designed front fairing and windscreen. That means a panel set intended for an earlier generation should not be assumed to fit the 2017 redesign. See Yamaha’s official 2017 YZF-R6 model announcement.
The current Amotopart Yamaha R6 collection separates products into year ranges such as 1998–2002, 2003–2004/R6S, 2005, 2006–2007, 2008–2016, and 2017–2023. Treat those ranges as seller-listed compatibility windows, then confirm the exact model year, market version, and product SKU before ordering. If the motorcycle has been crashed or modified, also inspect the front stay, side brackets, subframe, lights, intake pieces, and mounting hardware because bent or non-standard parts can make a correctly molded panel appear to fit poorly.
What ABS Tells You—and What It Does Not
ABS is widely used for molded body panels because it combines stiffness with some flexibility and can be formed into complex shapes. For street use, that makes it a practical material. However, an ABS label does not establish that every tab, hole, edge, or panel gap will match a specific motorcycle.
When comparing a kit, look beyond the material name and check:
-
Model-specific tooling: the listing should state the exact model and year range.
-
Mounting details: pre-drilled holes and correctly located tabs can reduce installation work, but the complete assembly should still be test-fitted.
-
Finish description: verify whether the kit is painted, unpainted, matte, gloss, or a simulated carbon pattern.
-
Included components: confirm the fairing pieces, windscreen, heat shield, bolts, clips, grommets, and instructions item by item.
-
Support before shipment: for custom colors or graphics, request an approval photo and written confirmation of the final design.
Amotopart’s current painted R6 product pages describe ABS construction, pre-drilled holes, and a three-layer clear-coat finish. Those are seller specifications, not a guarantee that every R6 SKU has identical construction or package contents. Unpainted and painted kits can have different inclusions, so the individual product page and order confirmation should control the purchase decision.
A Practical OEM-vs.-Aftermarket Decision Framework
Choose OEM bodywork when:
-
factory originality and exact factory finish are the main goals;
-
you are replacing only one panel and need the closest possible match to surrounding original pieces;
-
you want a part supported by the motorcycle manufacturer’s own parts documentation.
Consider aftermarket bodywork when:
-
you need several panels and want to compare the total installed cost of a complete kit;
-
you want a color or graphic treatment that is not available as a factory replacement;
-
you are prepared to verify fitment, package contents, finish, and installation requirements before purchase.
Avoid claims such as “factory-perfect,” “identical to OEM,” or “a fraction of the price” unless they are supported for the exact SKU and current market. Compare the delivered cost—including shipping, taxes, replacement hardware, paint, and professional labor if needed—rather than the product price alone.
Daily-Commuter Buying Checklist
-
Identify the motorcycle precisely. Record the model year, VIN-defined model, market version, and whether it is an R6 or R6S.
-
Open the exact product page. Do not rely on a homepage or generic search result. Match the product’s stated fitment window to the motorcycle.
-
Confirm every item in the box. Ask whether the windscreen, heat shield, bolt kit, clips, grommets, and installation instructions are included. Save the written answer.
-
Approve the finish. Confirm gloss or matte, base color, decal placement, logo use, and whether custom graphics require approval before shipment.
-
Plan for the existing bike. Replace damaged well nuts, grommets, clips, or brackets instead of forcing new panels around worn hardware.
-
Budget for installation. A full kit requires careful disassembly, electrical and light clearance checks, heat management, and panel alignment. Use a qualified technician if any of those steps are outside your experience.
Fitment Workflow: Align First, Tighten Last
Before removing the original bodywork, photograph panel overlaps, fastener locations, wiring routes, and heat shielding. Keep hardware grouped by location rather than mixing all bolts together.
-
Inspect the mounting structure. Check the fairing stay, brackets, tabs, grommets, and well nuts for bends, cracks, corrosion, or missing pieces.
-
Inventory the new kit. Compare the delivered parts with the listing and order confirmation before installation begins.
-
Dry-fit the major panels. Install the upper, side, lower, and tail pieces loosely enough to evaluate holes, tabs, lights, intake openings, and panel gaps without loading the plastic.
-
Verify heat and moving-part clearance. Confirm that panels and heat shielding do not contact the exhaust, radiator, steering components, wheels, chain, or suspension through their normal range of movement.
-
Use the correct hardware and torque guidance. Follow the service information for the exact model. Do not force a bolt into a misaligned hole or overtighten a plastic mounting point.
-
Complete a final functional check. Verify lights, indicators, steering movement, fastener security, and clearance before riding.
If a hole or tab does not align, stop and diagnose the cause. The issue may be a bent bracket, an incorrect SKU, an incorrectly positioned adjoining panel, or a manufacturing variance. Enlarging holes or heating tabs before identifying the cause can make the part harder to return and may weaken the mounting area.
Care for Painted ABS Fairings
-
Wash with a mild automotive or motorcycle cleaner and a soft microfiber cloth.
-
Avoid gasoline, acetone, harsh degreasers, and abrasive pads on painted surfaces.
-
Remove fuel spills promptly according to the finish supplier’s care guidance.
-
Inspect fasteners, grommets, panel edges, and heat-shield placement during routine maintenance.
-
Use shade or a breathable motorcycle cover when practical; clear coat slows weathering but does not make paint immune to long-term UV exposure.
Frequently Asked Questions
Are aftermarket ABS fairings durable enough for commuting?
They can be. Material, molding quality, mounting accuracy, finish, installation, heat clearance, and ongoing care all affect service life. A product description should be treated as the starting point for verification, not proof of real-world lifespan.
Do Amotopart R6 kits include bolts, a windscreen, and a heat shield?
Some current painted product pages list those items, while some unpainted listings describe different package contents. Confirm the exact SKU before ordering and keep the written package list with the order.
Will a 2017–2023 listing fit every YZF-R6 in that range?
It is the seller’s stated compatibility range, but the buyer should still confirm the exact year and market version. Existing crash damage, modified brackets, non-standard lights, or mixed-generation parts can also affect fitment.
Can a complete fairing kit be installed at home?
An experienced owner with the correct service information and tools may be able to complete the job, but a full kit is not simply a cosmetic bolt-on. If you are unsure about bracket condition, wiring, lights, heat shielding, clearance, or fastener torque, professional installation is the safer choice.
Final Recommendation
For a daily-ridden Yamaha YZF-R6, prioritize correct generation, documented package contents, a finish you have approved, and a patient dry-fit process. Do not choose a kit on color alone, and do not assume that every product under the same brand includes the same hardware.
Browse the Amotopart Yamaha R6 fairing collection, select the exact year range, and request written fitment and package confirmation for the specific SKU before checkout. That single verification step is more useful than any broad claim about “all aftermarket fairings.”