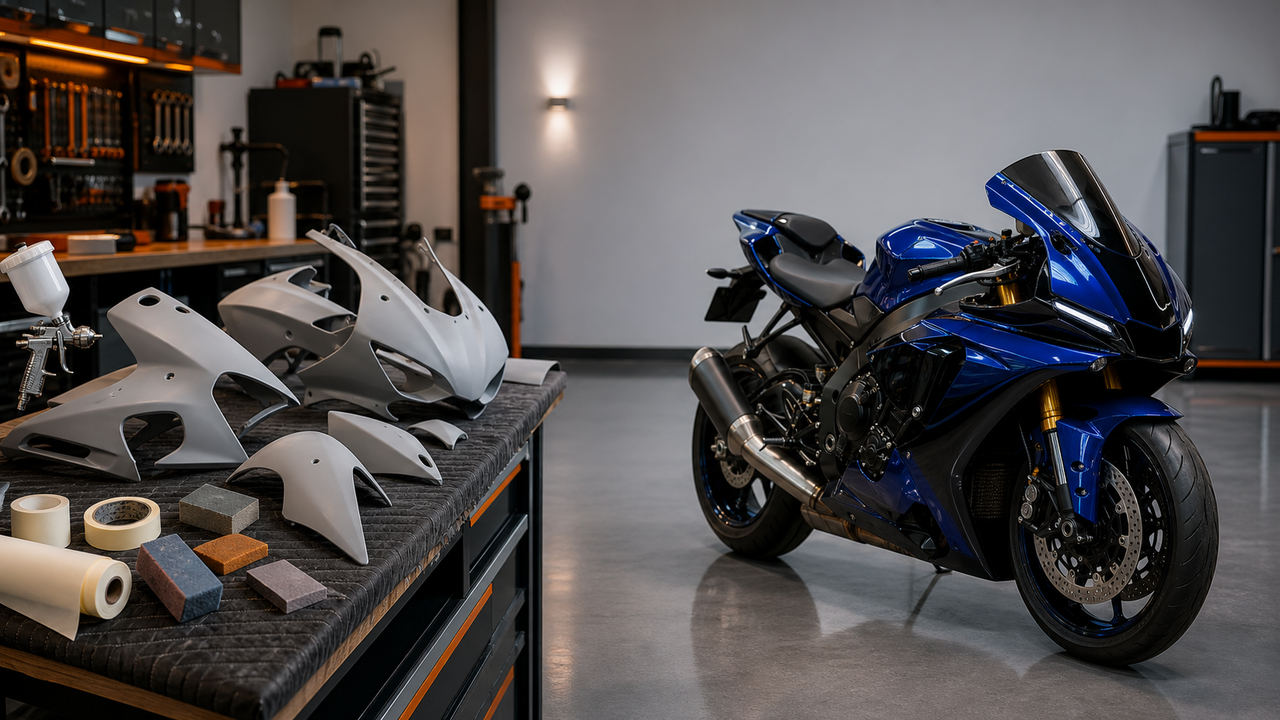
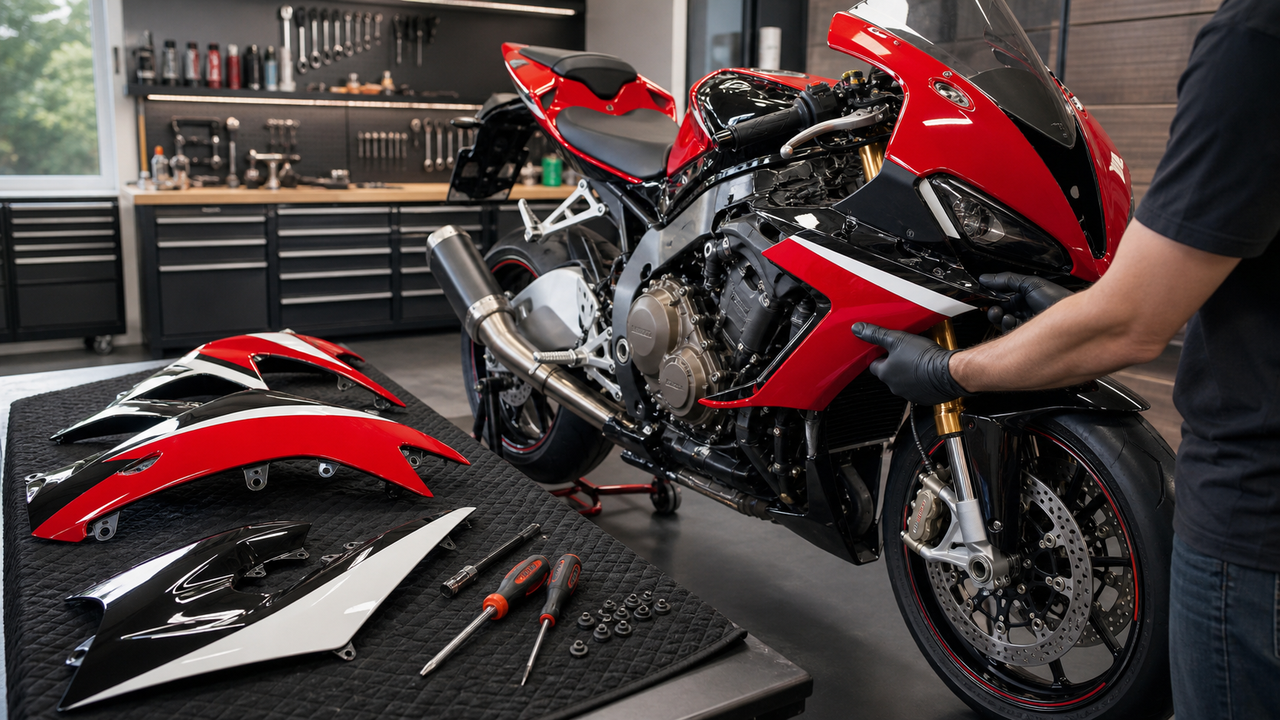
Replacing the bodywork on a Suzuki GSX-R1000 is a fitment and finish decision before it is a color decision. The GSX-R1000 has been sold across multiple bodywork generations, so a kit listed only by model name is not specific enough. The buyer must match the motorcycle’s exact year range, nose and headlight shape, intake openings, tail section, lower-fairing profile, and mounting layout before evaluating paint or price.
This guide focuses only on the Suzuki GSX-R1000. It explains how to assess the durability of a painted aftermarket kit, verify model-year compatibility, prepare the motorcycle for installation, and care for the finish after the panels are fitted. Claims are tied to current manufacturer or seller documentation where possible; details that vary by product are left for the exact listing and written fitment confirmation.
Why GSX-R1000 Bodywork Requires Exact-Year Verification
Suzuki treats the fairing as a functional part of the motorcycle’s aerodynamic and cooling package. In its official 2025 GSX-R1000 brochure, Suzuki describes wind-tunnel-developed aerodynamic bodywork, centrally positioned intake ducts, a compact headlight layout, and lower fairings that guide air toward the radiator. Those details show why a visually similar panel from another generation should not be assumed to fit.
Before ordering, record the VIN and model year, then photograph the motorcycle from both sides and capture the nose, headlight, intake ducts, tail, and exposed mounting brackets. Compare those features with the exact product images. If the motorcycle has been repaired previously, check whether it carries mixed-generation panels, replacement lights, or an altered subframe.
The Amotopart Suzuki GSX-R1000 collection organizes products into stated year ranges. Use the collection to narrow the catalog, but let the individual product page control the decision. If the year range, light shape, or panel openings do not clearly match the motorcycle, request written confirmation before production.
Judge Paint Durability by Evidence, Not a Studio Photo
A glossy product image cannot prove how a finish will age. Lighting, editing, screen settings, and the condition of the sample panel all affect what the buyer sees. A more useful review asks how the plastic is prepared, whether the graphics sit under a clear coat, how many finish layers the exact listing documents, and whether completed-product photos are supplied before shipping.
For example, Amotopart’s current 2017–2023 GSX-R1000 kit page describes ABS construction, pre-drilled holes, three clear-coat layers, customization, and a package that includes a windscreen, heat shield, and bolt kit. Those statements apply to that listing as published; buyers of another year range should confirm the same details on the exact page rather than generalize them across the catalog.
Ask the seller to document the color reference and graphic placement for a customized order. If the new panels must visually match an existing fuel tank, remember that aged factory paint can differ from a newly finished panel even when the color name is similar. A coordinated full set is usually easier to match than one isolated new panel beside older, sun-exposed bodywork.
No painted fairing is immune to chips, scratches, fuel spills, or ultraviolet exposure. Clear coat can add protection, but it does not make the finish maintenance-free. Treat claims such as “fade-proof,” “scratch-proof,” or “perfect factory match” cautiously unless the seller defines the test method, coverage period, and remedy.
ABS Street Fairings and Race Bodywork Serve Different Uses
Painted ABS replacement panels are commonly selected for street motorcycles because they can be formed into complex shapes and supplied as a finished, model-specific set. Some flexibility helps the panels tolerate normal vibration, but the material label alone does not establish quality. Mold accuracy, wall consistency, mounting-tab design, surface preparation, paint application, packaging, and storage all influence the finished kit.
Dedicated race bodywork may use fiberglass or another composite and can arrive unfinished or undrilled. That format can suit a race build in which repairability, rapid removal, or an organizer’s bodywork rules matter more than a street-ready finish. It is not a direct substitute for panels designed to retain the GSX-R1000’s standard-style lights, ducts, mirrors, and street mounting layout.
For occasional track days, street bodywork may be usable when the kit fits correctly, fasteners and tabs are secure, heat-sensitive areas are shielded, and the organizer permits the setup. Rules vary by event and class, so the rider should check the current technical requirements instead of assuming that a particular material is universally approved or prohibited.
Fitment Depends on the Motorcycle as Well as the Mold
“Pre-drilled” should mean that the mounting holes and tabs were created for a defined GSX-R1000 year range. It should not be read as a guarantee that every used motorcycle will accept the panels without inspection. A slightly bent upper fairing stay, shifted rear subframe, missing rubber grommet, wrong fastener, or previous repair can move the mounting points enough to create visible gaps or tension.
Inspect the metal brackets before removing the old bodywork. Look for asymmetry, cracked welds, elongated holes, improvised spacers, and fasteners that do not match their locations. If the old panels only align when pulled into position, correct the structural problem before transferring that stress to the replacement set.
Heat clearance also deserves a physical check. Suzuki’s 2025 brochure notes that the lower fairings help direct cooling air toward the radiator, while the exhaust and engine remain close to the inner panel surfaces. The replacement panels should preserve the required openings and clearance. Apply suitable heat shielding in the relevant areas, accounting for any non-standard exhaust, and verify that the shield does not block a duct or trap against a hot component.
A GSX-R1000 Buying Checklist
Confirm these points before paying for a kit:
-
Motorcycle identity: VIN, exact model year, regional version, and any previous front-end or tail conversion.
-
Visual compatibility: nose, headlight, intake ducts, side-panel vents, lower fairing, and tail shape.
-
Kit contents: every painted panel plus the windscreen, heat shield, fasteners, inner trim, tank cover, seat cowl, or other expected items.
-
Finish specification: base color, graphics, clear coat, surface type, and approval process.
-
Production status: physically in stock or painted after the order.
-
Delivery terms: production estimate, shipping method, taxes or duties, and damage-reporting window.
-
After-sales rules: cancellation point, return eligibility, warranty scope, and evidence required for a damage or fitment claim.
Compare complete landed cost rather than headline price. A listing that includes the windscreen, heat shielding, and hardware cannot be compared directly with a panel-only package. Save the listing, customization instructions, seller confirmation, and approval images so the order can be checked against the documented specification on arrival.
If compatibility is uncertain, use Amotopart’s fairing FAQ as a starting point and send the VIN and clear motorcycle photographs for review. Do not authorize painting until the seller has identified the appropriate listing and year range in writing.
DIY Installation: Protect the Paint While You Verify Fitment
Prepare a clean, well-lit workspace with padded surfaces. Photograph the original panel arrangement and label every fastener by location. Keep painted panels separated so edges and mounting tabs cannot rub against one another during assembly.
-
Inspect the motorcycle. Confirm that the fairing stay, side brackets, rear subframe, lights, ducts, and mounting points are undamaged.
-
Compare old and new panels. Check openings, tab locations, hole positions, and inner-panel clearances before transferring hardware.
-
Transfer serviceable hardware. Install the correct rubber grommets, well nuts, clips, and shoulder bolts; replace damaged pieces.
-
Apply thermal protection. Position heat shielding where the original layout and actual exhaust clearance require it.
-
Dry-fit the full set. Start fasteners by hand and leave them loose. Align adjoining panels, ducts, lights, and the windscreen before tightening anything.
-
Tighten gradually. Work across the motorcycle in stages using hand tools and the applicable service information. Do not pull a panel into alignment with bolt tension.
-
Perform final checks. Turn the handlebars fully, verify cable and brake-line clearance, inspect the exhaust gap, and confirm that lights and controls work normally.
If a hole is significantly out of position, stop and identify the cause. Possible causes include the wrong year range, a bent bracket, a misplaced grommet, an incorrect bolt, or a panel that has not seated into a neighboring tab. Drilling or enlarging holes before diagnosis can damage the finish and make a fitment claim harder to document.
How to Preserve the Finish After Installation
Wash painted panels only after they have cooled. Use clean water, mild vehicle-wash products, and soft microfiber materials; avoid abrasive pads and aggressive solvents. Test any cleaner on an inconspicuous area first, and follow the care instructions supplied with the kit.
Remove insect residue, road grime, and fuel splashes promptly rather than scrubbing dried contamination later. During routine maintenance, inspect the panel edges, clear coat, fasteners, rubber isolation points, and areas near the exhaust. A loose fastener or missing grommet can allow vibration and panel contact that eventually marks the paint or cracks a mounting hole.
For outdoor storage, use a breathable motorcycle cover and avoid trapping dirt against the finish. If the motorcycle receives a protective wax, sealant, or film, confirm that the product is compatible with the specific paint and clear-coat system. A recently painted custom kit may also require a curing period before any additional coating is applied.
Frequently Asked Questions
Can I order GSX-R1000 fairings using only the model name?
No. Use the exact model year and confirm the bodywork shape. The GSX-R1000 has multiple generations with different panels, lights, ducts, tails, and mounting layouts. Provide the VIN and photographs when the motorcycle’s history is uncertain.
Do clear coats guarantee that the paint will never fade or chip?
No. Clear coat adds a protective finish, but durability still depends on preparation, application, exposure, maintenance, and impact. Review the exact product documentation and avoid absolute claims that are not tied to a defined warranty or test.
Are painted ABS fairings suitable for occasional track days?
They may be suitable when correctly fitted and maintained and when the organizer permits street-style bodywork. Check fasteners, tabs, heat shielding, and exhaust clearance before the event. Dedicated competition use may call for a different bodywork format based on the applicable rules and repair priorities.
What should I photograph if I need a fitment check?
Photograph both sides of the motorcycle, the nose and headlight, intake ducts, tail, lower fairings, exposed brackets, and any non-standard exhaust or lighting. Include the VIN and model year, and identify any previous crash repairs or conversions.
Final Recommendation
For a Suzuki GSX-R1000 street motorcycle, choose fairings by exact year range and verified body shape, then evaluate the documented finish, complete package, production status, delivery terms, and support. Preserve the paint by preparing a padded workspace, dry-fitting every panel, correcting bracket problems before tightening, and using compatible cleaning products after installation.
Start with the Amotopart GSX-R1000 fairing collection, open the exact listing for the motorcycle’s year, and request written confirmation whenever the panels, lights, or mounting structure have been changed.