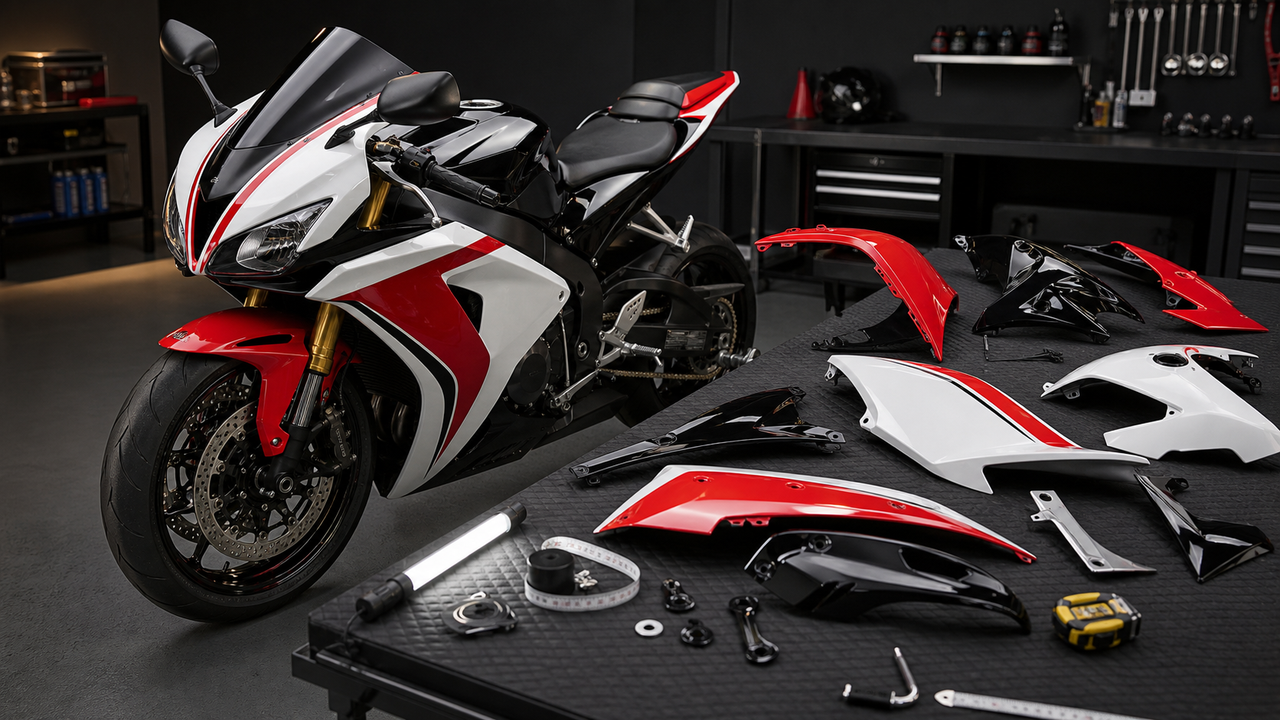
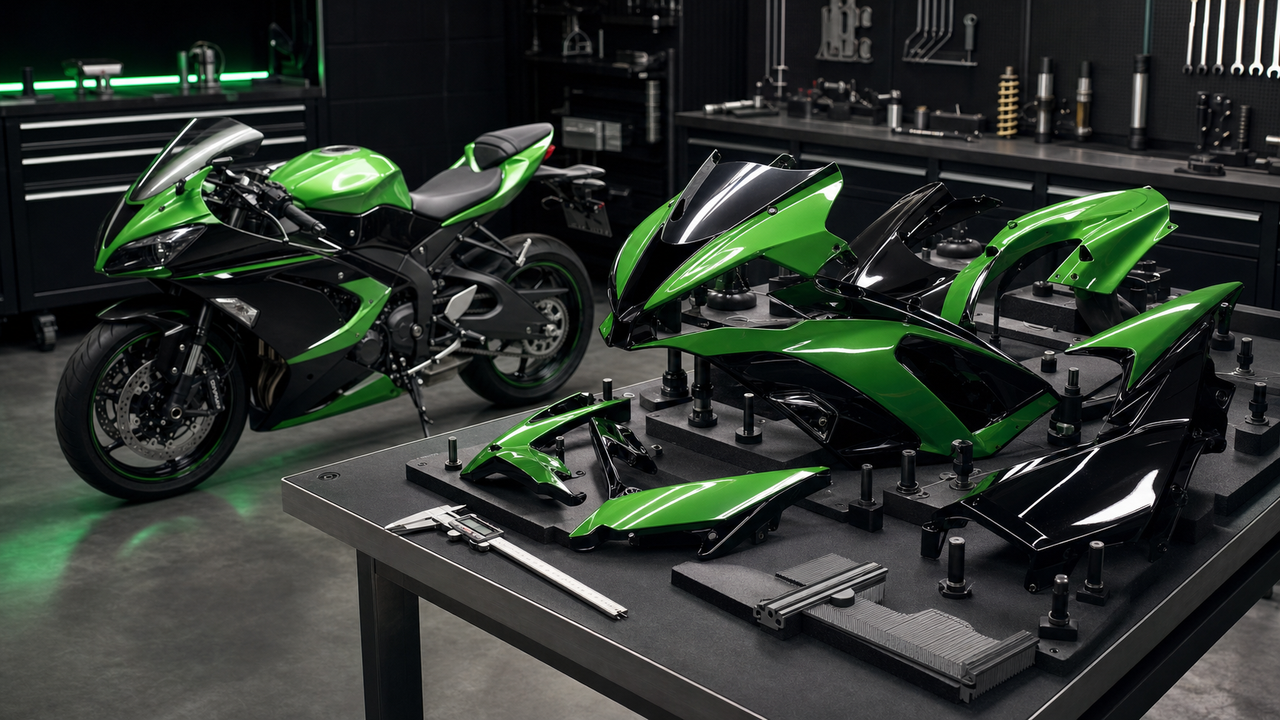
The right Suzuki GSX-R fairing kit starts with four checks: the exact model and year, the intended use, the material and molding method, and the parts included in the package. For most street restorations, a model-specific ABS kit with pre-drilled mounting points is the practical choice. Track-only and custom builds may need a different balance of finish, repairability, and weight.
That decision matters across the GSX-R600, GSX-R750, and GSX-R1000 families because bodywork changes between generations. A fairing listed for the wrong year range can look similar online yet use different tabs, vents, headlight openings, or tail sections. Treat model-year compatibility as the first filter, not an afterthought.
Quick Answer: Which GSX-R Fairing Kit Fits Your Use Case?
Use this three-way decision guide before comparing paint schemes or prices:
-
Street restoration: Choose a model-year-specific ABS kit with pre-drilled mounting points, street-lighting cutouts, and a clear list of included panels and installation hardware.
-
Track-day use: Decide whether you need street-compatible ABS bodywork or dedicated race bodywork. Race-focused fiberglass can be easier to repair after a slide, while ABS kits retain road equipment openings and arrive with a finished appearance.
-
Rebuild or custom design: Prioritize correct generation fitment, confirm whether a tank cover and windscreen are included, and approve the paint layout before production begins.
A good purchase is therefore less about finding a universal “best” kit and more about matching the kit specification to your motorcycle, riding environment, and installation plan.
The Core Decision: OEM vs. Aftermarket GSX-R Fairings
For Suzuki GSX-R riders, maintaining the sleek, aggressive profile of their machine is a point of pride. However, when faced with damaged, cracked, or faded factory plastics, a critical decision must be made: do you invest in original equipment manufacturer (OEM) replacements, or do you opt for an aftermarket fairing kit?
OEM panels are the reference point for factory fit and finish, but they are usually purchased as individual replacement pieces. A complete aftermarket kit can be a more practical route when several panels are damaged, when a full color change is planned, or when the original bodywork needs to be preserved. Compare the total package rather than relying on a headline price.
The trade-off is consistency. OEM parts are built to Suzuki specifications, while aftermarket quality depends on the material, tooling, paint process, quality control, and accuracy of the model-year listing. For that reason, buyers should verify the supplier’s fitment process and ask what support is available if a panel does not align as expected.
Riders also choose aftermarket kits for reasons beyond damage repair. A track-day rider may want to preserve the original bodywork, while a street rider may want a complete color change instead of replacing and repainting several separate panels. The advantage is package flexibility; the responsibility is verifying fitment and contents before ordering.
Once the OEM-versus-aftermarket decision is clear, compare how each candidate kit is manufactured and documented. Tooling, drilling, quality control, and model-year accuracy all affect the installation experience.
Manufacturing Methods: Why ABS Injection Molding Matters
For a street-oriented Suzuki GSX-R kit, ABS is a common choice because it combines rigidity with enough flexibility for normal vibration and installation. The manufacturing process also matters: consistent tooling and accurate mounting points reduce avoidable trimming and alignment work. However, no process label replaces a model-year check or a complete pre-installation test fit.
What is ABS Injection Molding?
In injection molding, heated ABS is formed inside a mold that defines the panel shape, tabs, and other details. When the tooling and quality control are accurate, the process can produce consistent panel geometry across a production run. Buyers should still confirm that the finished kit is drilled for the exact GSX-R generation they own.
Injection Molding vs. Compression Molding: The Mechanical Differences
Compression molding and injection molding form panels differently. Instead of assuming that one label guarantees quality, compare the mounting details, panel consistency, and support information provided for the exact kit:
-
Mounting details: Compare how holes, tabs, vents, and panel edges are formed and finished. Ask whether the kit is pre-drilled and whether any trimming is expected for your model year.
-
Consistency: Injection-molded panels can offer repeatable thickness and geometry, while lower-cost processes may require more hand-finishing. Judge the supplier by its documented fitment support rather than an unsupported “fitment percentage.”
The Installer's Reality: Shaving and Drilling
From an installer’s perspective, the practical question is how much adjustment the kit requires. Minor alignment work can occur with aftermarket bodywork, especially on motorcycles with bent brackets, replaced subframes, or previous repairs. Test-fit every panel before final tightening or paint-sensitive assembly.
Dedicated fiberglass race bodywork can suit closed-course builds, while ABS remains a versatile option for motorcycles that retain headlights, road hardware, and a finished paint scheme. Choose according to the bike’s actual use instead of treating one material as the only valid answer.
What to Look for in a GSX-R Fairing Kit: Key Evaluation Criteria
Paint is the visible part of a fairing kit, but fitment information and package scope determine whether the order is usable. Before checkout, record the motorcycle details and compare the product listing against the same checklist every time.
GSX-R Fairing Kit Order Checklist
-
Motorcycle identity: GSX-R600, GSX-R750, GSX-R1000, or another variant; exact model year; and VIN or original-part photo if the generation is uncertain.
-
Fitment scope: compatible year range, pre-drilled mounting points, lighting and vent openings, and any known installation adjustments.
-
Package contents: main panels, front fender, tail pieces, windscreen, heat shield, bolt kit, tank cover, and model-specific extras.
-
Finish approval: color references, graphics, logo permissions, tank-color match expectations, and pre-shipment photos for custom paint.
-
Order terms: product-page lead time, destination estimate, return policy, and the support process for fitment or shipping damage.
ABS Panel Quality and Mounting Areas
Ask the supplier to identify the fairing material instead of relying on vague labels such as “premium plastic.” ABS is widely used for street fairings because it offers a useful balance of stiffness and flexibility. Also inspect tab shape, panel edges, and mounting areas when the kit arrives; material quality alone cannot compensate for poor finishing or incorrect fitment.
-
Multi-Layer Paint and UV Clear Coat Standards
The finish should be evaluated as a system: surface preparation, base color, graphics, clear coat, and curing. Look for a clear description of the paint process and ask how custom colors are approved. If the existing fuel tank has faded with age, expect a possible color difference between new panels and the original painted metal.
-
Thermal Protection and Heat Shielding
Lower fairings sit close to engine and exhaust heat, so heat shielding and correct installation are important. Confirm whether shielding is included, then place it according to the motorcycle’s hot zones before the final assembly. Damaged exhaust routing or missing factory heat protection should be corrected before new bodywork is installed.
Understanding the Amotopart Approach to GSX-R Fairings
Amotopart’s current product-and-fitment FAQ gives buyers several verifiable checkpoints for a Suzuki GSX-R order: fairings are described as ABS plastic, kits are pre-drilled to OEM specifications, and compatible models and years are listed on each product page.
Amotopart also notes that minor installation adjustments may still be needed when a motorcycle has model variations or previous modifications. If compatibility is uncertain, buyers can provide a VIN or a clear photo of the original part for confirmation. This is especially useful for older GSX-R generations with prior crash repairs or mixed replacement parts.
For custom paint, buyers can submit reference photos, sketches, color values, logo files, and font preferences after ordering. Standard color, logo, and pattern adjustments are offered without an extra customization charge, while complex designs or uncommon materials may cost more. Amotopart states that completed-fairing photos are sent for approval before shipment.
According to Amotopart’s FAQ, a fairing kit includes the main model-specific panels plus a bolt kit, windscreen, and heat shield. Because tank-cover and generation-specific pieces can vary, buyers should still confirm the exact contents of the individual product listing before checkout.
Understanding these manufacturing and material standards helps narrow down the options, but the final choice often depends on how you intend to use your motorcycle.
Matching Your Fairing Kit to Your Riding Use Case
A commuter restoring sun-faded panels, a track-day rider preserving factory bodywork, and a custom builder planning a new color scheme do not need the same package. Define the primary use first, then compare only the specifications that matter for that use.
-
Track Day Riders: Aerodynamics and Rapid Replacement
For riders who spend their weekends at the circuit, fairings are functional aerodynamic aids and sacrificial protection. Track day riders prioritize:
-
Aerodynamic Efficiency: Clean lines that minimize drag at high speeds.
-
Lightweight Construction: Reducing overall bike weight to improve handling and lap times.
-
Ease of Replacement: Knowing that a low-side slide is always a possibility, track riders need bodywork that is cost-effective to replace.
While professional racers often opt for specialized fiberglass or carbon fiber track bodywork, track day enthusiasts frequently choose high-quality ABS injection-molded kits as a durable, pre-painted, and highly affordable alternative that can be swapped out without breaking the bank.
-
Street Restoration: OEM Aesthetics on a Budget
If you are restoring a crashed, scratched, or sun-faded GSX-R for daily street use, the goal is usually a clean, coordinated appearance without sourcing each panel separately. A model-specific aftermarket ABS kit can provide a practical middle ground, provided the year range, road-equipment cutouts, finish, and included pieces are confirmed first.
-
Custom Builders: Personalized Styling and Unique Colorways
For a custom build, prepare visual references before ordering: preferred base colors, graphics placement, logos you are authorized to use, and any areas that must coordinate with the fuel tank or wheels. Amotopart offers standard design adjustments without an additional customization charge; complex craftsmanship or uncommon materials may add cost and time.
-
Stunt Riders: High-Impact Flexibility
Frequent drops and repeated removal place extra stress on tabs and fasteners. Riders building for stunt practice should prioritize replaceable panels, accessible hardware, and careful inspection after every impact. No fairing material should be treated as crash-proof.
No matter which category you fall into, selecting the right kit is only half the battle. To ensure your chosen fairings look and perform as intended, you must approach the installation process with the right strategy. In the next section, we will break down the step-by-step fitment workflow to help you set realistic expectations and achieve a seamless installation.
Fitment Workflow: Setting Realistic Installation Expectations
Once the kit is selected, installation should begin with patience and a complete test fit. Even well-made aftermarket panels may need minor alignment, especially on motorcycles with previous repairs. A systematic mounting sequence helps prevent tension, scratched paint, and broken tabs.
Phase 1: Pre-Installation Preparation
Before removing a single bolt from your Suzuki GSX-R, prepare your workspace:
-
Organize every fastener: Separate the included bolt kit from reusable OEM rubber grommets, push pins, clips, and model-specific brackets. Group parts by nose, tail, left side, and right side before removing the old bodywork.
-
Inspect and Clean: With the old plastics off, take the opportunity to clean the exposed frame, engine brackets, and ram-air ducts. Inspect the metal mounting brackets on your bike's frame; if the bike has ever been dropped, these brackets may be slightly bent and must be gently realigned before installing new plastics.
Phase 2: The Step-by-Step Mounting Sequence
To prevent tension buildup across the bodywork, follow a specific installation order:
-
The Tail Section: Start at the rear. Gently spread the tail fairing open to slide it over the subframe, taking care not to scratch the paint. Secure it loosely to its mounting points.
-
The Nose Cowl and Headlight: Mount the front nose fairing and headlight assembly to the upper bracket. Do not tighten the bolts completely yet.
-
The Side Fairings: Slide the upper side fairings (which often integrate the ram-air scoops on GSX-R models) into the nose cowl. Once the upper sides are aligned, attach the lower side panels.
-
The V-Panel and Belly Pan: Connect the V-shaped plastic piece behind the front wheel and secure the bottom push pins joining the left and right lower fairings.
Phase 3: Managing Alignment Tolerances
Because aftermarket ABS plastics can expand or contract slightly during shipping and curing, you may encounter minor alignment variances.
-
Keep Bolts Loose: The golden rule of fairing installation is to leave all bolts at "finger-tight" tension until every single panel is in place. This allows the panels to shift and settle, making it much easier to align the remaining tabs.
-
Use gentle alignment: If a tab is slightly off, apply even pressure and recheck the surrounding brackets. Never hammer or sharply bend a painted panel, because excess force can damage the tab or finish.
By establishing a clean workspace and following this structured sequence, you set yourself up for a smooth, rewarding installation. However, even with a perfect workflow, there are several critical pitfalls that can ruin your new bodywork during the process.
Common Installation Mistakes to Avoid
Even with a high-quality kit, a motorcycle fairing installation can easily go wrong during the assembly phase. While aftermarket manufacturing tolerances can vary slightly compared to factory-original parts, many common issues—such as cracked panels, uneven gaps, or melted plastic—stem from preventable installation errors. Understanding these pitfalls ensures your Suzuki GSX-R looks and performs as intended.
-
Forcing Misaligned Tabs and Over-Tightening Bolts
ABS is flexible, but mounting tabs can still crack when the assembly is forced into tension. Do not fully tighten one panel while the rest of the kit is still loose. Hang and align the complete set first, then tighten the fasteners gradually while checking panel gaps.
-
Neglecting Heat Shield Placement
The lower fairings on a GSX-R sit incredibly close to the exhaust headers and engine block, where temperatures can soar. High-quality aftermarket kits typically include adhesive-backed thermal shielding, but neglecting to install it—or positioning it incorrectly—is a recipe for warped or melted plastic. Take the time to measure, cut, and firmly apply the heat shield to the inner surfaces of the lower panels, especially around high-heat zones.
-
Reusing Worn-Out OEM Rubber Grommets
Factory rubber grommets and well nuts absorb engine vibrations and distribute clamping force evenly. Over time, these rubber parts dry out, flatten, or tear. Reusing degraded grommets instead of replacing them leads to loose panels, annoying rattles, and uneven pressure points that can stress the plastic over time. Investing in a fresh set of hardware ensures a snug, vibration-resistant fit.
By avoiding these mechanical missteps, you protect your investment and ensure a clean, flush finish. However, even with flawless installation techniques, it is important to understand the inherent limitations of opting for aftermarket bodywork over OEM replacements.
Trade-offs and Limitations of Aftermarket Fairings
Aftermarket fairings can combine broad model coverage, complete paint schemes, and customization, but they still involve trade-offs. Set expectations for production, color matching, installation, and after-sales support before placing the order.
-
Production and Shipping Timelines
Production and delivery time varies by product, destination, and design complexity. Amotopart advises buyers to use the estimate on the specific product page; more complex customization may add a few days. If the motorcycle must be ready for a track day or trip, order against that listing-level estimate and leave time for inspection and test fitting.
-
The Reality of Color Matching
A new painted kit may not look identical beside an older fuel tank because the original finish can fade or change with years of sun and use. Request approval photos under neutral lighting, provide accurate color references, and consider a matching tank cover or professional tank repaint when a seamless color match is essential.
Confirm Included Hardware and Reusable Parts
Package contents differ across suppliers, so never assume that hardware is excluded or included. Amotopart’s current FAQ states that its fairing kits include a bolt kit, windscreen, and heat shield, but original rubber grommets, clips, or model-specific brackets may still need inspection or replacement. Confirm the individual listing before disassembly.
Frequently Asked Questions
What is the most durable material for a Suzuki GSX-R fairing kit?
For a street-legal Suzuki GSX-R that retains factory-style lights and mounting points, ABS is a practical all-around material because it balances shape retention with flexibility. Dedicated race bikes may use fiberglass bodywork for different priorities. The best choice depends on use, fitment, and repair strategy rather than material alone.
Do aftermarket fairings fit exactly like OEM Suzuki GSX-R fairings?
OEM panels remain the reference for factory fit. A model-specific aftermarket kit can fit closely, but it may require minor alignment—particularly if the motorcycle has bent brackets or previous repairs. Avoid suppliers that advertise an unexplained fitment percentage; verify the year range, pre-drilling, and support process instead.
How long does it take to receive a custom-painted GSX-R fairing kit?
There is no single delivery time for every custom-painted kit. Production depends on design complexity, while shipping depends on the product and destination. Use the estimate shown on the specific Amotopart product page; the company notes that simple customizations typically do not add time and that complex work may require a few additional days.
Does the fairing kit come with a tank cover and mounting hardware?
Amotopart’s current FAQ states that its fairing kits include the main model-specific panels, a bolt kit, windscreen, and heat shield. A tank cover and other generation-specific pieces may vary by listing, so confirm the exact package for your GSX-R model year before ordering.
Can I customize the paint scheme on my Suzuki GSX-R fairings?
Yes. Amotopart accepts reference photos, sketches, color values, logo files, and font preferences for custom designs. Standard color, logo, and pattern adjustments are offered without an extra customization charge; complex designs or uncommon materials may cost more. Buyers receive completed-fairing photos for approval before shipment.
Conclusion
Choosing a Suzuki GSX-R fairing kit is a specification exercise, not a search for the loudest paint scheme or the lowest headline price. Start with the exact model year and intended use, then verify fitment details, package contents, finish approval, and order terms.
To ensure a successful upgrade, keep these key takeaways in mind:
-
Match the exact generation: Confirm GSX-R model, year range, and any prior modifications before ordering.
-
Compare the complete package: Check panels, windscreen, heat shield, bolt kit, tank-cover status, paint approval, and listing-level lead time.
-
Test-fit before final tightening: Inspect brackets and grommets, keep fasteners loose until all panels align, and contact support before drilling or forcing a tab.
Browse the Amotopart catalog by Suzuki GSX-R model and year, then use the checklist above to compare the product page with your motorcycle before checkout. If the generation or package contents are unclear, request fitment confirmation first.