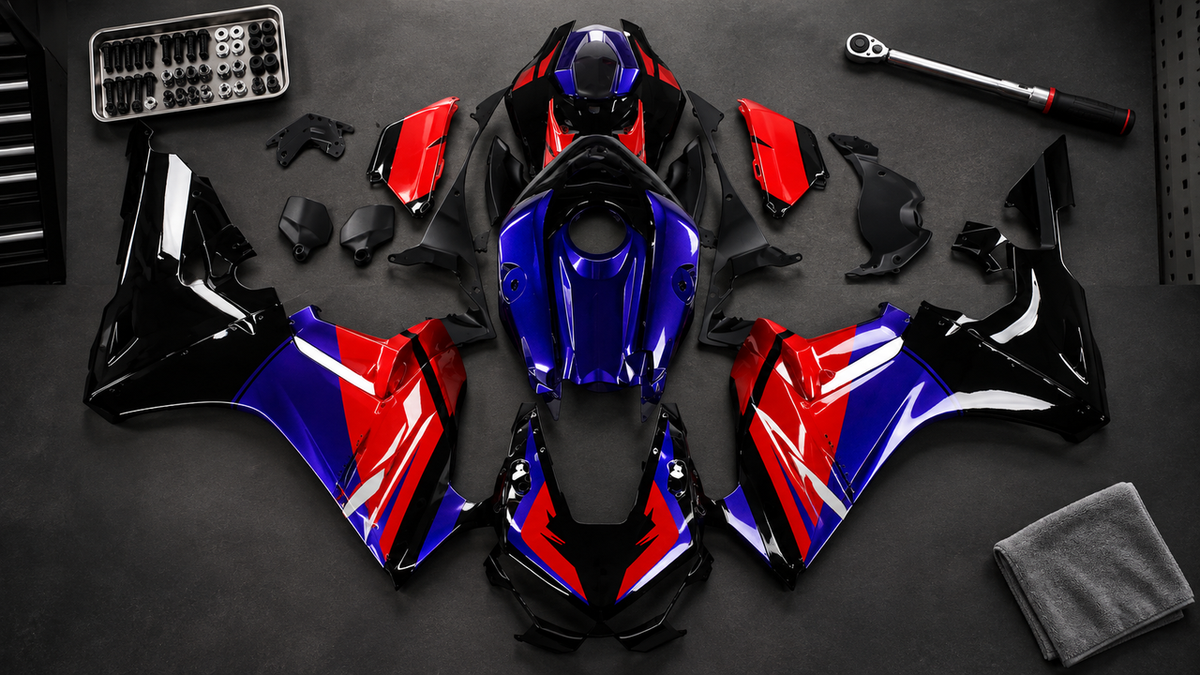
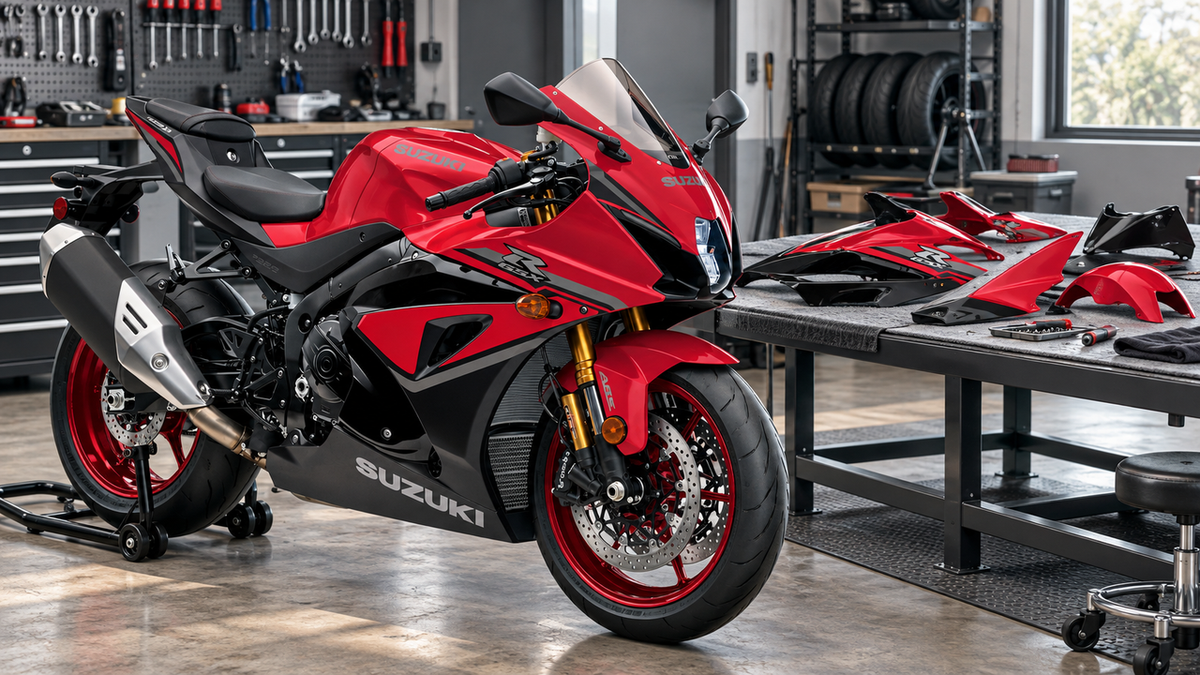
Direct answer: The best Yamaha motorcycle fairings are the ones that match the bike’s exact model, documented model year, and bodywork generation before color or graphics enter the decision. For a multi-panel rebuild, a model-specific full kit is usually the practical starting point. For isolated damage, a verified single panel or professional repair may preserve more usable bodywork. R1, R6, and R3 fairings are not interchangeable across generations, even when adjacent years look similar in photos.
A clean sport bike rebuild starts with identification, not a paint scheme. Yamaha reused R-family names across major bodywork changes, and those changes can affect the nose, headlight openings, side-panel joints, intake ducts, tail pieces, inner panels, and mounting locations. The safest buying path is therefore model → model year → catalog generation → damage scope → finish.
Use This Yamaha Fairing Selection Path Before You Shop
|
Decision
|
What to confirm
|
Why it matters
|
|---|---|---|
|
1. Model family
|
YZF-R1, YZF-R6, YZF-R6S, or YZF-R3
|
Similar R-series styling does not mean the panels share geometry or mounting points.
|
|
2. Documented model year
|
Registration, VIN label, and Yamaha documentation
|
A registration year, sale year, and model year are not always the same.
|
|
3. Bodywork generation
|
Front cowl, light openings, side-panel seams, tank cover, tail, and ducts
|
These visible features help catch a listing that names the wrong year group.
|
|
4. Rebuild scope
|
One panel, several connected panels, or the full exterior set
|
The damage map determines whether a full kit is economical or unnecessary.
|
|
5. Finish route
|
Painted, unpainted, or custom-painted
|
The right route depends on the existing tank, local paint plan, and desired visual consistency.
|
Use the current Yamaha fairings and bodywork catalog as a discovery tool, then make the individual listing—not a collection thumbnail—the final fitment reference. Save the product URL and SKU, and request written confirmation when the model, market version, or year range is unclear.
Best Yamaha R3 Fairings: Treat Every Catalog Range as a Separate Generation
The R3 deserves the strictest year check because its compact sport-bike silhouette can make different generations look deceptively close on a small screen. Amotopart’s current R3/R25 collection separates the bodywork into four main catalog groups: 2014–2018, 2019–2021, 2022–2024, and 2025–2026. Those labels are buying filters, not permission to extend compatibility beyond the exact listing. U.S. buyers should also verify the actual R3 model year and market version rather than assuming every R3/R25 label applies equally.
For a 2025–2026 R3. Start only with a listing that explicitly names the newer generation. Yamaha describes the 2025 YZF-R3 as receiving a new front fairing, new side panels, a new tail section, and a new single projector-type headlight with four-element position lights. Those are strong visual checkpoints. If the product photos show the earlier twin-eye face or different side-panel cuts, stop and recheck the listing.
For a 2022–2024 R3. Keep the order within the dedicated 2022–2024 catalog range. Amotopart offers both painted options and an unpainted 2022–2024 R3/R25 kit, which makes this generation a useful example of how finish choice should follow the rebuild plan. Do not move to a 2019–2021 or 2025–2026 set because the overall profile looks familiar.
For a 2019–2021 or earlier R3. Use the exact catalog group and compare the original nose, headlight openings, side-panel junctions, and tail with the product images. The collection also includes pages that mention R25 alongside R3; confirm that the exact product page covers the motorcycle being rebuilt. For a deeper R3-only checklist, see Amotopart’s Yamaha R3 fairing guide.
Best Yamaha R1 Fairings: Narrow the Bike to the Correct R1 Year Group
The R1 has a long production history, so “R1 fairings” is not a complete fitment description. The current R1 collection separates earlier motorcycles into ranges including 1998–1999, 2000–2001, 2002–2003, 2004–2006, 2007–2008, 2009–2011, and 2012–2014, followed by 2015–2019 and 2020–2026 groups.
For a recent R1 rebuild, begin with either the 2015–2019 or 2020–2026 range shown in the catalog, then open the exact product page and compare the front cowl, intake layout, side panels, tail, and listed package. For an older R1, never “round” the year into a nearby group. A 2006 bike and a 2007 bike sit on opposite sides of a catalog boundary, as do a 2014 and a 2015.
A full kit is most useful when damage or finish inconsistency spans the nose, both sides, lower sections, and tail. If only one R1 panel is affected, first check whether the surrounding paint can be matched and whether the seller can supply that exact piece. Replacing the whole exterior for one cosmetic defect may add cost and installation work without improving the underlying motorcycle.
Best Yamaha R6 Fairings: Confirm R6 Versus R6S Before Checking Color
The first R6 question is not blue or black; it is R6 or R6S. Amotopart’s current R6 collection includes distinct groups for 1998–2002, 2003–2004, 2005, 2006–2007, 2008–2016, and 2017–2023, while some pages pair 2003–2004 R6 bodywork with 2006–2009 R6S applications. That makes the exact sub-model label essential.
For a 2017–2023 or 2008–2016 R6, use the matching collection group and verify the product title, SKU, finish, and included pieces. For earlier bikes, check the motorcycle’s documents and original bodywork before using a page that mentions R6S. Similar lineage is not proof that an R6 and R6S share every panel, bracket, light interface, or air duct.
Also inspect the fairing stay, headlight supports, mirror mounts, ducts, side brackets, and tail supports before ordering. A model-specific outer shell cannot correct bent or missing hardware underneath it.
Should You Buy a Full Kit, Several Panels, or One Panel?
|
Rebuild condition
|
Best starting route
|
What to inspect first
|
|---|---|---|
|
One scuffed panel with intact tabs
|
Professional refinishing or a verified single panel
|
Cracks on the back, stressed bolt holes, edge distortion, and color-match expectations
|
|
One broken panel plus damaged neighbors
|
Several connected panels or a complete kit after inspection
|
Shared fasteners, overlap joints, hidden tabs, and bracket alignment
|
|
Multiple cracked, missing, faded, or mismatched panels
|
Model- and generation-specific full kit
|
Fairing stay, lights, ducts, inner panels, heat shielding, and transferred hardware
|
|
Unknown crash history or visibly crooked bodywork
|
Inspect and repair the motorcycle-side structure before buying panels
|
Stays, brackets, subframe, cooling components, steering clearance, and previous modifications
|
Do not use new plastic as a diagnostic tool for impact damage. If the motorcycle-side mounts are displaced, even a correctly listed fairing set can appear to “fit badly.” Resolve structural and support issues before finalizing the bodywork order.
Painted or Unpainted Yamaha Fairings?
Choose painted fairings when the generation is already confirmed, several panels need replacement, and the goal is a coordinated finished appearance. Before ordering, confirm whether the exact SKU is already finished or will be painted after purchase, what the package includes, and how the new scheme will look beside the existing fuel tank and any retained panels.
Choose unpainted fairings when a trusted local painter will control preparation, color matching, and graphics, or when the rebuild needs a finish that is not available in a standard listing. “Unpainted” does not remove the need for a complete dry fit before surface preparation and paint.
Choose a custom-painted kit only after the base kit’s fitment is confirmed. Keep one written brief covering color, gloss or matte finish, graphics, logo placement, areas to remain plain, and the approval point before production. Custom artwork cannot make the wrong generation fit.
A Seven-Step Yamaha Fairing Buying Checklist
-
Record the bike precisely. Write down Yamaha model, sub-model, documented model year, and market version.
-
Identify the bodywork generation. Compare the original nose, lights, side-panel seams, tank cover, tail, and ducts with the listing.
-
Map the damage. Photograph every affected panel, mounting tab, bracket, and adjoining joint.
-
Choose the replacement scope. Decide among repair, one panel, several panels, or a full coordinated kit.
-
Open the exact product page. Confirm the stated model-year range, SKU, finish, and panel list instead of relying on a search thumbnail.
-
List transferred parts. Check lights, screen, ducts, heat protection, inner panels, grommets, clips, and fasteners.
-
Dry-fit before final tightening or paint. Start all fasteners loosely, align adjoining panels, check steering and heat clearances, and investigate resistance instead of forcing a panel.
Frequently Asked Questions
What are the best Yamaha fairings for an R3 rebuild?
Use a model-specific set from the exact R3 catalog group: 2014–2018, 2019–2021, 2022–2024, or 2025–2026 as currently organized by Amotopart. Verify the actual model year, market version, and original bodywork before ordering, especially when a listing also mentions R25.
Can Yamaha R1 fairings fit several nearby model years?
Only when the exact product page explicitly lists those years. The R1 collection is divided into multiple generation-specific ranges, so visual similarity is not enough to extend a listing to an adjacent year.
Are Yamaha R6 and R6S fairings interchangeable?
Do not assume so. Some catalog pages identify specific R6 and R6S year combinations, but the exact listing must name the motorcycle. Confirm the sub-model, year, original panel shape, and seller’s written fitment statement.
Is a full fairing kit always the best choice?
No. A full kit is practical when several connected panels are damaged or the finish is inconsistent. A verified single panel or repair can be better for truly isolated damage with sound mounting points.
Do pre-drilled fairings guarantee a no-adjustment installation?
No. Pre-drilled holes describe the replacement panels, not the condition of the motorcycle. Prior damage, bent stays, missing grommets, non-stock parts, and transferred hardware can all affect alignment.
Bottom Line
The best Yamaha fairing purchase is not the most dramatic color or the largest package. It is the solution that survives five checks: exact model, documented year, correct bodywork generation, appropriate replacement scope, and a verified finish and package list. Give the R3’s generation boundaries special attention, separate R6 from R6S, and treat every R1 catalog range as its own fitment decision. Once those facts are confirmed, the choice between one panel, a painted full kit, and an unpainted project set becomes much easier—and far less dependent on guesswork.