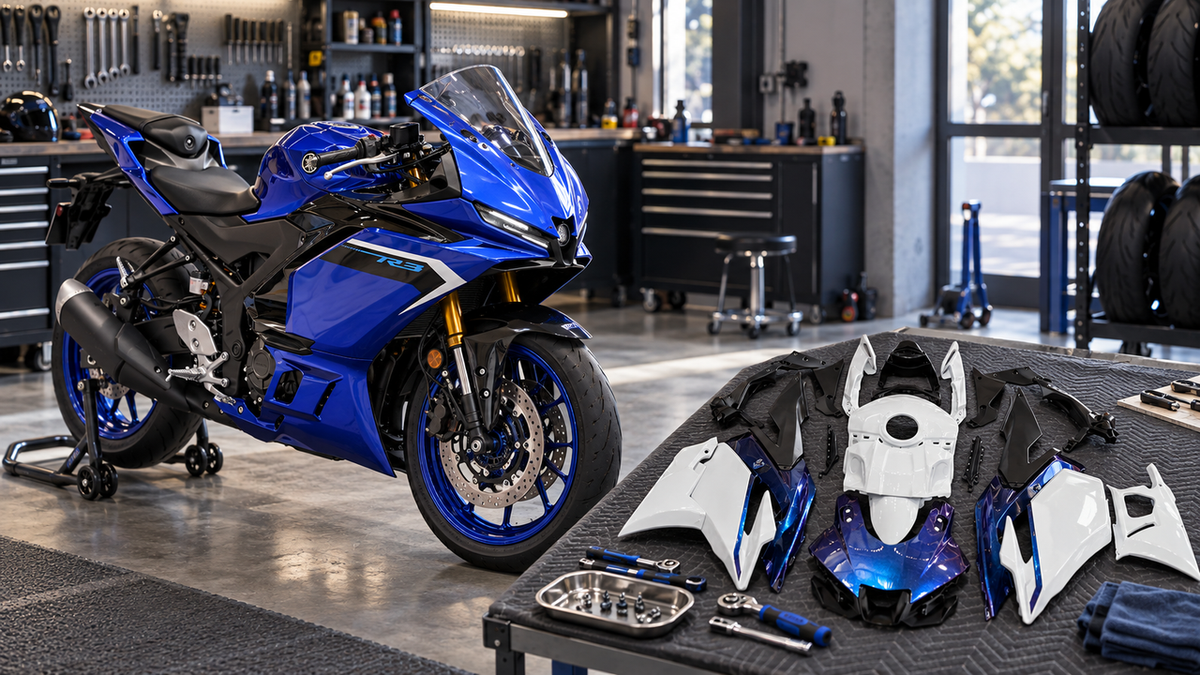
Direct answer: The best Honda motorcycle fairings for a CBR rebuild are the panels that match the exact CBR model, model year, and bodywork generation, then fit the actual scope of the repair. Choose a single panel when the damage is isolated and the surrounding finish can still be matched. Choose several related panels when one side or one mounting area is affected. Choose a full painted kit when damage is spread across the bike or when a consistent finish matters more than preserving original panels. Choose an unpainted kit only when custom preparation and paint are already part of the project.
For a street-bike rebuild, the smartest purchase is rarely the option with the fewest pieces or the lowest initial cost. It is the option that avoids a second order, minimizes finish mismatch, and does not force damaged brackets or distorted mounting points to carry new bodywork.
Start with model, year, and bodywork generation
“Honda CBR fairings” is too broad to be a reliable buying description. CBR600RR, CBR1000RR, CBR500R, and CBR650R bodywork is not interchangeable. Even within one model name, Honda changed the nose, side-panel shapes, vents, tail sections, and mounting locations across generations.
Use the VIN, registration, frame label, or owner documentation to confirm the exact bike before shopping. Then compare that information with the year range shown on the fairing listing. For example, the CBR1000RR fairing collection separates kits into model-year groups rather than treating every CBR1000RR as the same motorcycle. The same principle applies when browsing CBR600RR fairings, CBR500R fairings, and CBR650R fairings.
Do not order by engine size alone. A 600-class Honda from one generation can look close to another in a small product photo while using different tabs, panel seams, headlight openings, or fastener locations. Model, year, and generation are the first three filters; color comes later.
Choose the repair scope before choosing the kit
|
Bike condition
|
Best starting option
|
Main reason
|
|---|---|---|
|
One cracked or deeply scratched panel
|
Single replacement panel
|
Keeps the repair focused if adjacent pieces and mounts are sound
|
|
Damage concentrated on one side
|
Matching side group or several related panels
|
Improves seam alignment and finish consistency around the impact area
|
|
Front cowl, side panels, and tail all affected
|
Full fairing kit
|
Reduces the risk of piecing together incompatible or visibly mismatched sections
|
|
Bodywork is mostly intact but the finish is inconsistent
|
Full painted kit or professional refinishing
|
Treats the motorcycle as one visual system
|
|
Custom color project with paint work already planned
|
Unpainted kit
|
Gives the painter a common starting surface
|
For isolated damage, inspect beyond the visible crack. A low-speed tip-over may appear to affect only one side panel, but the impact can also stress inner tabs, the stay, fastener points, or the neighboring lower panel. A single replacement is sensible only when those supporting areas remain straight and secure.
For multi-panel damage, think in connected zones. The front cowl, inner panels, side fairings, and lower fairing meet at specific seams. If several pieces in the same zone are damaged, replacing them as a related group can be more predictable than fitting one new panel between two distorted old ones.
For a full cosmetic reset, judge the entire bike. Faded paint, repaired cracks, missing tabs, and mixed graphics can make repeated panel-by-panel repairs inefficient. A complete kit may be the cleaner route when the goal is a visually unified street bike rather than the preservation of otherwise sound original pieces.
Inspect mounting points before spending money on bodywork
New fairings cannot correct a bent support or a broken attachment point underneath them. Before ordering, remove enough damaged bodywork to inspect the fairing stay, side brackets, rubber grommets, clips, speed nuts, well nuts, and the tabs on panels you plan to keep.
Look for holes that no longer line up naturally, brackets pulled toward the impact side, missing rubber isolators, cracked inner plastics, and old fasteners that have been forced into place. If an old panel only fits when it is twisted or pushed hard, treat that as a warning that the structure beneath it may need attention.
During installation, begin with a loose test fit. Position the major pieces and start the fasteners without fully tightening them. Check the headlight opening, windscreen edge, side seams, lower-fairing connection, and tail alignment. Tighten gradually only after the full group sits without unusual tension. Forcing one hole into position can move the problem to the next seam or tab.
Painted or unpainted: choose by project complexity
Painted fairings are usually the practical choice for a street rebuild. They combine replacement and finishing into one purchase decision, which can simplify a project that already includes disassembly, hardware checks, and reinstallation. They are especially useful when several visible panels need to look consistent.
Unpainted fairings are a project material, not simply a cheaper-looking alternative. They make sense when you want a custom color, already have access to a painter, or plan to prepare and finish every panel as a set. The real workload can include inspection, surface preparation, primer, color, clear coat, curing, and final correction. If those steps were not already part of the rebuild plan, an unpainted kit may add more complexity than expected.
Replacing one painted panel requires a stricter color check. Original paint can fade, repaired panels may already differ from factory color, and pearl or metallic finishes can look different under daylight. Compare the listing photos, the finish description, and the current motorcycle before assuming one new panel will disappear into the old bodywork. If color continuity is central to the result, refinishing adjacent panels or choosing a complete painted set may be more predictable.
For a deeper comparison, see painted vs. unpainted motorcycle fairings.
Budget for the whole rebuild, not just the fairing listing
A useful project budget includes every part required to make the bodywork sit correctly and look intentional. The fairing purchase may be the largest line item, but it is not always the only one.
|
Project area
|
What to account for
|
Why it matters
|
|---|---|---|
|
Bodywork
|
Single panel, related panel group, or full kit
|
Defines the basic repair scope
|
|
Mounting hardware
|
Fasteners, clips, rubber well nuts, grommets, and retainers
|
Old or missing hardware can prevent a clean installation
|
|
Underlying supports
|
Fairing stay, brackets, inner panels, and attachment tabs
|
New outer panels depend on straight mounting structures
|
|
Finish work
|
Color matching, preparation, paint, graphics, or clear coat
|
Determines whether repaired sections look like one bike
|
|
Installation
|
Tools, workspace, professional labor, and reassembly time
|
Affects the real effort required to finish the project
|
|
Related inspection
|
Lights, windscreen, mirrors, controls, and damaged accessories
|
A crash or tip-over may affect more than visible plastics
|
This is why a single panel is not automatically the least expensive path and a full kit is not automatically excessive. The better choice is the one that resolves the complete damage pattern with the fewest follow-up purchases and the least avoidable rework.
A practical buying path for common Honda CBR rebuilds
CBR600RR: Confirm the year range before comparing colors. If the bike has one-side road damage, inspect the connected mid and lower panels together. If the nose, both sides, and tail have accumulated damage or mixed finishes, a full kit becomes easier to justify.
CBR1000RR: Treat each bodywork generation as a separate platform. The CBR1000RR collection visibly groups listings by different year ranges, which is the right mental model for purchasing. Do not assume a similar headlight shape or engine designation means the mounting layout is unchanged.
CBR500R: For a daily street bike, practical priorities usually outweigh race-replica appearance. Check the damage zone, the condition of the retained panels, and whether the chosen finish will be easy to live with after regular commuting and parking.
CBR650R: Pay close attention to the transition between the front cowl, side panels, and lower sections. If several adjoining pieces have been stressed, a coordinated group or full set may produce a more coherent repair than isolated replacements.
What to confirm before ordering
-
Exact Honda CBR model and model year
-
Bodywork generation and year range shown on the listing
-
Whether the motorcycle is a standard or special variant with different bodywork
-
Every damaged outer panel, inner panel, tab, bracket, and mounting point
-
Whether the listing is for one panel, a partial group, or a complete kit
-
Which hardware or trim pieces are included and which must be reused
-
Painted or unpainted finish, plus any graphics or color-matching expectations
-
Photos of both sides, the front, the tail, and exposed mounting areas for comparison
If the bike has crash damage rather than cosmetic wear, use the broader crashed sport-bike fairing rebuild guide to separate bodywork replacement from the inspection of structural and control-related components.
Frequently asked questions
Should I buy one panel or a complete fairing kit?
Buy one panel when the damage is truly isolated, the neighboring panels and mounts are sound, and the finish can be matched acceptably. Choose a complete kit when damage spans several zones, old panels have inconsistent finishes, or repeated individual purchases would make the rebuild harder to control.
Can fairings from a different CBR year fit my motorcycle?
Do not assume they will. Honda can change body shapes, mounting points, lighting openings, and panel interfaces between generations. Match the exact model and the listing’s stated year range before considering color or graphics.
Are painted fairings better for a daily street bike?
They are often the simpler route because finishing is already part of the product decision. Unpainted fairings are better when custom preparation and paint are intentional parts of the project.
What if the new fairing holes do not line up during the test fit?
Stop and check the underlying stay, brackets, retained panels, and hardware. Do not solve every mismatch by forcing or enlarging a hole. One misaligned support can shift several panel seams at once.
What is the best first step for a CBR rebuild?
Document the motorcycle’s exact model and year, remove enough bodywork to inspect the mounting structure, photograph the complete damage pattern, and then decide whether the project calls for one panel, a connected panel group, or a full kit. That sequence turns fairing shopping into a repair decision instead of a color decision.
Final recommendation
For most Honda CBR street-bike rebuilds, the best fairings are not defined by one material, color, or kit size. They are defined by correct model-year compatibility and a repair scope that matches the motorcycle’s real condition. Confirm the CBR generation first, inspect every mounting point, choose the smallest replacement scope that still produces a structurally sound and visually coherent result, and budget for hardware, finish work, and installation as part of the same project.
Use the Honda fairing kit buying guide as a final pre-order check, then browse the matching Amotopart CBR collection by model and year.