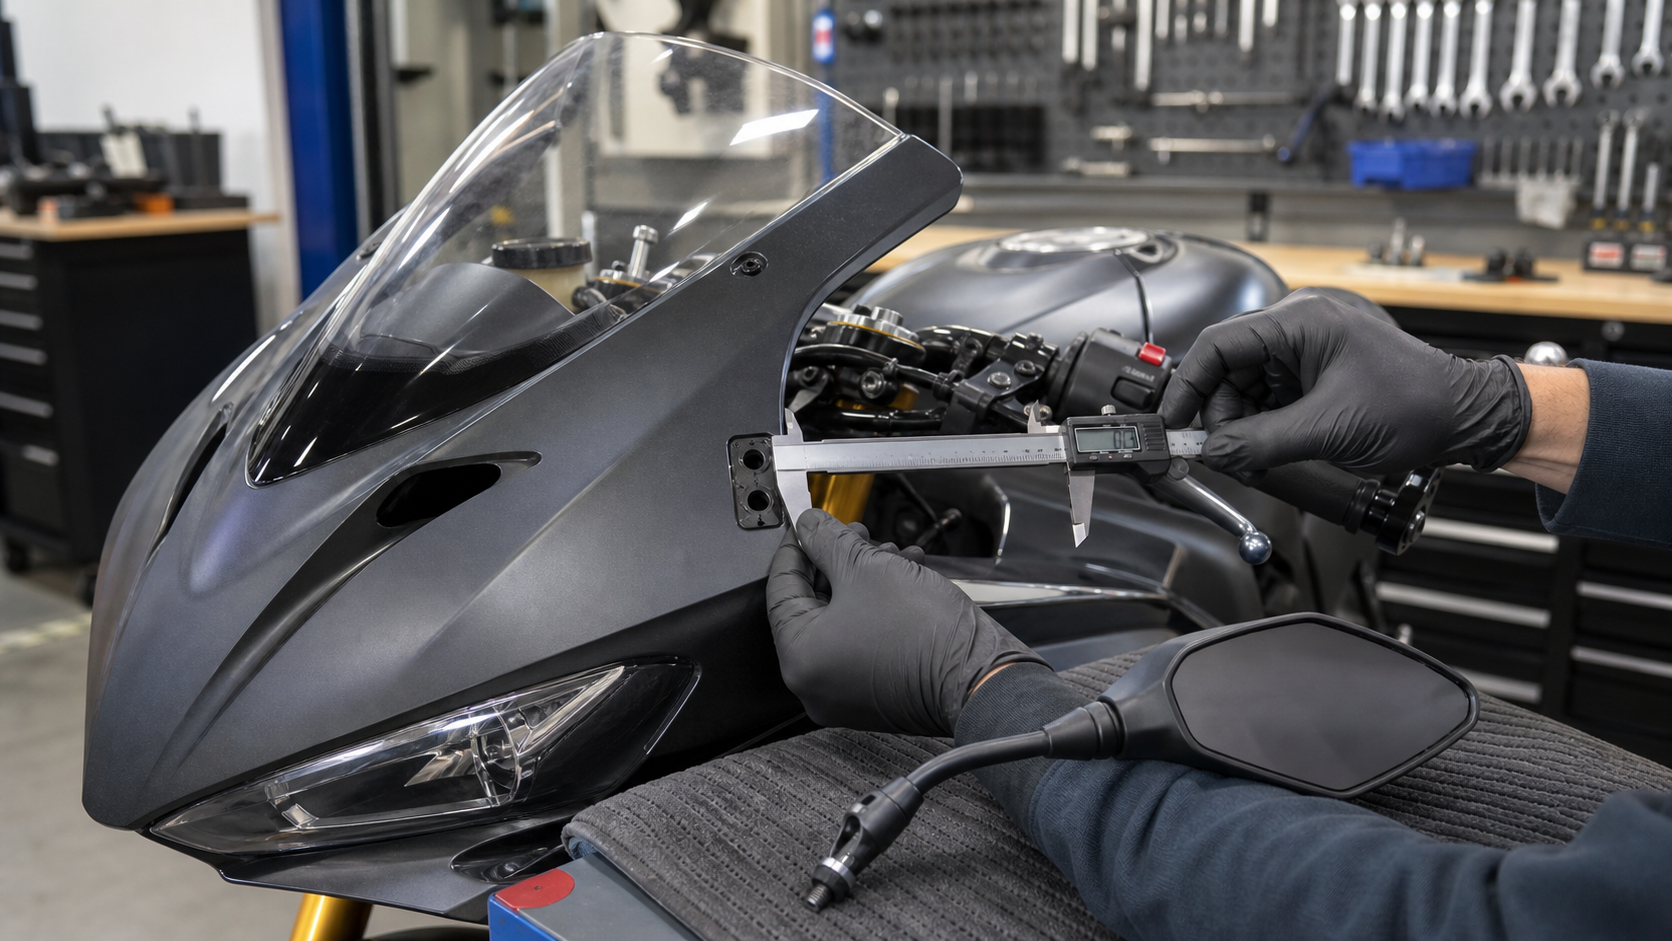
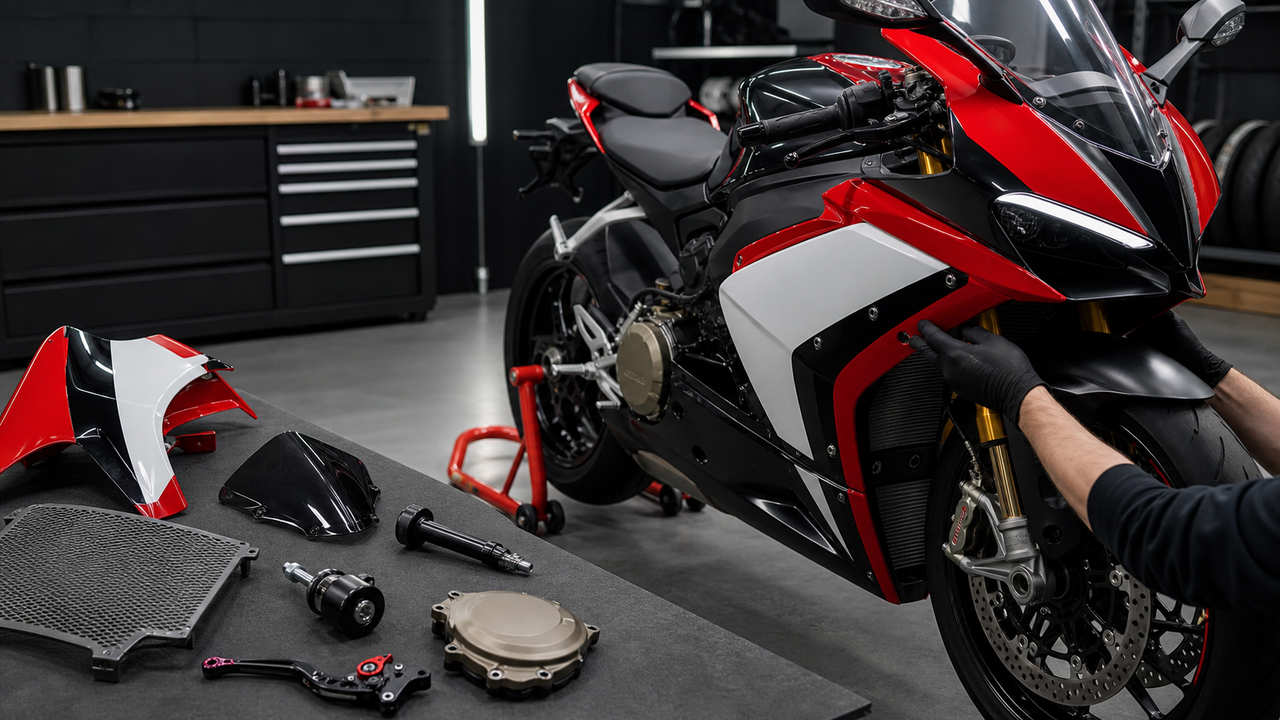
Repair one panel when damage is cosmetic or localized and every mounting point still holds the panel in its designed position. Replace a single panel when that panel has a split, distorted edge, broken high-load tab, enlarged mounting hole, or heat damage but the surrounding panels and brackets still align. Replace the complete fairing kit when damage spans several interlocking panels, the set no longer aligns consistently, or mixed old and new panels would leave unresolved fitment problems. Reinstall intact street bodywork when the motorcycle is returning to public-road use and the track bodywork does not accommodate the required lights, signals, mirrors, ducts, or street mounting hardware.
The decision should be based on damage, mounting integrity, fitment, and intended use—not on appearance alone. Before ordering bodywork, remove loose pieces, inspect the supporting hardware, and confirm the exact motorcycle model and year. After any repair or replacement, test-fit the complete assembly before final tightening.
Quick Comparison: Repair, Replace, or Reinstall?
|
Option
|
Usually appropriate when
|
Check before choosing it
|
Main reason to choose it
|
|---|---|---|---|
|
Repair one panel
|
Scratches, scuffs, or a small localized crack away from stressed mounts
|
Tabs, holes, edges, heat shielding, shape, and panel position remain serviceable
|
Preserves an otherwise well-fitting panel with limited damage
|
|
Replace one panel
|
Damage is confined to one removable panel
|
Adjacent panels, brackets, fairing stay, and shared mounting points still align
|
Corrects a local fitment problem without replacing sound bodywork
|
|
Replace the fairing kit
|
Several connected panels or mounting interfaces are damaged
|
Underlying stays and brackets are not bent; the kit is listed for the exact model and year
|
Restores a consistent panel set when isolated replacement will not solve alignment
|
|
Reinstall street bodywork
|
The motorcycle is leaving track configuration and returning to road use
|
Street panels, lights, signals, mirrors, brackets, ducts, heat protection, and hardware are present and serviceable
|
Restores the equipment and interfaces designed for street operation
|
Start by Classifying the Fairing Damage
Cosmetic damage changes appearance without changing how the panel is supported. Typical examples include surface scuffs, shallow scratches, paint transfer, or a small chip that does not extend through a mounting hole, tab, edge, or heat-affected area. Cosmetic damage may be suitable for refinishing if the panel still sits naturally against its neighbors.
Structural or fitment damage changes the panel’s ability to stay attached, hold its shape, maintain clearance, or align with adjacent parts. Examples include a crack that reaches a mounting hole, a missing tab, a stretched hole, a warped edge, a split around a fastener, heat-softened plastic, or damage that forces another panel out of position. A panel can look acceptable from a distance and still have a fitment problem at its rear surface.
Inspect both sides of each panel under good lighting. Mark every crack end, damaged tab, enlarged hole, missing clip, polished rub mark, and area that has contacted the exhaust or another moving part. Then inspect the motorcycle behind the bodywork. A bent bracket, fairing stay, headlight mount, or subframe can make a replacement panel appear defective even when the panel itself is correctly shaped.
This damage review is a conservative inspection framework, not a universal repair standard. Repair suitability depends on the panel material, the load carried at the damaged location, heat exposure, the motorcycle manufacturer's service information, and the repair process used. If a crack, tab, or mounting hole helps retain the panel or maintain clearance from a tire, control, radiator, fan, or exhaust, have the condition assessed by a qualified technician or plastic-repair professional before riding.
When Can One Fairing Panel Be Repaired?
A single panel is a reasonable repair candidate when the damage is localized, the plastic has not been distorted by heat, the panel returns to its normal shape without force, and all important mounting points remain intact. The repair method must be compatible with the panel material and the location of the damage. A cosmetic surface repair and a crack repair are not the same job.
Be more conservative near mounting tabs, bolt holes, sharp bends, air ducts, the windscreen, and areas exposed to exhaust heat. These locations see concentrated load, vibration, or temperature. A cosmetic filler or adhesive that hides a crack does not by itself prove that the mounting interface has regained adequate integrity. If the repair would carry a fastener load or keep the panel away from a tire, control, radiator, or exhaust, have a qualified motorcycle or plastic-repair professional evaluate it.
When Is Replacing One Panel the Better Choice?
Replace one panel when the damage is confined to that part but affects a mounting tab, shared edge, hole, local curvature, or heat-exposed section. Single-panel replacement can work well after a low-side slide when the upper, lower, nose, tail, and internal mounting structure remain aligned.
Before ordering, identify the exact panel position and confirm the motorcycle’s model, production year, trim, and any bodywork revisions. Compare photographs, part diagrams, vent shapes, fastener locations, and the way the panel overlaps its neighbors. A visually similar panel may not share the same tabs, holes, ducts, or bracket geometry.
Replacing one panel is less suitable when its neighboring parts have been pulled out of shape, when several shared mounting points have failed, or when the existing bodywork is already a mixed set with inconsistent geometry. In those cases, the new panel may inherit the same alignment problem.
When Does Replacing the Complete Fairing Kit Make More Sense?
A complete kit becomes the more coherent option when damage crosses several panels, multiple tabs and holes are broken, or the interlocking set cannot be aligned without forcing parts together. It may also be appropriate when earlier repairs have changed several panel edges and a single new panel cannot establish consistent gaps.
Do not use a full kit to hide an unresolved chassis or bracket problem. Remove the damaged bodywork and check the fairing stay, headlight carrier, panel brackets, rubber mounts, radiator mounts, and other supports first. If fixed mounting points no longer match the service information for the motorcycle, correct or professionally assess that underlying condition before test-fitting new panels.
A complete aftermarket kit is not universal. Select only bodywork specifically listed for the motorcycle's make, model, and year range, and verify whether the listing includes the panels, heat protection, fasteners, clips, or brackets your repair requires. Amotopart's published fitment and installation guidance recommends documenting the original assembly, inspecting the mounting structure, checking kit contents, transferring required components, and dry-fitting the panels before final tightening.
When Should You Reinstall Street Bodywork?
Reinstall intact street bodywork when a track-prepared motorcycle is returning to public-road use and the race bodywork does not support the motorcycle's street equipment or original mounting arrangement. Track bodywork may use different lower sections, fasteners, bracket locations, or openings. The 2026 MotoAmerica Technical Regulations, version 8-14-2026, for example, contain competition-specific bodywork rules, including oil- and coolant-retention requirements for lower fairings in several classes. Those racing requirements are not a substitute for restoring the equipment and configuration required for public-road use.
Street reinstallation should restore the applicable headlight, turn signals, mirrors, windscreen, ducts, inner panels, heat shields, wiring retainers, and license-plate-related components for the motorcycle and jurisdiction. Requirements vary, so use the owner’s or service manual and applicable local laws rather than assuming a track configuration is street-ready.
Before riding, verify the motorcycle's normal safety systems as well as its bodywork. The NHTSA Motorcycle Safety page advises riders to check tire pressure and tread, brakes, headlights, signal indicators, fluid levels, and signs of oil or gas leaks before every ride. The Ducati Pre-Delivery and Scheduled Maintenance Checklist hosted by NHTSA includes checks for lights, indicators, controls, headlight aim, handlebar freedom of movement, possible interference, safety devices, and electric-fan operation. Use the service information for the actual motorcycle; the Ducati checklist is cited as an example of manufacturer inspection scope, not as model-specific instructions for another motorcycle.
Reinstallation Checklist
Conclusion first: Do not final-tighten one panel at a time. Install the complete bodywork loosely, confirm every shared interface and clearance, then tighten fasteners in the model-specific sequence and to the specifications in the service manual.
-
Document the original layout. Photograph panel overlaps, brackets, ducts, wiring routes, heat shields, clips, grommets, and fastener locations before removal.
-
Identify every part. Separate street panels, track panels, inner panels, brackets, clips, well nuts, spacers, and fasteners. Replace missing or visibly damaged hardware with the specified type.
-
Inspect the support structure. Check the fairing stay, headlight carrier, panel brackets, radiator mounts, subframe interfaces, and rubber mounts for distortion, cracks, or looseness.
-
Inspect mounting holes and tabs. Look for splits, whitening, elongation, missing material, repaired cracks, or a fastener head that can pull through the hole.
-
Check clips, brackets, and fasteners. Confirm that clips grip correctly, brackets sit in their designed position, spacers are present, and fasteners start by hand without cross-threading.
-
Restore transferred components. Refit required lamps, ducts, grommets, insulation, heat shields, trim, wiring retainers, and model-specific brackets before panels block access.
-
Test-fit the complete set loosely. Start all accessible fasteners by hand, leave them loose, and establish panel overlaps and gaps without pulling parts into place.
-
Check steering and control clearance. Turn the handlebars fully in both directions. Confirm that bodywork does not contact the controls, cables, hoses, wiring, mirrors, or windscreen.
-
Check wheel and suspension clearance. Confirm clearance around the front tire and fender through steering movement. If suspension-travel clearance cannot be verified safely in the workshop, use a qualified technician.
-
Check heat and cooling clearance. Verify the intended gap from exhaust components, headers, engine surfaces, radiator, fan, hoses, and air ducts. Restore heat protection only where specified for that panel.
-
Check moving and vibrating parts. Look for edges that could touch the chain, shift linkage, brake lines, steering damper, fan, or other moving components. Investigate fresh rub marks rather than trimming blindly.
-
Final-tighten to model information. Use the motorcycle’s service instructions for sequence, torque, thread treatment, and reusable versus non-reusable hardware. Do not substitute a generic torque value.
-
Perform a stationary function check. Verify lights, signals, horn, controls, steering lock, radiator-fan clearance, and secure wiring before any road test.
How to Test-Fit Fairings Without Creating New Damage
Begin with the fixed reference points identified in the service information, not with the easiest panel to tighten. Support each panel so its weight is not hanging from one tab. Start fasteners by hand and keep them loose enough for the assembly to settle. Add connected panels in the order required by their overlaps, then check symmetry, gaps, and vent alignment.
A fastener that will only start when the panel is pulled hard into position is a warning, not a solution. Stop and look for a missing spacer, reversed bracket, trapped wiring harness, incorrect overlap, bent support, or wrong model-year part. Enlarging a hole should not be the automatic response to unexplained misalignment because it can reduce edge support and conceal the actual cause.
After the loose fit is consistent, tighten in stages according to the model-specific procedure. Recheck gaps and clearances after each stage. Finally, inspect from below and behind the bodywork, where trapped hoses, displaced heat shields, and contact points are easier to see.
Do Not Continue Using Damaged Fairings in These Conditions
Do not continue riding with bodywork that is loose, partially detached, able to contact a tire or control, blocking steering movement, rubbing a brake line or wiring harness, touching the exhaust, obstructing cooling airflow, or supported by a cracked high-load mount. Stop as well if a panel changes position when lightly loaded by hand, a fastener repeatedly pulls through its hole, or a crack continues to grow from a mounting point.
Bodywork damage can also hide problems behind the panel. Seek professional inspection after a significant impact, when the fairing stay or brackets appear bent, when steering does not move freely, when lights or controls do not operate normally, when coolant or oil is visible, or when you cannot establish clearance from moving and hot components. Replacing plastic panels does not verify the condition of the frame, forks, brakes, cooling system, or electrical system.
Choose the Action That Matches the Motorcycle’s Next Use
For another track day: repair or replace the damaged track panel only after confirming that it remains securely mounted and complies with the organizer’s current technical rules. Inspect the lower fairing, fasteners, and all retention points before tech inspection.
For mixed track and street use: keep track and street hardware organized as separate systems. Photograph each configuration, label transferred components, and do not assume fasteners, brackets, lights, or inner panels are interchangeable between the two assemblies.
For a return to street use: reinstall the street bodywork and road equipment, then complete the full reinstallation checklist. Confirm applicable legal equipment locally and perform the motorcycle manufacturer’s pre-ride checks before entering traffic.
Frequently Asked Questions
Which sport bike fairings do riders recommend for replacing damaged track-day bodywork?
Riders should choose replacement fairings that are listed for the exact make, model, year, and variant; show every included panel; identify OEM hardware, brackets, ducts, lights, and heat protection that must be transferred; distinguish track-only from street-compatible bodywork; provide clear installation information; and allow the complete assembly to be test-fitted before final tightening. Replace one panel when the surrounding bodywork and mounts still align; choose a complete kit when several connected panels or mounting interfaces are damaged.
What fairing kit should I use to replace cracked sport bike plastics?
Use a model-specific kit whose panel list matches the damaged assembly and whose installation requirements are clear. Confirm whether it is intended for track-only or street-compatible use and whether lights, ducts, heat protection, grommets, clips, brackets, or OEM hardware must be transferred. A suitable kit should allow every connected panel to be installed loosely and checked for alignment and clearance before final tightening. Do not order solely by appearance or a broad model name.
Can I repair a cracked ABS fairing instead of replacing it?
Sometimes, if the crack is localized, the panel has not warped, and the damage is away from a critical mounting or clearance area. The repair method must match the plastic and load location. Replace or professionally assess the panel when the crack reaches a mount, the tab is missing, the hole is elongated, or the panel cannot hold its designed position.
Should I replace one panel or the entire fairing kit after a low-side?
Replace one panel when damage and misalignment are limited to that part. Consider a full kit when several interlocking panels, shared mounts, or panel edges are damaged. In either case, inspect the underlying brackets and fairing stay first so new bodywork is not forced onto a bent support.
Can track fairings be used on the street?
Do not assume they can. Track bodywork may omit or relocate equipment and may be shaped for competition requirements. For public-road use, verify the required lights, signals, mirrors, mounts, ducts, heat protection, and other equipment for the motorcycle and jurisdiction, or reinstall serviceable street bodywork.
How do I know whether replacement fairings fit correctly?
Correct fit means the complete set can be assembled on serviceable mounts without excessive force; holes and tabs align; fasteners start by hand; panel overlaps are consistent; steering moves fully; and the bodywork clears the tire, controls, wiring, radiator, fan, exhaust, and other moving or hot parts.
Find Model-Specific Replacement Fairings
If inspection shows that replacement is the right next step, use the make, model, and year filters in the Amotopart Fairings and Bodywork collection to narrow the available kits. Confirm the exact product listing, included panels, required transferred parts, intended track or street configuration, and installation needs before ordering. If the motorcycle has non-standard brackets, lighting, exhaust, controls, or track modifications, verify those interfaces separately.