TL;DR
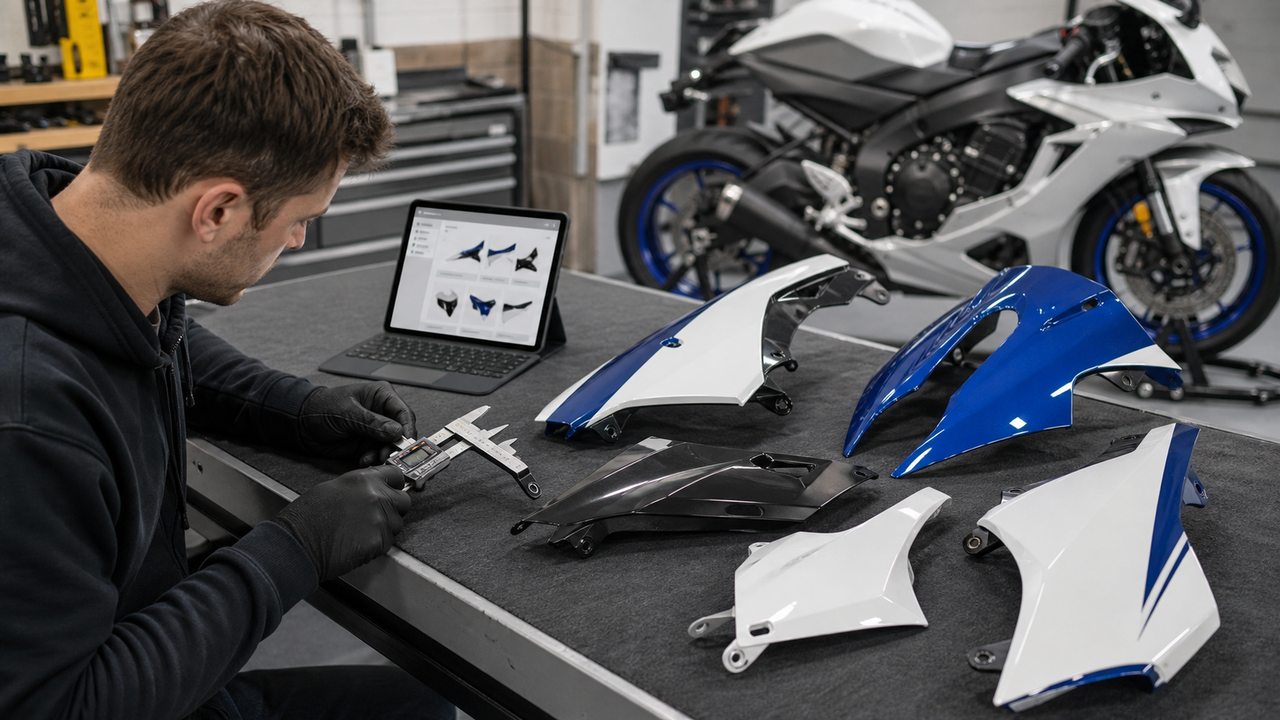
Choose ABS fairings for daily street riding only when the kit matches the exact make, model, year, and variant; test-fits without force; preserves the motorcycle’s original heat shields and cooling airflow; and loads every tab, hole, bracket, and fastener evenly. ABS by itself does not prove durability. Daily use adds repeated heat cycles, engine and road vibration, weather, and maintenance handling. A suitable kit should maintain clearance from headers, exhaust, radiator, tire, steering, controls, wiring, and hoses. Stop before riding if a panel is heat-distorted, cracked at a mounting point, loose after correct fastening, or interfering with a moving or hot component.
Quick Comparison: What Makes a Street Fairing Suitable?
The strongest buying signal is not a material name or a glossy product photo. It is a chain of verifiable fitment and installation evidence: the correct application, complete panel list, known heat-protection requirements, intact mounting features, and a successful full test fit. Use the following summary before comparing colors or price.
|
Check
|
Suitable for daily street use when…
|
Warning sign
|
|---|---|---|
|
Fitment
|
The listing identifies the exact make, model, year range, and relevant variant, and the complete kit test-fits without forcing panels into position.
|
The seller relies on visual similarity, “universal” wording, or an unclear year range.
|
|
Heat management
|
Required OEM heat shields, insulation, ducts, and air paths are retained or replaced according to model-specific instructions.
|
A panel sits close to a hot component with missing, displaced, or unverified protection.
|
|
Mounting integrity
|
Tabs, holes, grommet seats, brackets, clips, and fasteners align with low installation stress.
|
A tab bends, a hole must be pulled into position, or a fastener is carrying visible side load.
|
|
Vibration control
|
All specified supports are present, isolators and grommets are seated, and panels do not buzz, flap, or contact adjacent parts.
|
A missing support leaves a long panel edge free to move, or a panel touches the frame, engine, exhaust, or another panel.
|
|
Road clearance
|
There is verified clearance through full steering travel and suspension movement from the tire, controls, cables, hoses, wiring, cooling parts, and hot components.
|
Any contact, pinching, stretching, rubbing, or heat discoloration appears during inspection.
|
Why ABS Does Not Automatically Mean Durable
Conclusion first: “Made from ABS” is not enough evidence to predict how a fairing kit will perform in daily street use. The result also depends on the specific resin grade, panel geometry, molding quality, wall consistency, tab design, paint system, heat exposure, support points, and installation stress.
Even within one resin family, material properties can vary by grade. For example, SABIC’s official CYCOLAC ABS portfolio lists separate grades developed for different balances of impact, heat, flow, UV performance, and processing. That does not establish the formula or performance of any motorcycle fairing. It demonstrates why the word “ABS” alone cannot verify heat resistance, impact behavior, or service life.
The same evidence boundary applies to fiberglass. Fiberglass bodywork is a composite in which glass reinforcement works with a resin matrix; Hexcel’s engineering glossary explains that composite performance comes from the combined materials, not the fiber name alone. Lay-up, resin, thickness, cure, mounting reinforcement, finish, and repair quality all matter. A street rider should therefore compare the construction and installation evidence available for the actual product rather than assume that every ABS panel is flexible or every fiberglass panel is rigid, light, or easy to repair.
ABS vs. Fiberglass for Street Use
This comparison describes common decision factors, not universal performance. A specific ABS kit or fiberglass kit can fall outside these typical patterns, so the product page and installation evidence should control the decision.
|
Street-use factor
|
ABS fairings
|
Fiberglass fairings
|
|---|---|---|
|
Construction evidence
|
Ask for the exact motorcycle application, molding and panel details, included parts, and any material specification the seller can substantiate. “ABS” alone is incomplete.
|
Ask about laminate construction, reinforcement around mounting points, finish, included hardware, and the intended street or track application. “Fiberglass” alone is incomplete.
|
|
Fitment
|
Model-specific molding can support repeatable panel geometry, but pre-drilled holes do not prove a stress-free fit.
|
Fit depends on the mold, trimming, drilling, bracket arrangement, and finishing. Some products may require more preparation, but this must be confirmed for the specific kit.
|
|
Vibration response
|
Potential flexibility does not excuse missing grommets, unsupported edges, or misaligned holes; repeated movement can still load tabs and paint.
|
A stiffer laminate can still crack around poorly supported or over-tightened mounting points. Reinforcement and installation remain important.
|
|
Heat exposure
|
Do not infer a safe temperature or distance from the material name. Restore model-specific shields, ducts, and clearance.
|
Do not infer immunity to heat from the glass reinforcement. Resin system, finish, shielding, and placement still matter.
|
|
Repair decision
|
Small cosmetic damage and damaged tabs require product-specific assessment; replacement may be more appropriate when geometry or mounting integrity is affected.
|
Composite repair can be possible, but the damage and repair process must be assessed. Hexcel’s composite repair guide notes that apparently small damage may extend beneath the visible surface and that repair decisions depend on damage extent, location, access, materials, and required performance.
|
|
Best use of the comparison
|
Choose the specific kit with stronger fitment evidence, complete heat-management information, sound mounting design, and support—not the material label you prefer in the abstract.
|
|
Heat-Exposure and Shielding Check
Conclusion first: Treat every fairing area near the engine, radiator, headers, catalytic converter, mid-pipe, muffler, or hot-air outlet as model-specific. Do not copy a shield position or clearance value from another motorcycle, and do not assume a replacement kit includes every protective layer your original bodywork used.
A useful example of why cooling checks cannot be generalized appears in the 2020 Honda CBR600RR owner’s manual: Honda provides model-specific procedures for coolant level, radiator-fan operation, hose leaks, and overheating. A fairing inspection is not a substitute for those procedures. Its job is to ensure replacement bodywork does not remove protection, block airflow, pinch a hose, trap wiring, or contact a hot component.
Heat-Exposure and Shielding Checklist
-
Map the original protection before removal. Photograph the position and orientation of heat shields, reflective barriers, insulation, ducts, rubber edging, clips, and spacers on both sides of the motorcycle.
-
Confirm what the kit includes. The Amotopart fairing FAQ states that its complete fairing kits include a heat shield, bolt kit, and windscreen, while also advising customers to confirm the contents of a specific kit. Treat that as seller-specific information, not an industry-wide rule.
-
Match the exact model and year. Shield shape, exhaust routing, radiator layout, ducts, brackets, and lower-fairing geometry can change across variants or production years.
-
Test-fit with the motorcycle cold. Check the inner surface of every panel against the header area, exhaust, engine cases, radiator, hoses, wiring, and fans before final tightening.
-
Preserve airflow. Confirm that vents and ducts are open, correctly oriented, and not obstructed by transferred insulation, loose wiring, or an overlapping panel.
-
Inspect after the first short ride. Once the motorcycle has cooled, look for new odor, softening, gloss change, discoloration, blistering, adhesive movement, shield displacement, or contact marks. Do not touch hot parts during the check.
-
Escalate uncertain heat damage. If a panel has changed shape, a shield will not stay in place, or a cooling component may be obstructed, stop and have the installation inspected before normal road use.
Mounting-Point and Vibration Inspection
Conclusion first: Vibration usually becomes a fairing problem when a panel is unsupported, preloaded, loose, or touching another component. The durable setup is the one in which each mounting point aligns naturally, the correct isolators and fasteners are present, and no single tab is forced to absorb the mismatch of the surrounding panels.
|
Area
|
Inspect for
|
What the finding means
|
|---|---|---|
|
Tabs
|
Cracks at the root, whitening, distortion, thin edges, impact damage, or a tab that must be bent to meet its bracket.
|
Pause if the tab carries load before the fastener is installed. Forced alignment can keep the panel under constant stress.
|
|
Mounting holes
|
Center-to-center alignment, roundness, edge distance, chipping, elongation, and whether the hole meets the bracket without pulling.
|
A pre-drilled hole is only a starting point. It does not prove the panel geometry, bracket position, or motorcycle history matches the kit.
|
|
Grommets and isolators
|
Correct seating, missing sleeves, hardened rubber, trapped paint, or a grommet pushed out by the panel.
|
Missing or displaced isolation can allow movement, buzzing, abrasion, or concentrated load at the hole.
|
|
Brackets
|
Bent supports, repaired crash damage, wrong-side installation, loose bracket fasteners, or aftermarket accessories sharing the same mount.
|
A new fairing cannot correct a bent motorcycle bracket. Confirm the supporting structure before judging the panel.
|
|
Fasteners
|
Correct type and length, washers or collars in the correct location, clean threads, and gradual engagement by hand.
|
Use the motorcycle and product instructions for fastener sequence and torque. Do not apply a generic torque value from another model.
|
|
Panel overlaps
|
Even seams, free engagement of locating features, no hard edge-to-edge contact, and no paint trapped under a neighboring panel.
|
One tight overlap can transfer vibration into a tab elsewhere. Loosen the assembly and re-establish the sequence rather than pulling harder.
|
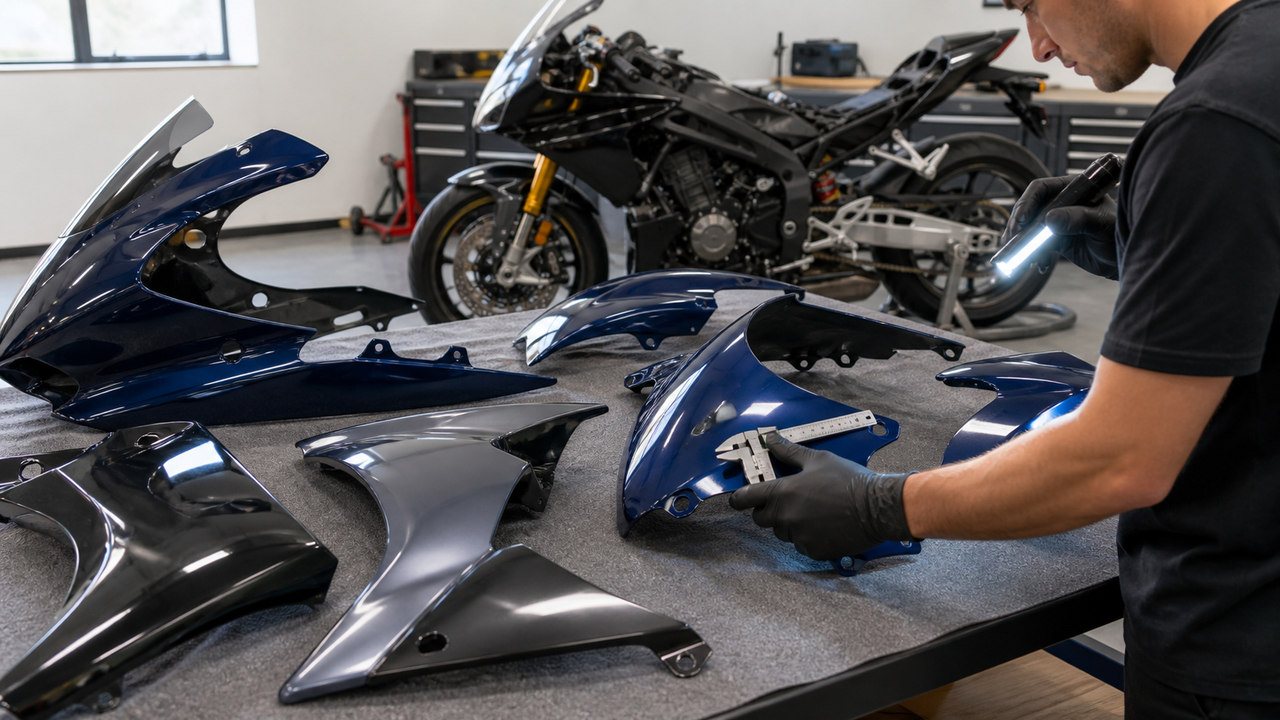
During a complete test fit, install all major panels and loosely engage the specified hardware before final tightening. Work through the manufacturer’s sequence where available. If the sequence or internal hardware is uncertain, consult the model-specific service information; Honda explains that its shop manuals cover inspection, disassembly, parts inspection, replacement, and assembly procedures. That is the level of model-specific guidance to look for—not an improvised universal sequence.
Daily Street Fairing Checklist
Use this checklist after the complete kit is loosely assembled and again after final installation. A single panel may appear correct by itself but interfere once the windscreen, nose, side panels, belly pan, inner panels, ducts, and lighting components are installed together.
-
Verify identity. Match the motorcycle’s make, model, production year, and specific variant to the product listing. Check prior crash repairs or aftermarket brackets that may change the mounting structure.
-
Inventory the kit and transferred parts. Identify every external panel, inner panel, bracket, duct, shield, grommet, clip, collar, spacer, and fastener. Keep left- and right-side hardware organized.
-
Inspect the panels off the motorcycle. Look at tabs, holes, edges, vents, inner surfaces, shield attachment areas, and painted surfaces under good light. Record shipping damage before installation.
-
Restore heat and airflow features. Transfer or install the correct shields, ducts, guides, and insulation in their original orientation unless the model-specific instructions state otherwise.
-
Complete a loose test fit. Engage all major mounting points without force. Do not final-tighten one section while the rest of the kit is still unsupported.
-
Check static clearance. Inspect gaps around headers, exhaust, engine, radiator, fans, hoses, wiring, controls, frame, tank, seat, lighting, and accessories.
-
Check moving clearance. Turn the bars slowly from lock to lock. Confirm that panels do not contact the tire, fork, brake lines, throttle cables, switchgear wiring, levers, or controls. Follow the model’s approved lifting or suspension-inspection procedure if wheel-travel clearance must be evaluated.
-
Seat the hardware correctly. Confirm grommets, collars, washers, clips, and spacers are in the right location. Start threaded fasteners by hand and use the specified sequence and torque for the motorcycle.
-
Perform a stationary function check. Confirm steering movement, controls, lights, turn signals, horn, radiator-fan area, and visible wiring or hose routing before riding.
-
Reinspect after a short, conservative ride. Once cool, check for looseness, buzzing, rub marks, contact dust, heat marks, shifted shields, stressed tabs, and changed panel gaps.
Scenario Guidance for Daily Commutes, Weekend Rides, and Highways
Daily commuting. Repeated short trips create frequent heat-up and cool-down cycles, while parking and routine maintenance add handling risk. Prioritize intact shields, easy access to service points, secure inner panels, and regular checks of fasteners and rub points. Stop-and-go traffic also makes it important not to obstruct the radiator, fan area, or hot-air exits.
Weekend road riding. Longer rides can reveal vibration, edge contact, and heat effects that a garage test fit does not show. Reinspect the kit after the first ride and after any maintenance that removes a panel. A new noise, changed seam, loose fastener, or fresh contact mark deserves investigation before the next long ride.
Highway use. Sustained airflow can load a loose leading edge, windscreen junction, inner panel, or undertray. Confirm every intended support point is present and that the panel cannot flap or lift. This is not a claim about an aerodynamic limit; it is a reason to stop if the bodywork moves, buzzes, opens a seam, or loses a fastener at road speed.
Stop / Inspect / Continue Decision Guide
Conclusion first: Continue only when the panels are secure, clear of moving and hot parts, and unchanged after a short check ride. Monitor cosmetic or non-progressive observations only when mounting integrity and clearance are unaffected. Stop riding when the bodywork can move into a hazardous area or when the cause of heat, cracking, or misalignment is uncertain.
|
Decision
|
Typical finding
|
Next action
|
|---|---|---|
|
Continue and monitor
|
Panels remain secure; all supports are installed; gaps are stable; there is no contact, heat change, crack growth, or control interference.
|
Recheck after early rides, routine service, a dropped fastener, or any event that could disturb the bodywork.
|
|
Inspect before the next ride
|
New buzz, slight gap change, polished rub mark, loose noncritical trim fastener, shifted grommet, or a shield edge beginning to lift—with no contact with moving or hot parts.
|
Let the motorcycle cool, find the cause, correct the assembly using product and model instructions, and repeat the full clearance and function checks.
|
|
Stop riding
|
Cracked or broken load-bearing tab; loose panel near a wheel; interference with steering, controls, cables, hoses, wiring, radiator/fan, exhaust, or another moving part; melting, blistering, softening, smoke, or strong hot-plastic odor.
|
Do not rely on an improvised roadside fix for normal use. Secure or transport the motorcycle and obtain qualified inspection where the repair, bracket condition, heat source, or safe clearance is uncertain.
|
|
Contact the seller
|
Wrong application, missing part, shipping damage, hole or tab mismatch present before modification, or a complete kit that cannot test-fit without force.
|
Stop installation, preserve packaging, and document the label, motorcycle details, overall fit, and close-ups. Amotopart’s return policy instructs customers to inspect orders on receipt and contact the company immediately about defects, damage, or an incorrect item.
|
Frequently Asked Questions
What are the best ABS motorcycle fairings for daily street riding?
The better choice is a model-specific kit that identifies the exact make, model, year, and variant; provides a clear parts list; preserves the motorcycle’s heat shields and cooling layout; aligns at every mounting point without force; and passes full steering, tire, controls, wiring, cooling, and hot-component clearance checks. The word “ABS” alone does not establish durability.
Are ABS fairings more durable than fiberglass for street use?
Not as a universal rule. ABS and fiberglass describe broad material families, not a finished panel’s full construction or installation quality. Resin grade or laminate, geometry, wall or lay-up consistency, mounting reinforcement, heat exposure, paint, supports, and fitment all affect service performance. Compare the actual kits and their evidence.
Where should I check a fairing for heat exposure?
Inspect inner panel areas near the headers, exhaust, catalytic converter, engine, radiator, fan outlets, and any duct carrying hot air. Verify heat shields and insulation against the exact motorcycle’s original layout and service information. Do not reuse a distance or temperature rule from another model.
Can a pre-drilled fairing kit still have fitment problems?
Yes. Pre-drilled holes do not verify panel geometry, motorcycle bracket condition, model variation, previous crash damage, or the assembly sequence. Amotopart’s fitment guidance, for example, tells buyers to check compatible models and years and notes that model variations or prior modifications may require attention. Always complete the full test fit before final tightening.
How can vibration damage fairing mounting points?
Vibration can repeatedly load a tab or hole when a panel is loose, unsupported, misaligned, over-constrained, or touching another component. Look for whitening, cracks at tab roots, elongated holes, displaced grommets, paint dust, polished rub marks, buzzing, and fasteners that loosen again. Correct the cause rather than tightening one fastener harder.
Should I enlarge a hole if the panel will not align?
Do not make an irreversible change until you know why the hole is misaligned. First loosen the surrounding panels, confirm the assembly sequence, check the correct part and side, verify brackets and transferred hardware, and compare the motorcycle with the model-specific instructions. If the kit still requires force or modification that was not disclosed, document the problem and contact the seller.
When should I stop riding because of a fairing problem?
Stop if a panel is loose near a wheel, interferes with steering or controls, contacts a hot or moving component, obstructs cooling parts, has a broken load-bearing mount, or shows melting, smoke, progressive heat distortion, or a crack that is growing around a mounting point. Seek professional inspection when the supporting bracket, heat source, repair suitability, or safe clearance is uncertain.
Conclusion
ABS fairings can be a practical option for daily street bodywork, but the material label is only the beginning of the decision. Evaluate the exact model-year fit, the condition and alignment of every mounting point, the restoration of heat shields and airflow, the response to vibration, and the clearance around steering, tires, controls, wiring, cooling parts, and exhaust components. Inspect first, complete a full loose test fit, use model-specific installation information, then final-tighten and recheck after a short ride.
To apply the checklist to a specific motorcycle, browse Amotopart’s fairings by brand, model, and year, confirm the listed kit contents and fitment, and use the Amotopart contact page before ordering if the variant, heat protection, transferred OEM parts, or installation requirements are unclear.